Well, well, well, these last few weeks have certainly snuck away from me! How are you all? Sorry for the brief absence but I inadvertently took a little blogging break. :) All is well here, so no worries, but I will warn you this is a long-winded post!
This mini blogging break all started when I was originally writing this post three weeks ago. Apparently my computer battery is dying because it no longer holds a charge for more than half an hour. I learned this as I was uploading photos of my sister's house and writing what is now the latter half of this post.
Naturally, I didn't have the charger with me when the computer died, but I didn't think a thing about it since Blogger likes to seemingly save posts every 30 seconds. Later, when I got home and restarted the computer, I realized that for
some reason Blogger
didn't save this particular post. A bit discouraged since I'd already uploaded nearly all the photos, as well as having written almost half the text, I shelved the writing for another day.
Well, another day magically turned into, oh, about 25, and in the meantime I ended up doing several non-Internet related things.
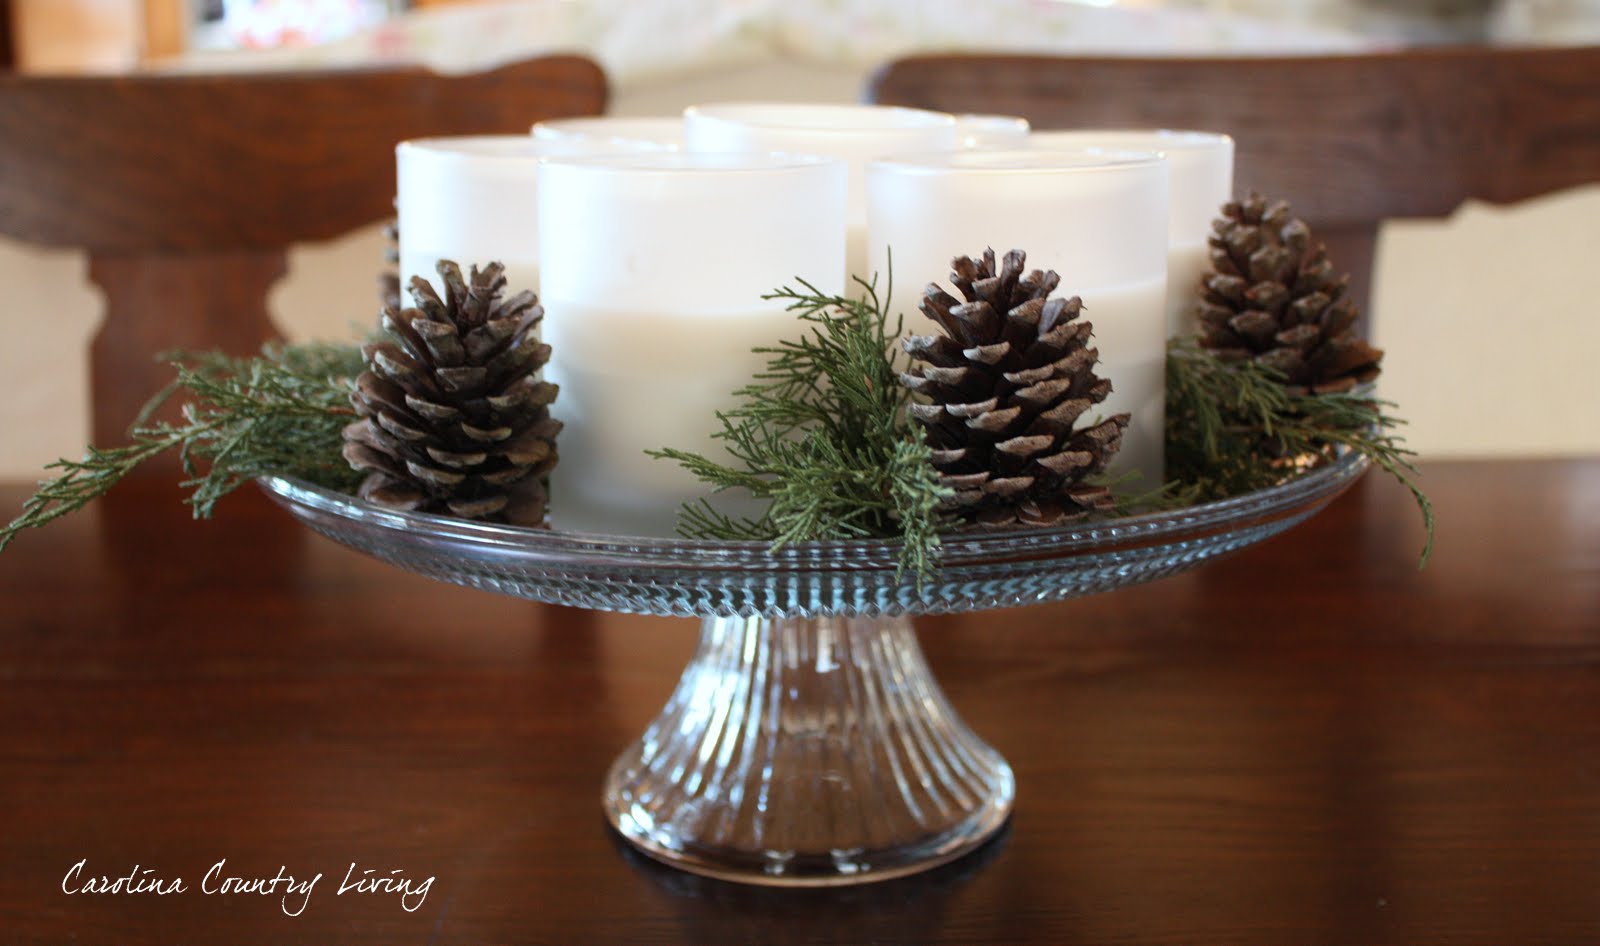
Firstly, I made several batches of fantastic soy candles. I have had a love affair with Yankee Candle's Midnight Jasmine and Mistletoe candles for a long time, but I couldn't bring myself to spend the money on them any more. So I made my own. And it was fun and I will write about that soon!
It's been ridiculously cold here so I also hauled a lot of firewood as we work to replenish the wood shed and feed
the hungry monster that is our wood stove. Bless my husband for being the industrious person he is because he's cut-up a number of dead trees this winter. Our division of labor is that he cuts the trees and splits the wood into large chunks (which are later split by a hydraulic splitter into manageable sizes for the wood stove), while I transport said "chunks" and later stack the split wood. It works for us and we stay plenty warm.
Since I'm ready for winter to be gone, I also started planning for the spring and summer gardens. I've enjoyed flipping through various seed catalogs, fantasizing about eating fresh, in-season veggies and seeing green grass in the yard. In my seed perusings, I came across
The Lazy Gardener's Seed Starting Chart, which takes out all the guess work in when to start seeds. It's an Excel spreadsheet that calculates the proper time to plant seeds based off the last day of frost in your area.
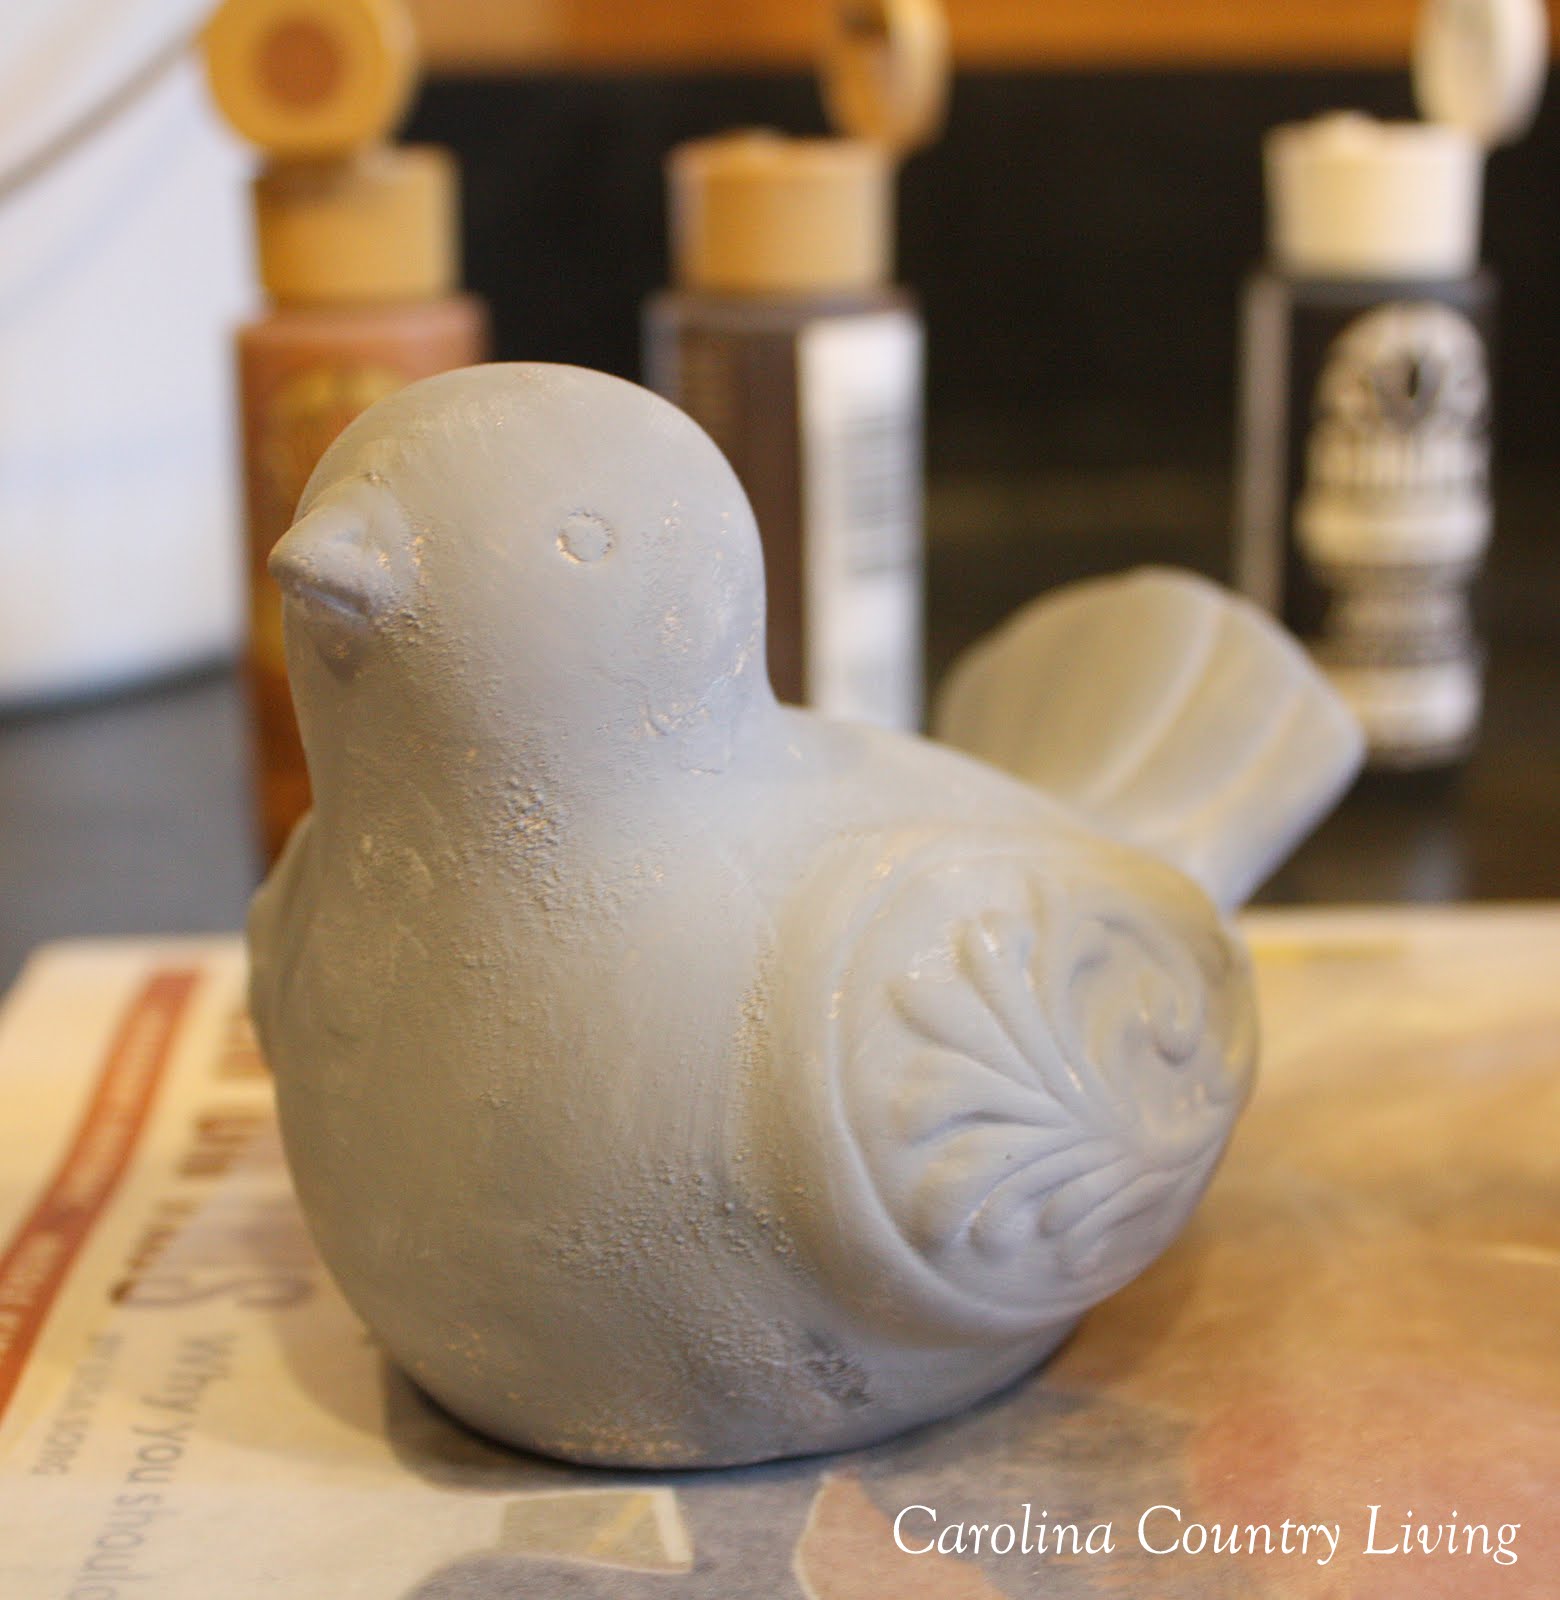
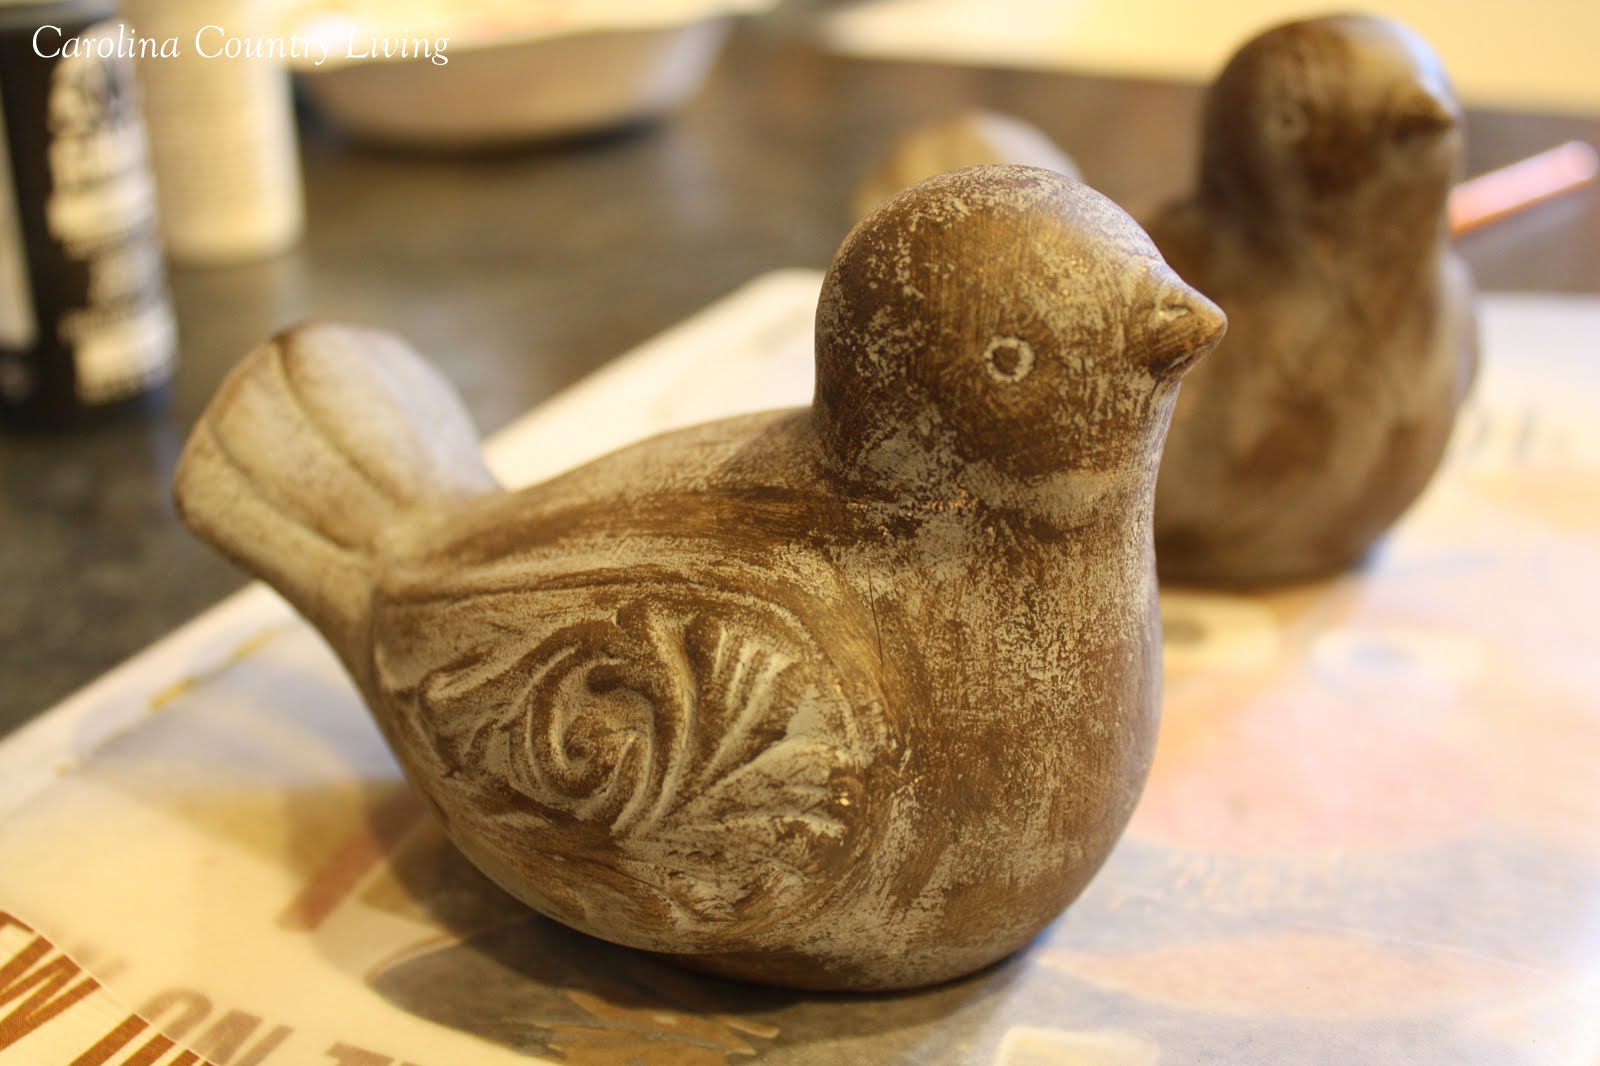
In a serendipitous meeting a few weeks back, I also made the acquaintance of a local interior designer who is interested in me painting furniture for him. I know I haven't shown much furniture here on the blog, but I have quite a few painted pieces in my house that I completed in my pre-blogging days.
Since I paint on my front porch, the cold weather has limited what I can do these last few months. However, I so enjoy painting that I've decided to pursue this opportunity and see where it takes me in the new year. Wish me luck!
And last but not least, I read...books! Not blogs! (Well, I couldn't abandon blog reading
altogether, but it was seriously reduced, that's for sure.) I love reading but during these last several months, my book-reading has been very much neglected in favor of blog-reading.
If you haven't noticed, there's a button on my sidebar that says "I pledge to read the printed word." I will never get an e-reader because there is something utterly fantastic about the tactile experience of holding a book, turning its pages, and enjoying the typography. Though I adore reading my favorite blogs, I was missing--apparently a lot since I read six books in three weeks--the time spent snuggled in bed or on the sofa, simply reading a good book. Reading a book is really mind-clearing to me. You just focus on the words and the mental pictures form and it's a peaceful thing.
All this book reading was a needed change of pace, particularly because I think I suffer from sensory overload when doing a lot of my blog reading. Do you know what I'm talking about? Thanks to the plethora of gorgeous photos, words (and even music on some blogs), I have a tendency towards overstimulating my little brain! There is no lack of inspiration out there and I routinely get hit with the desire to take on more projects than time or my wallet allows. Then there's the whole aspect of gorgeous-house-envy that creeps in frequently as see the fabulous ways in which so many talented women decorate their homes.
Reading some good ol' books was a nice way to hit the mental reset button.
My favorite books from this spate of reading were
Radical Homemakers: Reclaiming Domesticity from a Consumer Culture by Shannon Hayes,
The Book Thief by Markus Zusak and
Someday This Pain Will Be Useful to You by Peter Cameron. I encourage you to check them out if you're a reader.
Well, I've really carried on, haven't I?
Your patience hasn't gone unnoticed, so let's get to the pictures of my sister's house!
Here they are...
It was a bleak day for picture-taking, but that just adds to BLAH factor of the interior and will amp up the WOW factor of the after pictures. Right?
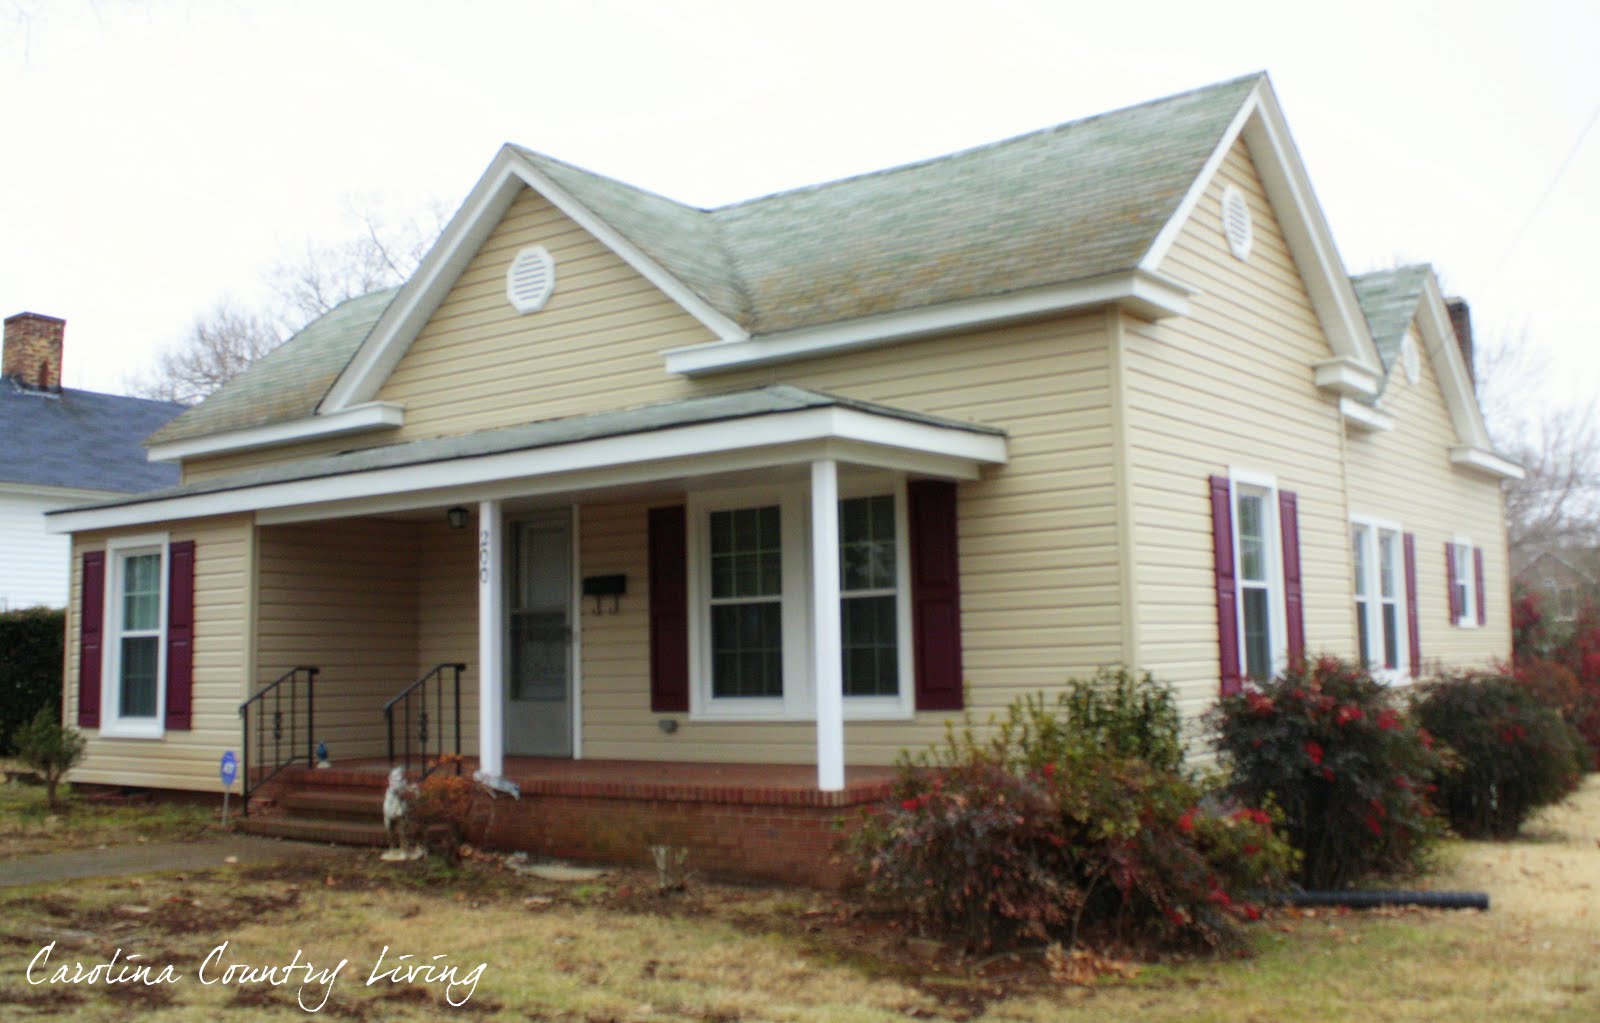
Her house is very typical of the types of houses found in the Piedmont region of North Carolina. Though it's not two stories, it's still considered a farmhouse of sorts.
Just prior to her purchasing it, the previous owners clad the exterior in vinyl and replaced all the windows. The roof will need replacing in the next year or so and she's thinking metal (of which I definitely approve!)
Let's make our way to the front door.
Well, hello
original door bell! Though this house has lots of fugly happening, it does have quite a few swoon-worthy details like the door bell. Don't you love diamonds in the rough?
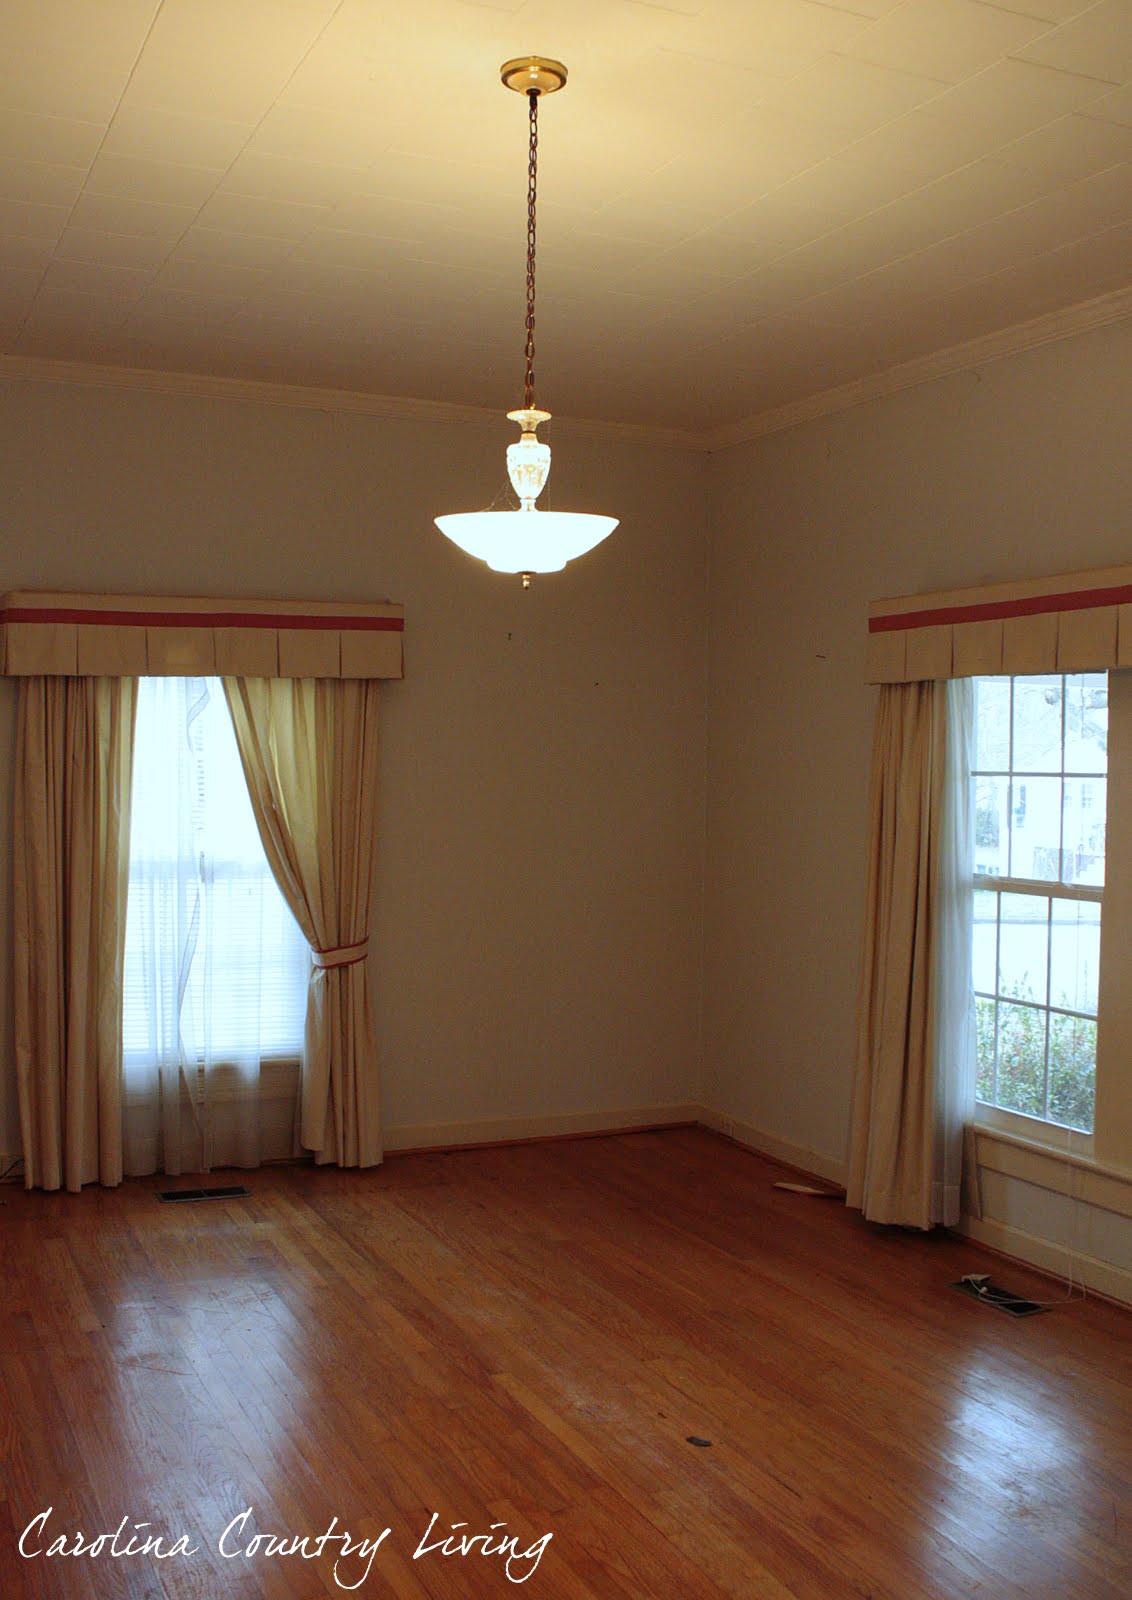
Stepping through the front door, you enter the living room.
I'm a former real estate agent, so forgive me for going into what some might find to be extraneous details here.
This is a 2-bedroom, 1 bath house and measures about 1,200 square feet. That means all the rooms are well-sized and the living room is no exception. It has high ceilings and a great light fixture that you can't see well because I took the photo with the light on. Sheesh! This house originally had heart pine floors, but in this room and in one of the bedrooms, oak planks cover the original flooring.
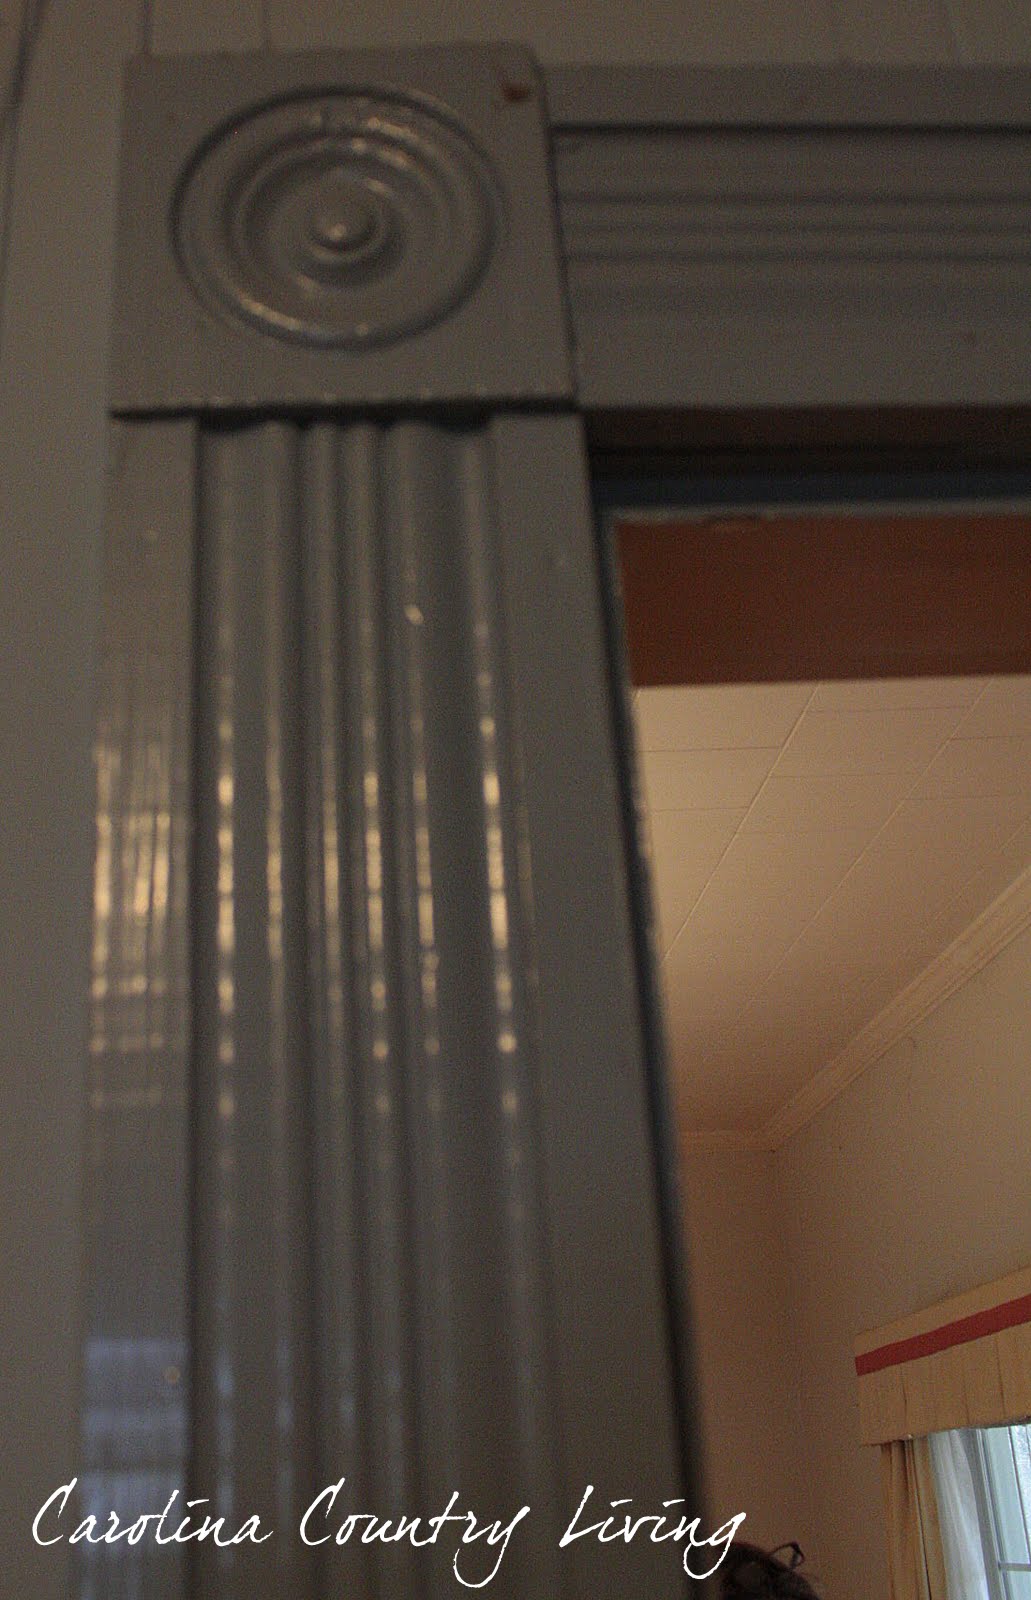
I originally suggested board-and-batten be installed in this room, but she's not sure about that, and now I'm doubting the suggestion. You'll see a photo of the door and window trim that's found throughout the house and I'm wondering if the board-and-batten will be too Craftsman-feeling for what is essentially a late-Victorian/Folk era house. Thoughts, dear readers?
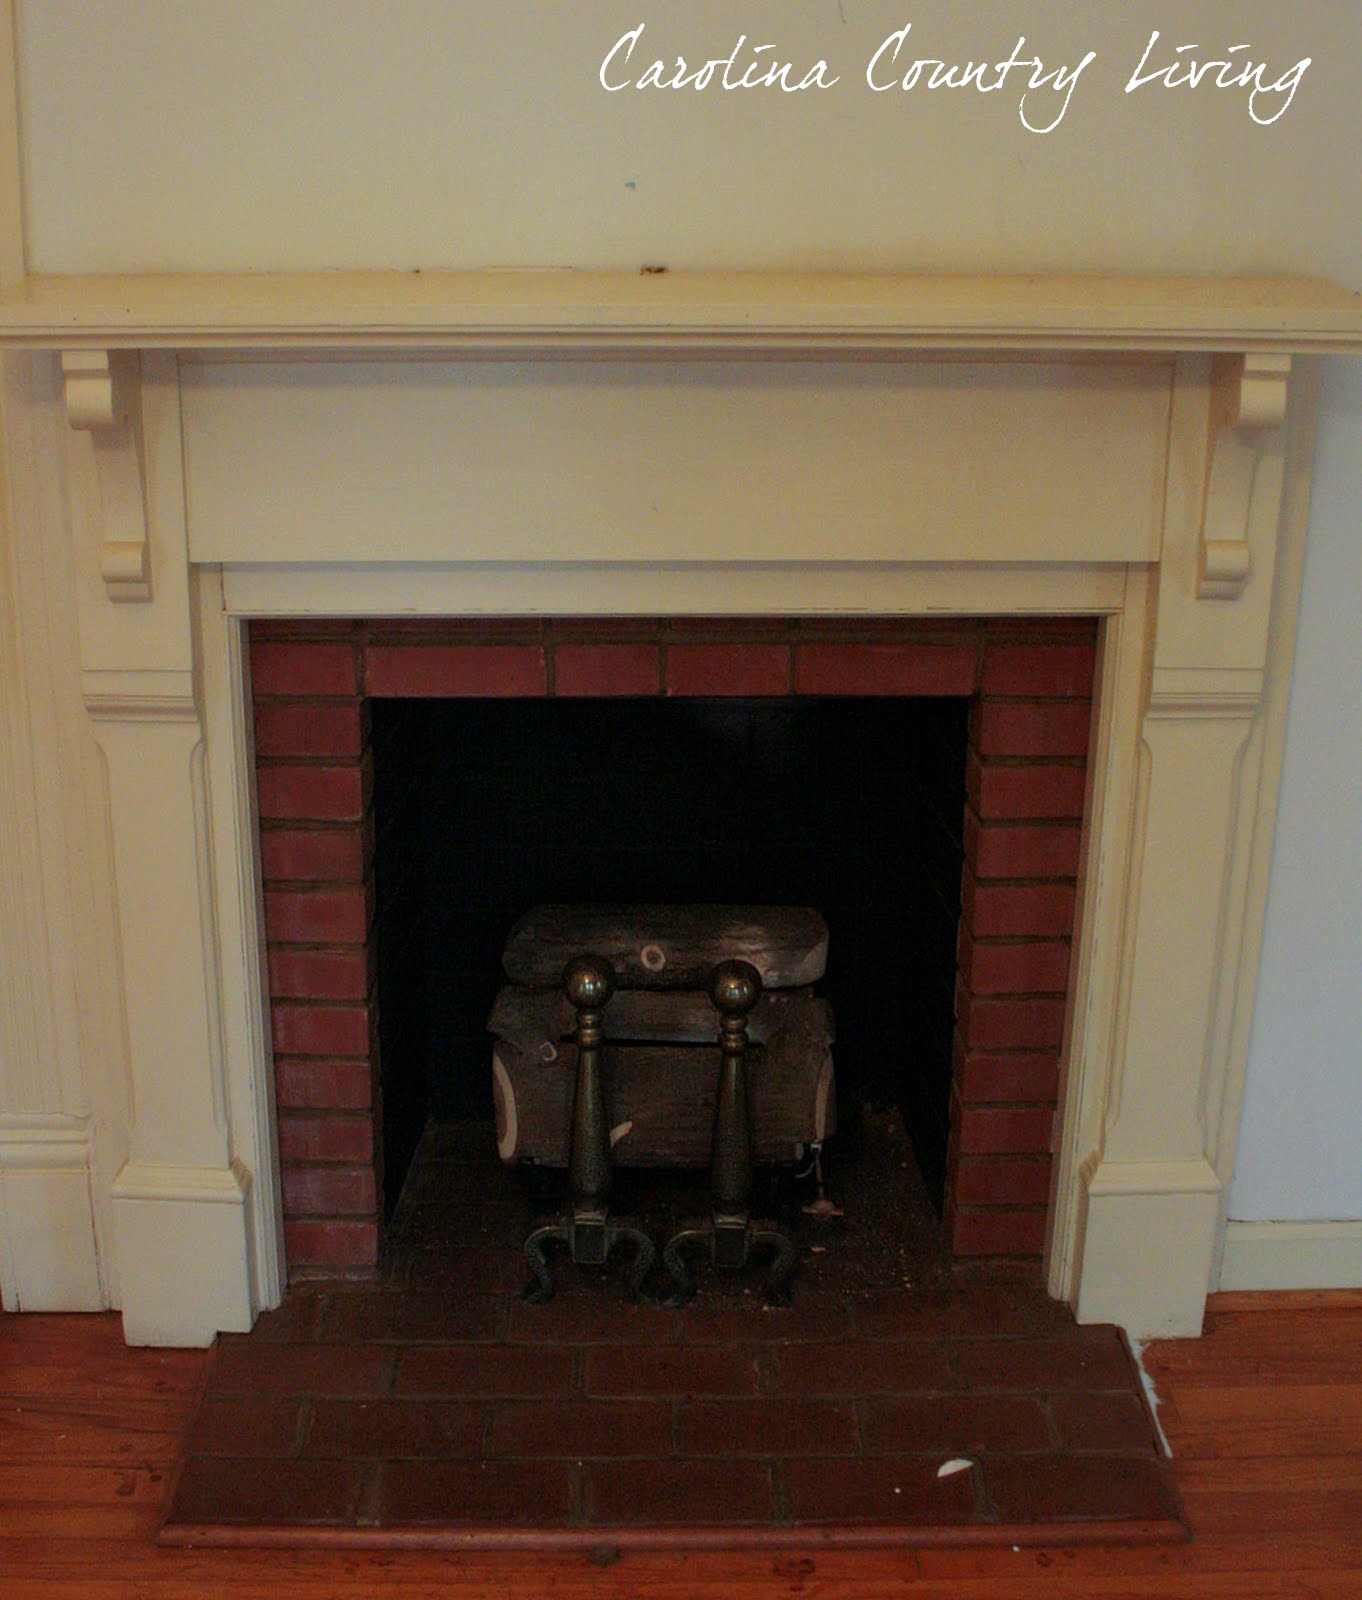
The living room also has a nifty fire place just awaiting a minor face lift.
And a built-in bookcase that offers loads of possibility!
Just off the living room is the larger of the two bedrooms. Shield your eyes from all. the. blue.
The redeeming qualities of this room? Besides the fact the blue can be painted over?
The original heart pine floors!
Trimwork like this:
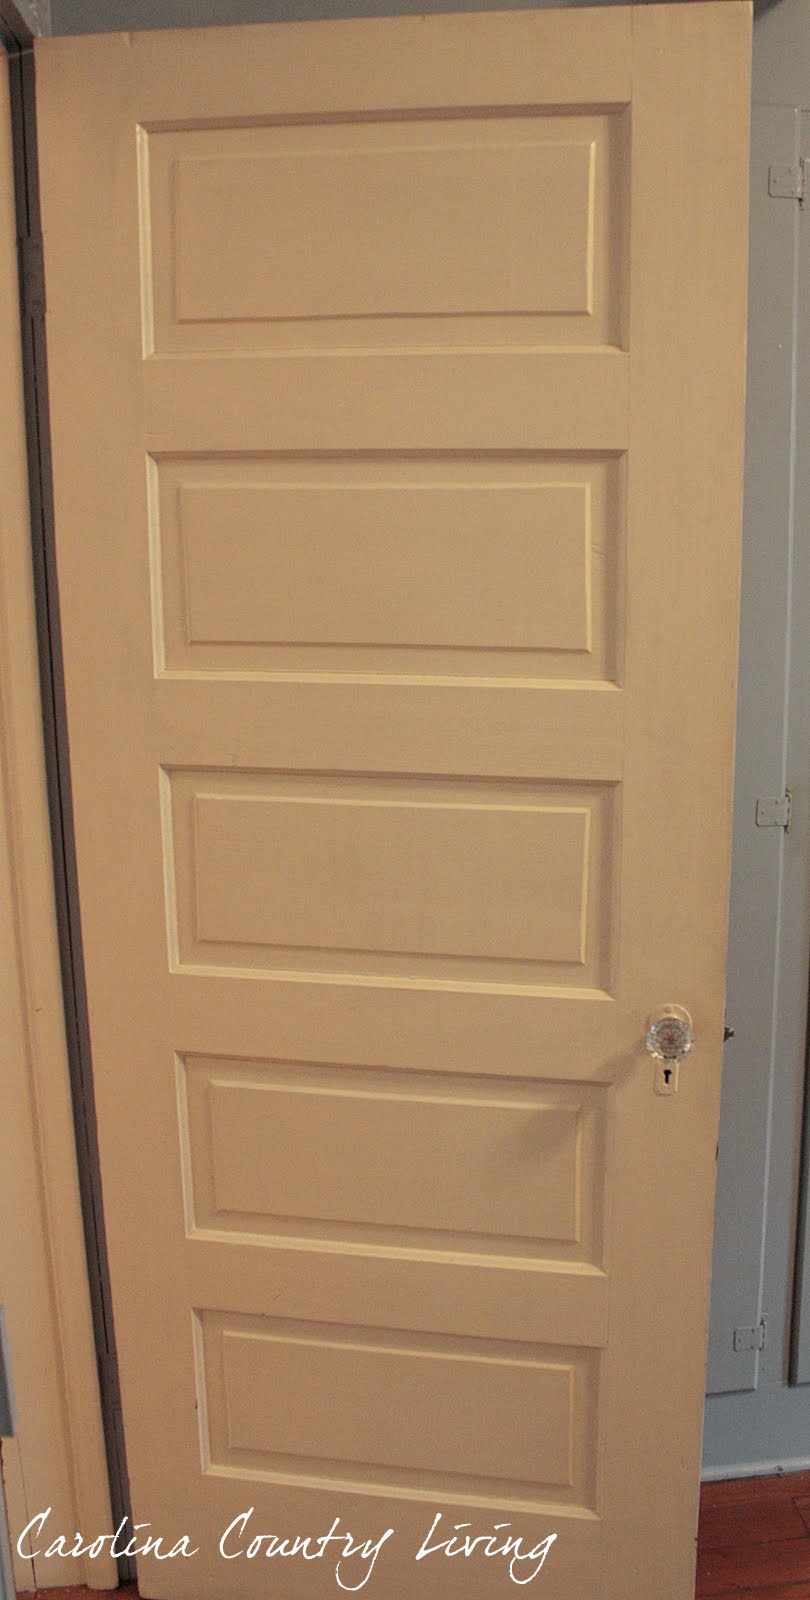
And a door like this--complete with glass knob, no less:
This room mainly needs paint. Lots and lots of it!
Now, if we walk back to the living room, the next room is the dining room.
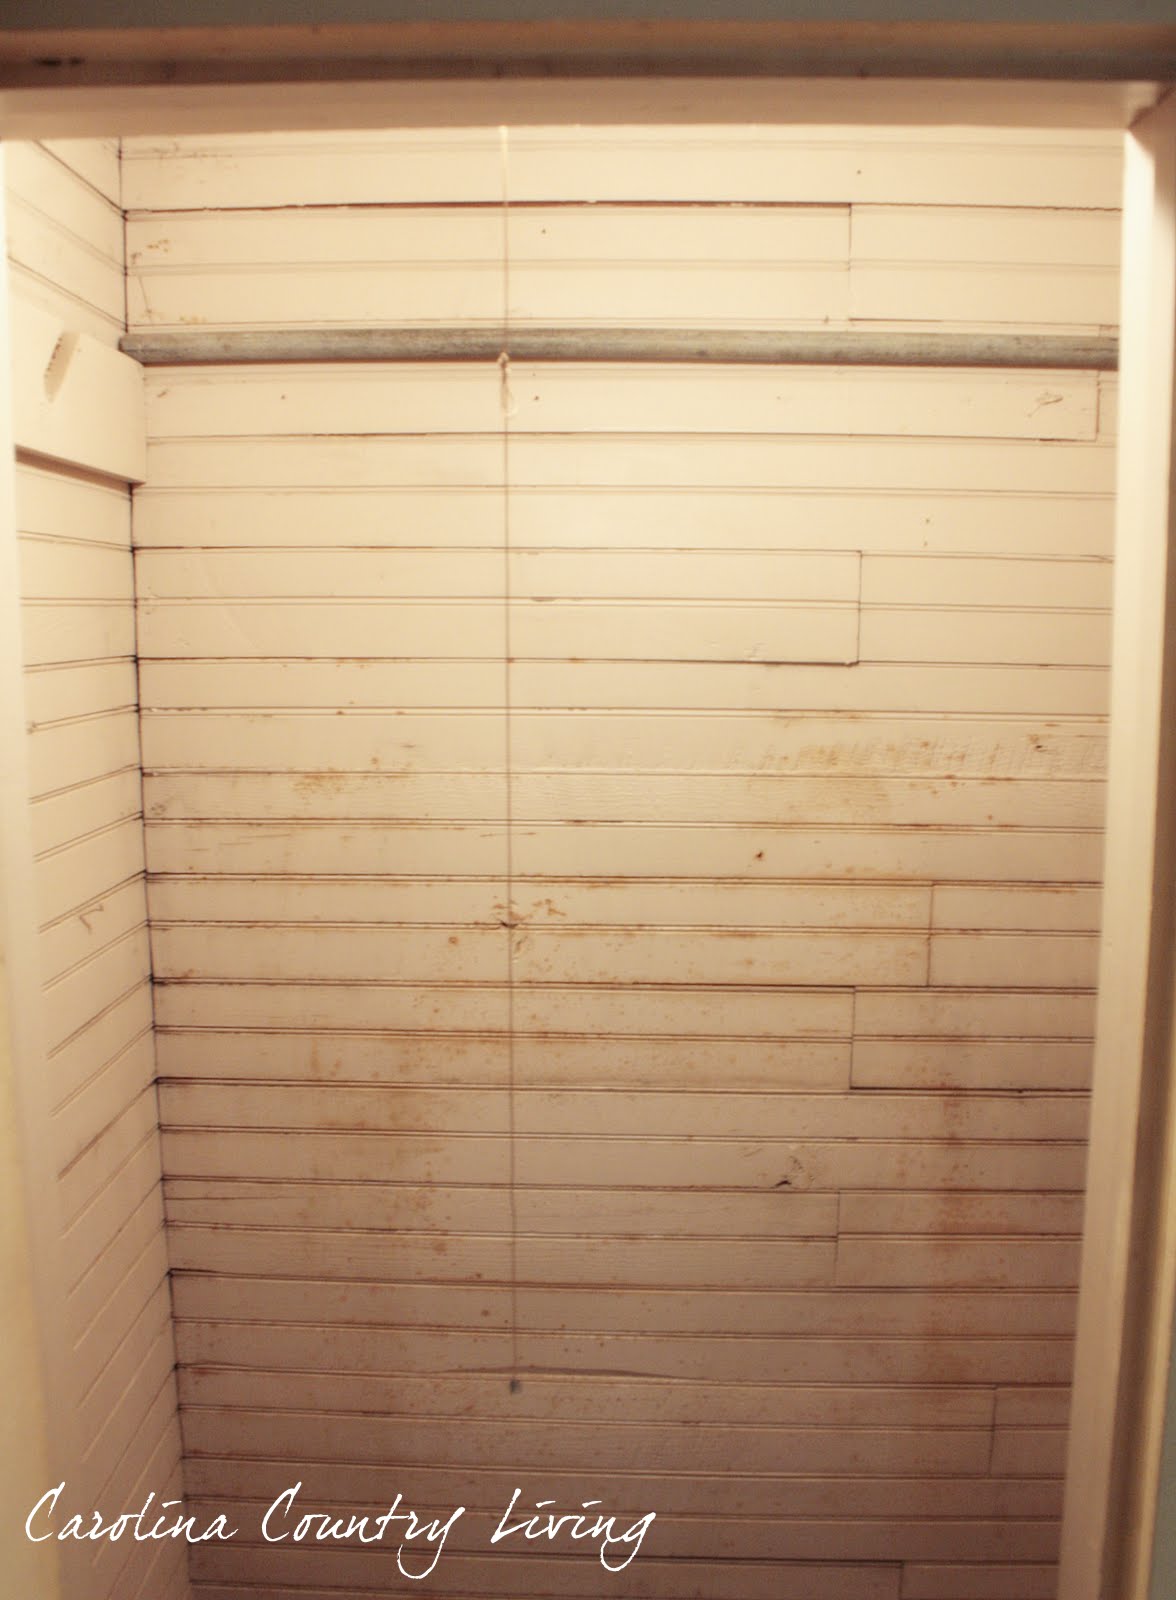
Underwhelming, I know. The nastiness of the paneling is rivaled only by the vinyl "wood" floor. But you see that open closet door on the far right?
Look what's inside, dearies:
Dingy but...ORIGINAL BEAD BOARD!!!
When I took these photos, we could only assume/hope that this bead board would also be under the paneling. Since then, the paneling has been pried off, and indeed, the entire dining room is clad in this gloriously wonderful stuff.
Moving on...off the dining room is the second bedroom. It's part of an addition and has a much lower ceiling. But my sister called me today to say there is intact bead board under the ceiling tiles...so there is promise here.
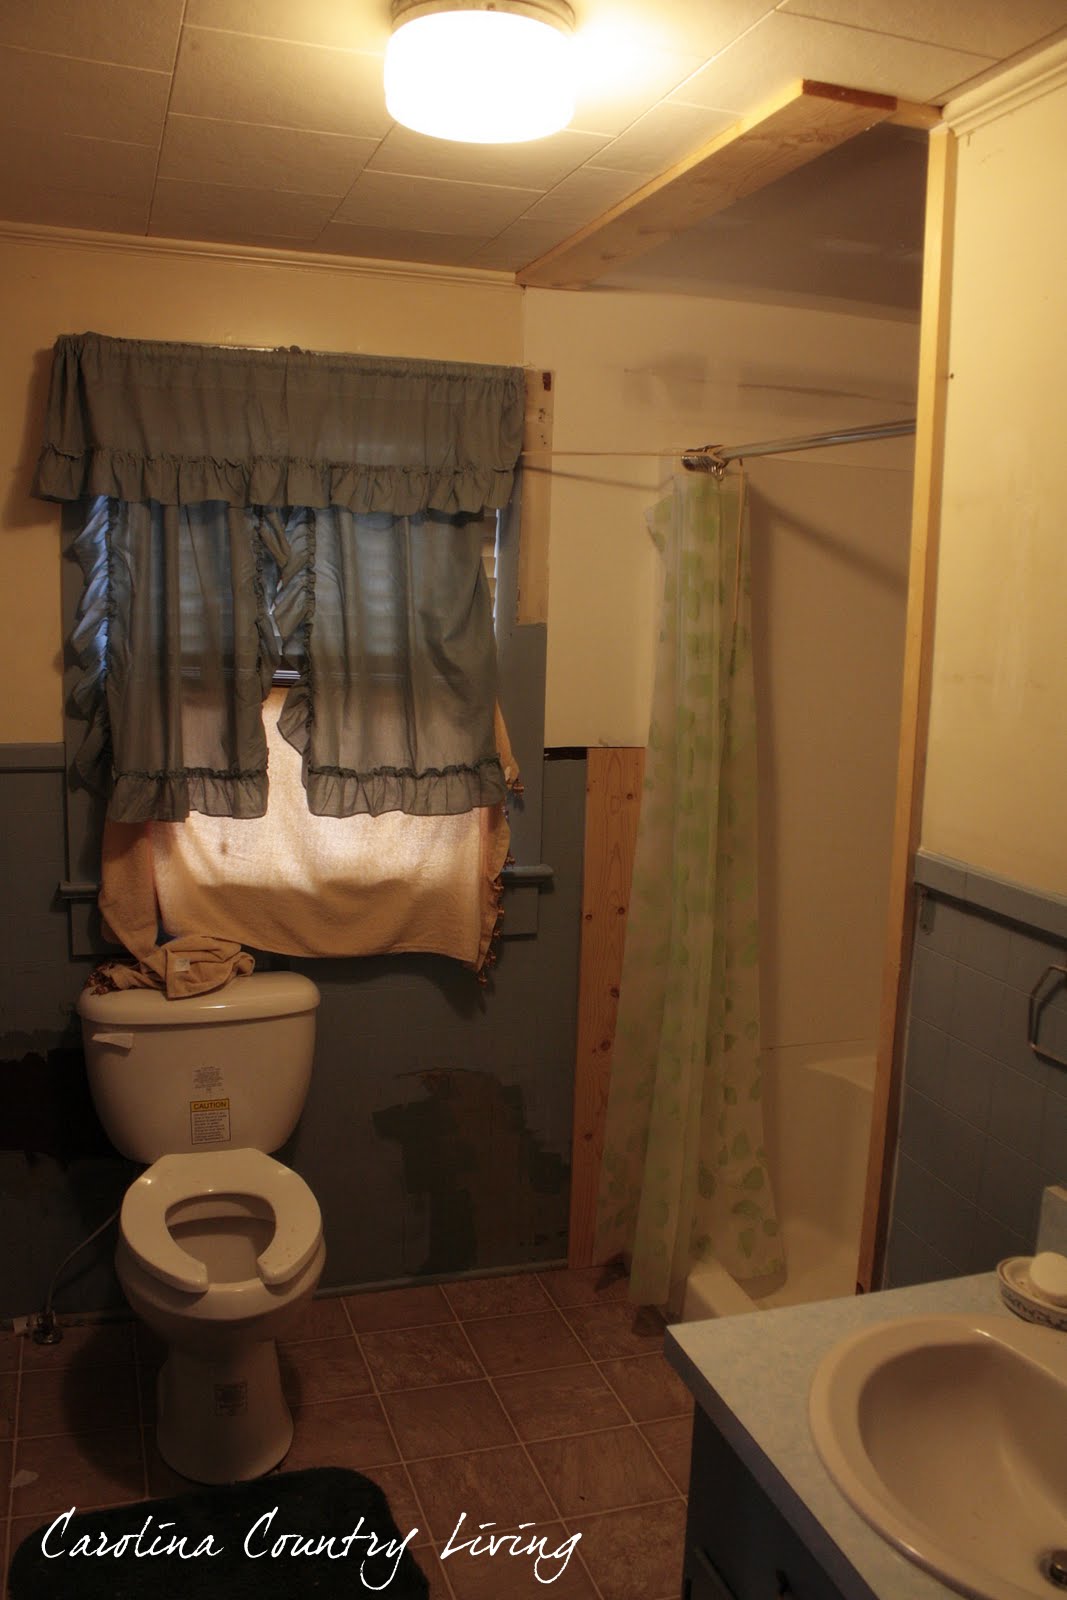
Between the two bedrooms is the lone bath. It used to have a claw foot tub in it, but the previous owner tore it out and installed a shower insert. <sad face>
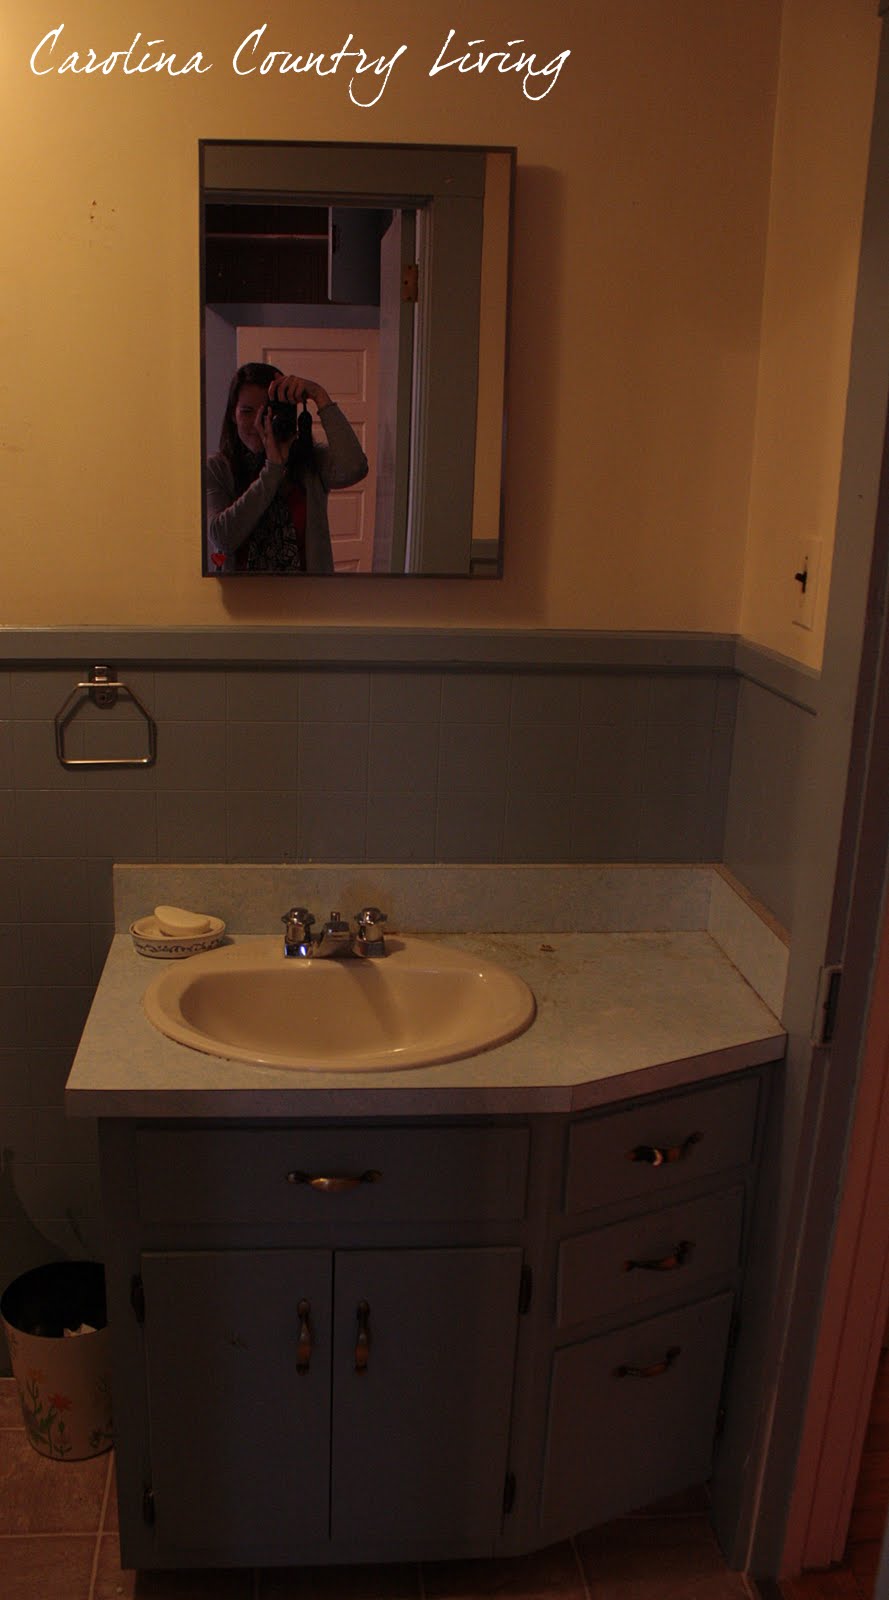
And a shot of the bathroom vanity:
The bathroom will be beautified with bead board wainscot, subway tile around the shower insert, a pedestal sink and matching toilet, and hexagon tile on the floor.
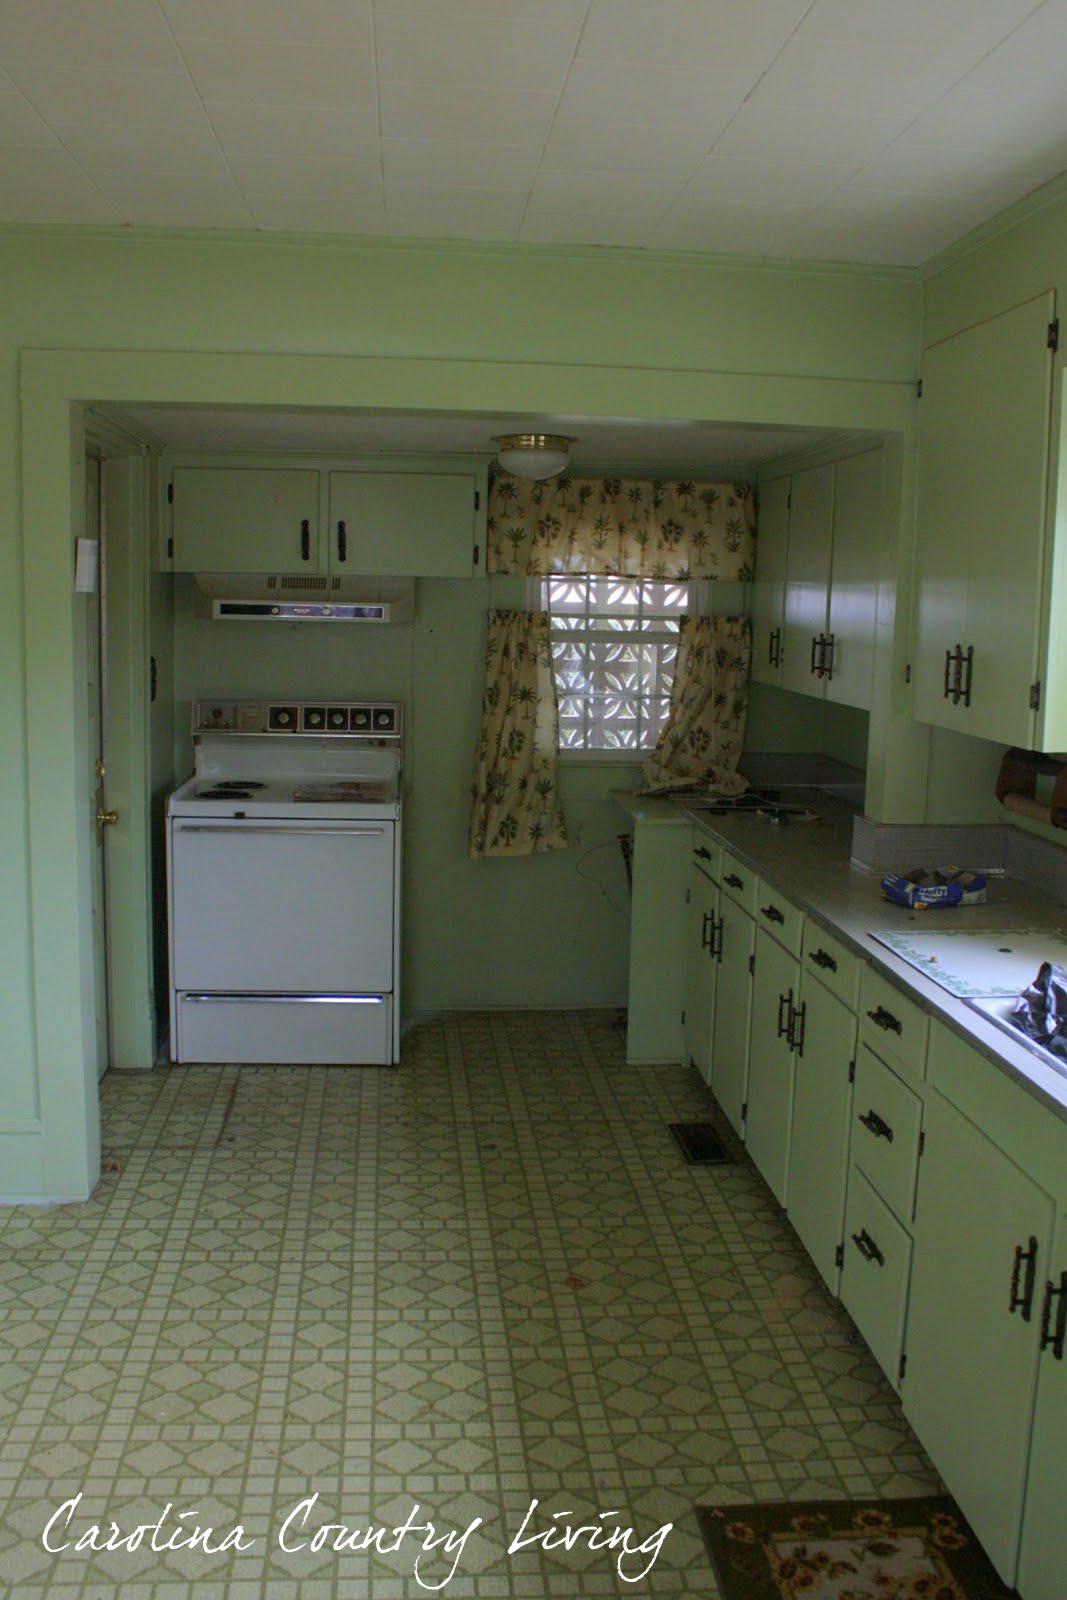
Cutting back through the dining room, the last stop is the kitchen. It's fabulously huge but not-so-fabulously green--from the floor to the ceiling. This view is of the end with the breakfast nook. Check out the vintage tole light fixture!
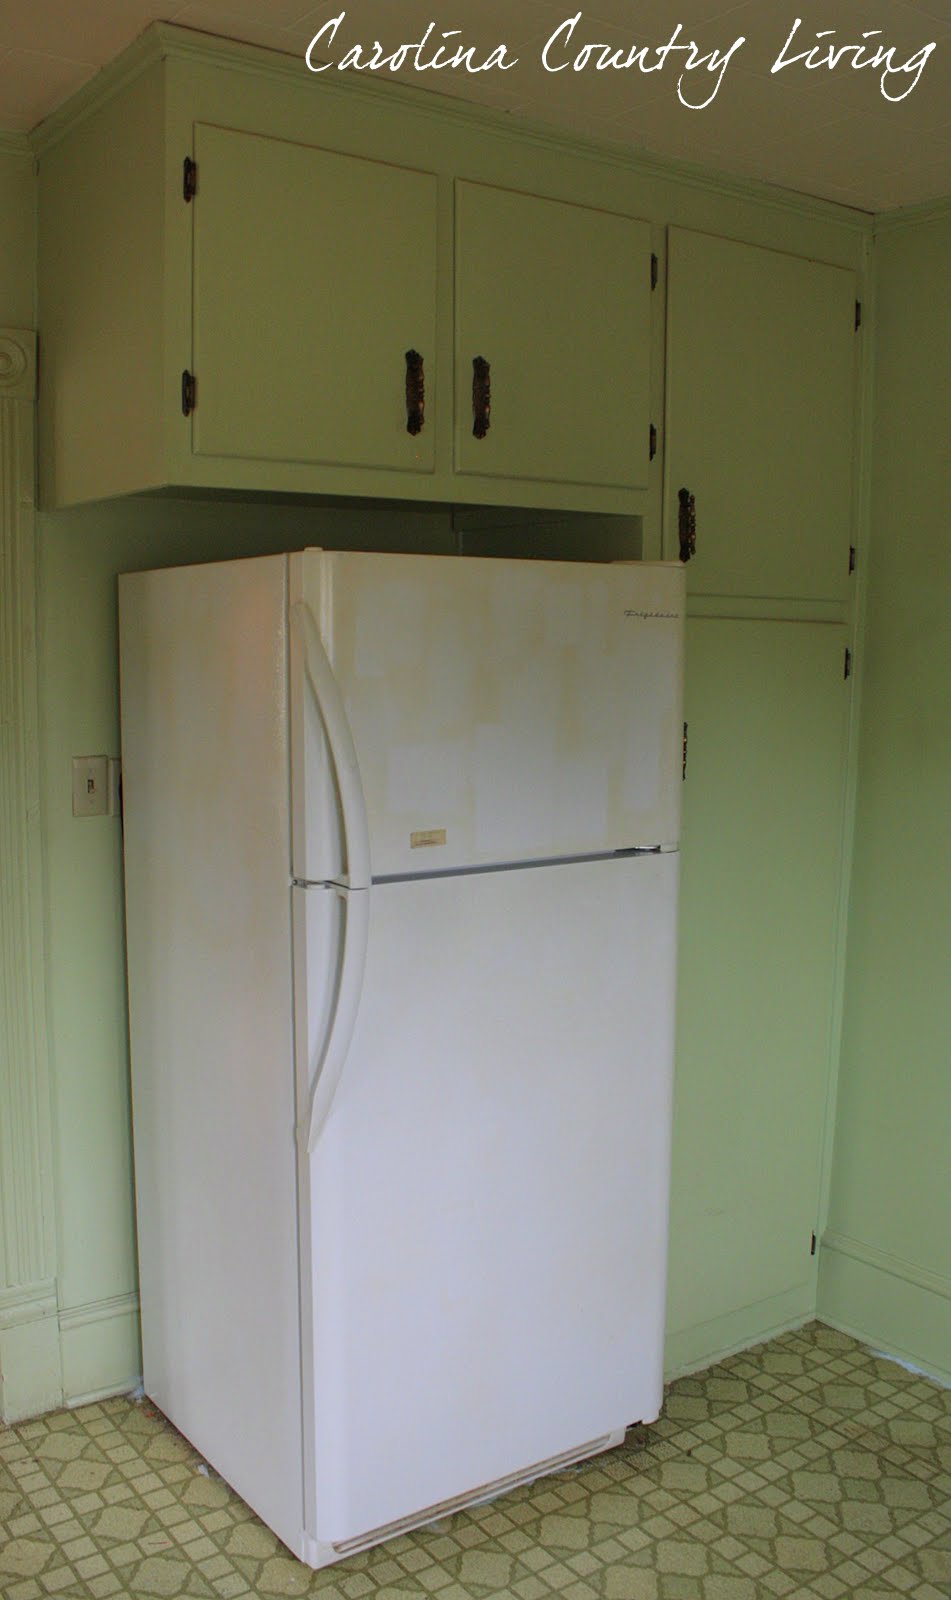
And here is the other end of the room:
And finally the fridge, just to the right of the doorway to the dining room:
Besides the much-needed paint, the kitchen and dining room will be getting the
painted plywood plank flooring treatment per Frugal Farmhouse Design. And I'm hoping to convince my sister to remove some of the overhead cabinets in favor of open shelves in the kitchen. Feel free to leave comments in support of that move!
So, there you have it! There's a lot to be done but it will be well worth it. Thanks for sticking it out, not only in waiting for the photos, but for indulging my long-windedness.
Hope everyone has a happy weekend--it'll be in the 60s here so I'll be outside enjoying the heat wave.