
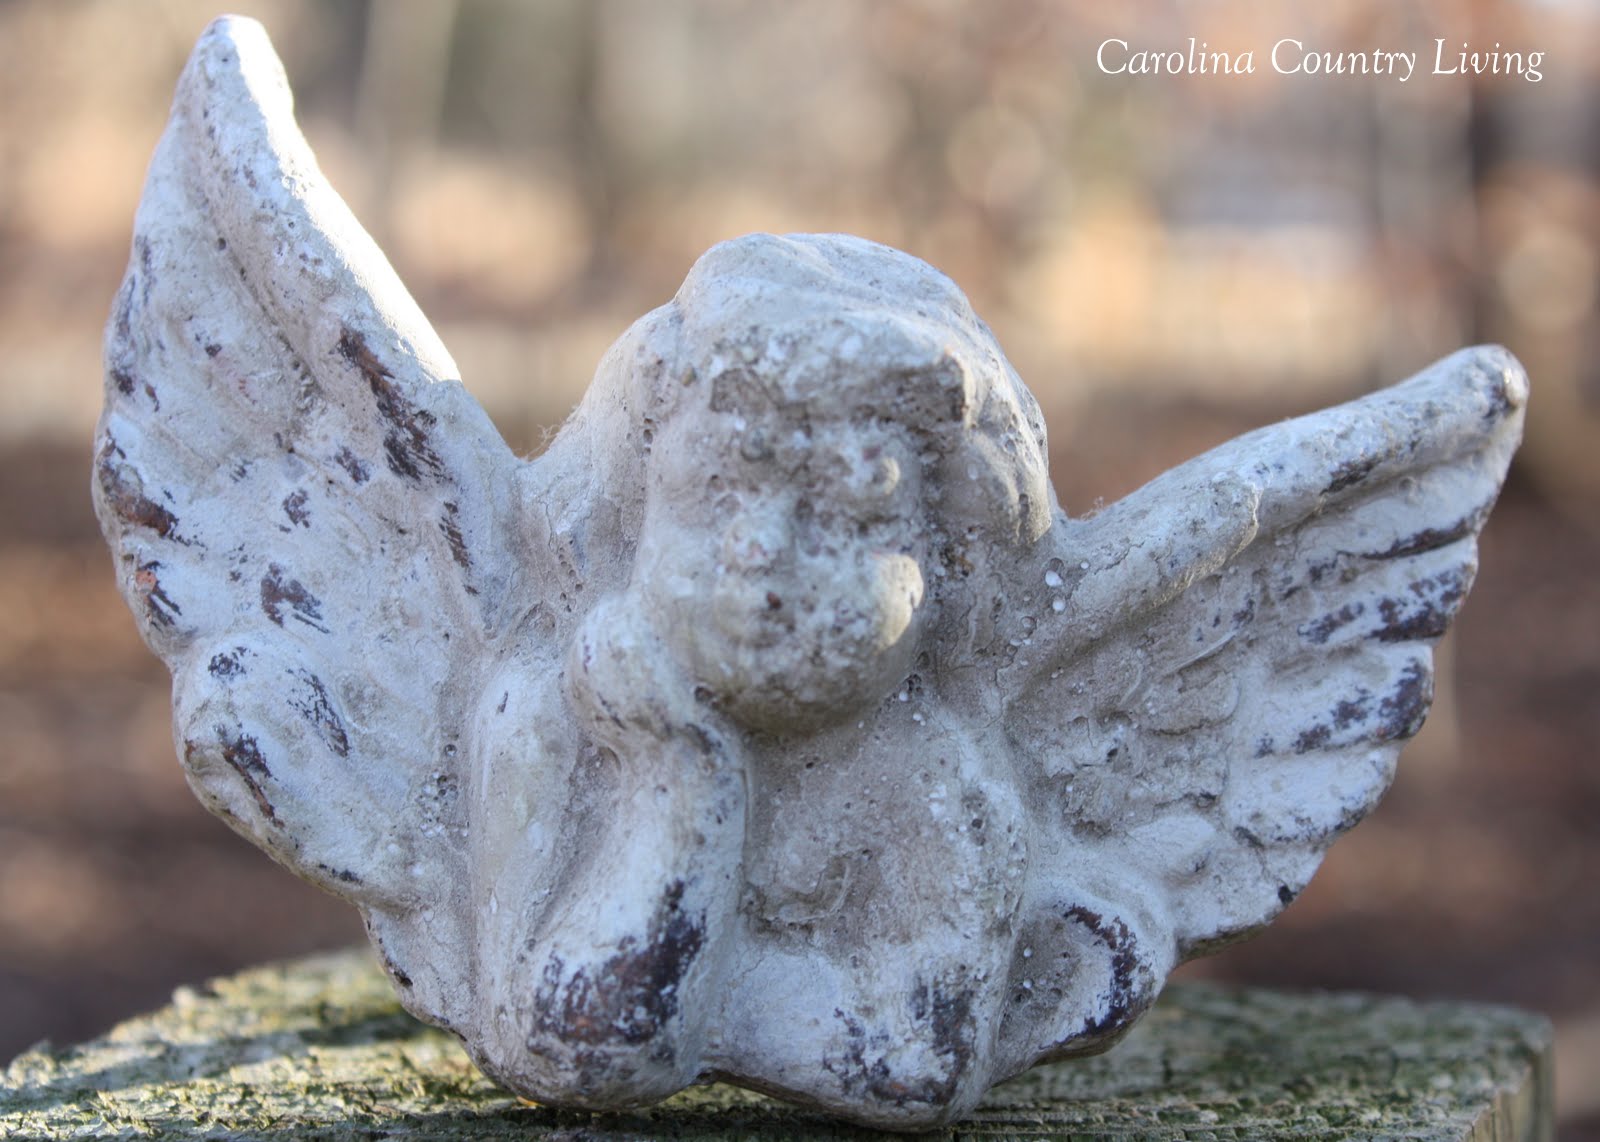
On my kitchen windowsill, I keep this cherub my mom gave me a few years ago. I'm not sure if it's made of concrete or resin painted to look like concrete, but regardless, I love the texture and color.
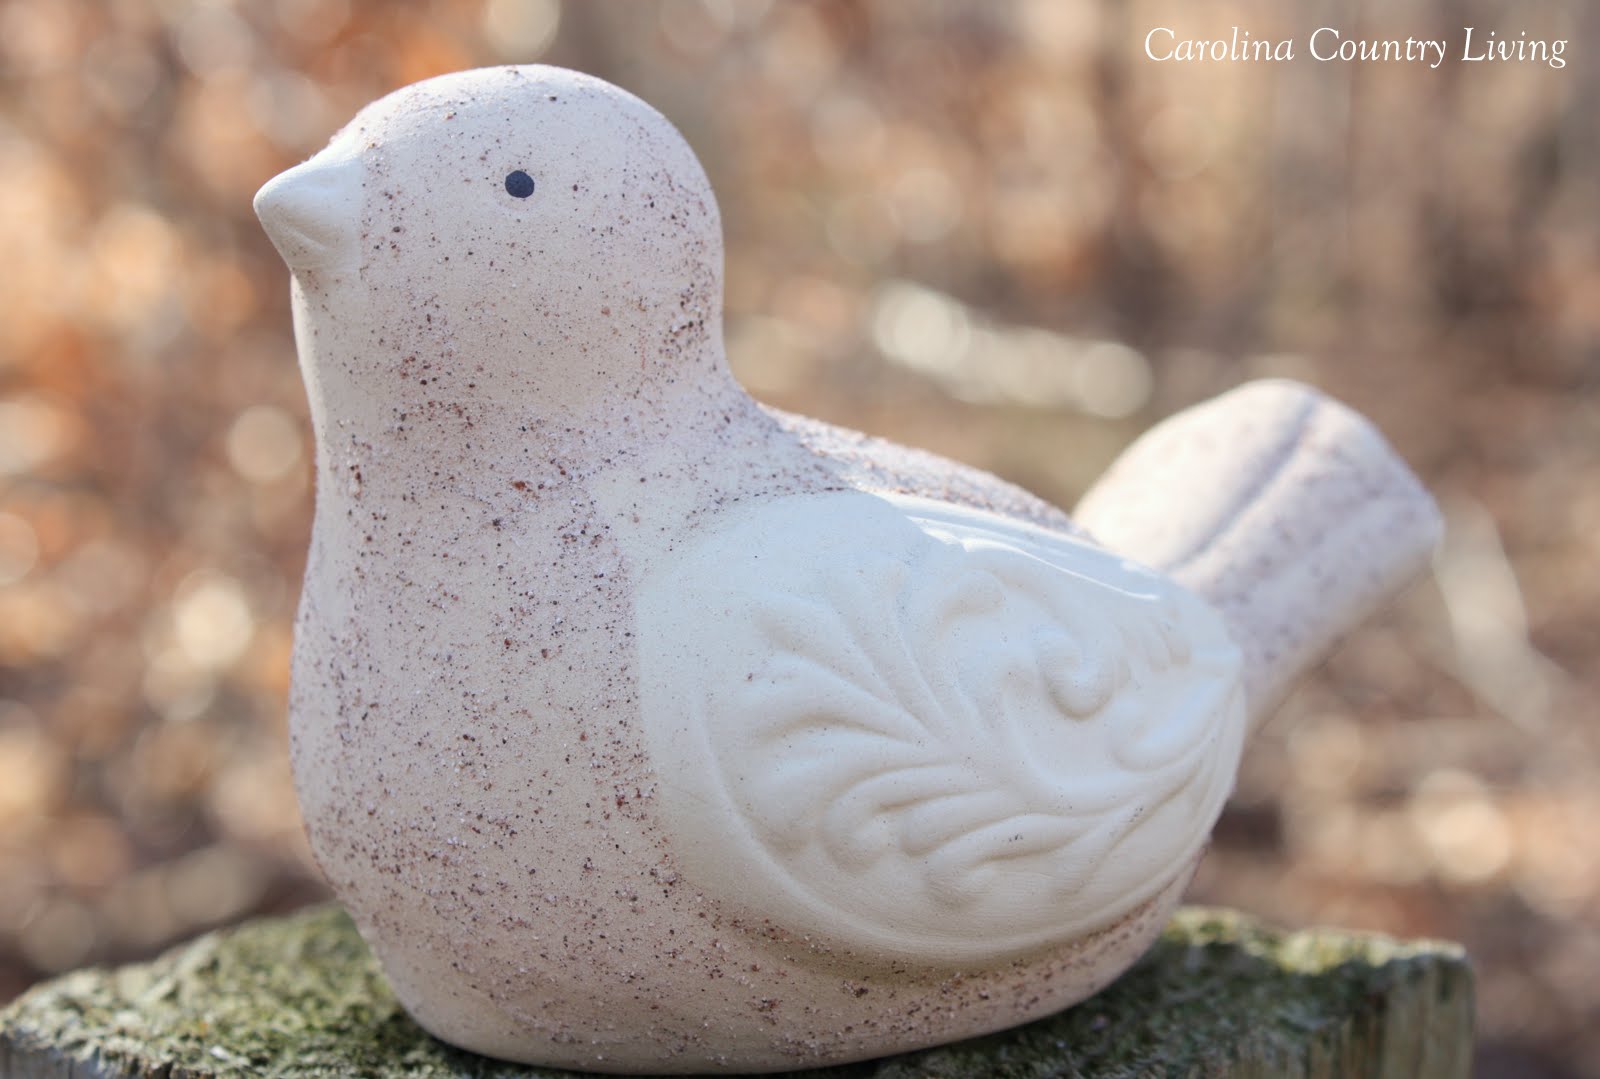
Then it occurred to me to paint the birds to resemble the cherub's finish!
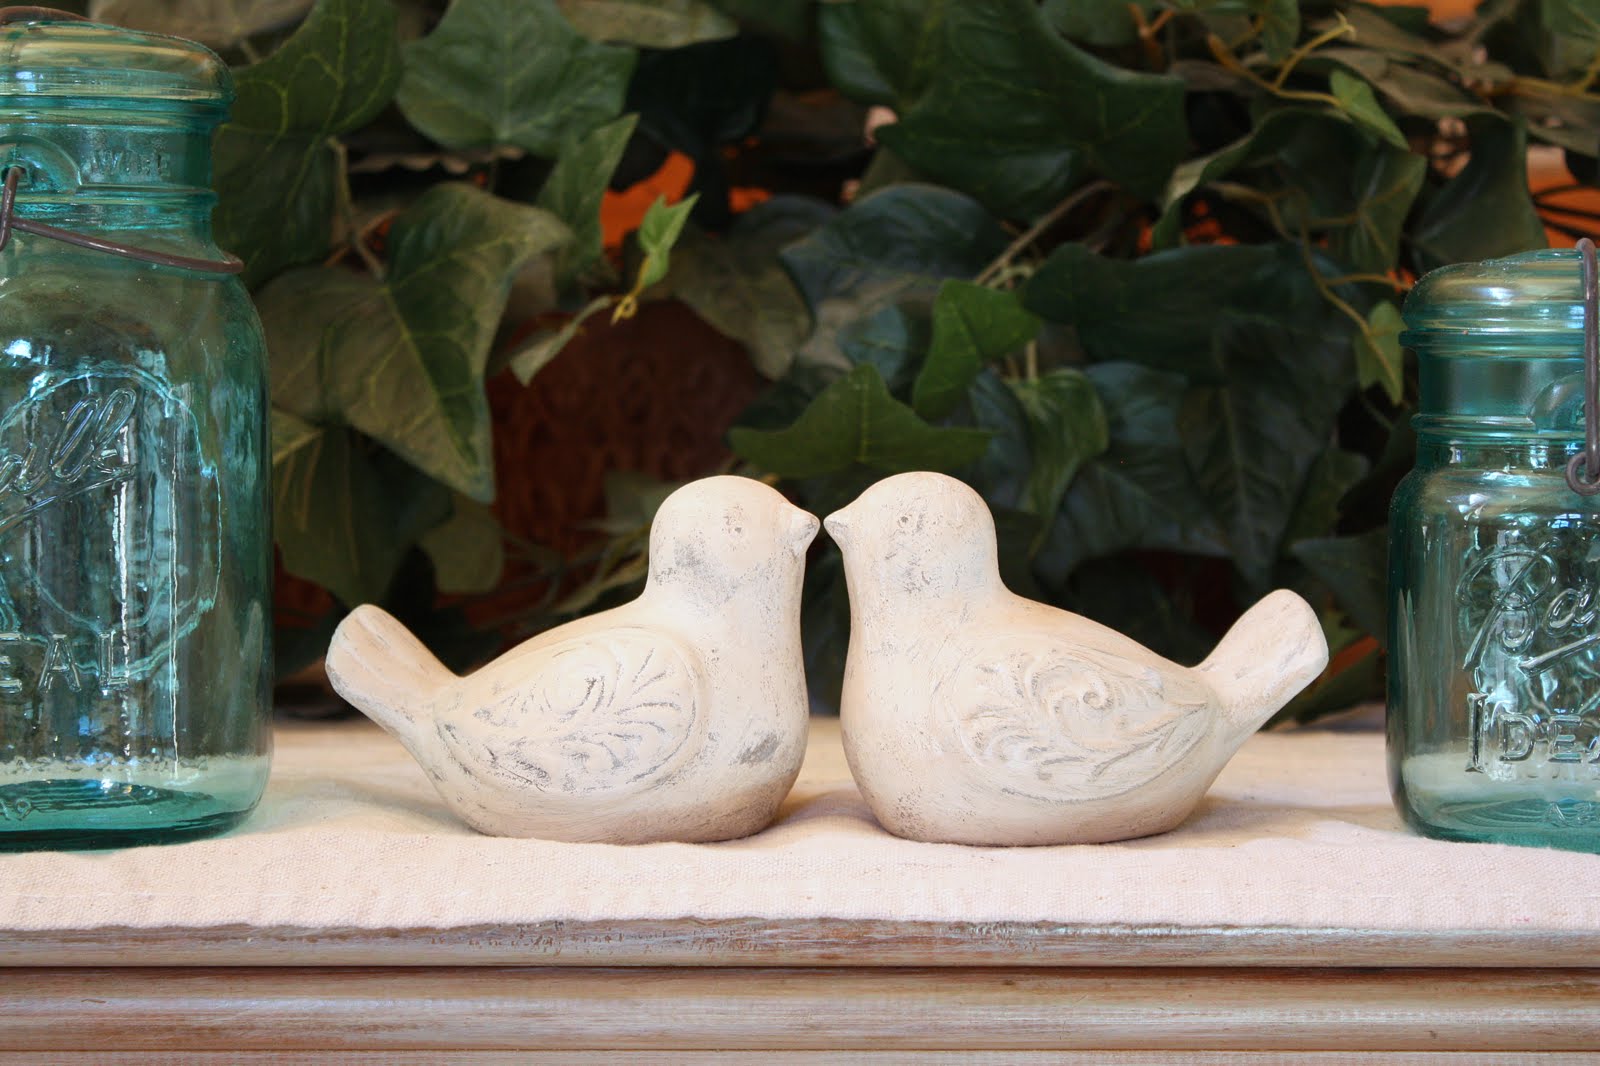
Plus, seeing as I bought a pair, I thought they'd make adorable Valentine's "lovebirds" to go atop the pine armoire in the living room.
Besides yielding a cute pair of lovebirds, this craft and decor project was completed during one of my son's naptimes so it has the instant-gratification aspect going for it, too.
Lovebirds Tutorial
Materials:
- Pair of ceramic birds from Dollar Tree
- 120 grit sandpaper
- Craft paint in black, white and dark brown (I used Folk Art paint in 936 Licorice, 901 Wicker White and 462 Burnt Umber since that's what I had on hand)
- Craft brushes
- Newspaper
- Wax paper (to set on top of the newspaper so the birds won’t stick to the paper when wet)
- Plate on which to mix paint
- Napkin or rag
- Small bowl
- Matte or satin clear spray sealer if you want to seal the birds
Directions:
1. With the 120 grit sandpaper, sand the texture off birds until they are fairly smooth. Leave a little bit of texture to make for a more interest final finish, but get the majority off.
2. Mix some of the white and black paint on a plate to a medium grey and apply a thin coat to each bird.
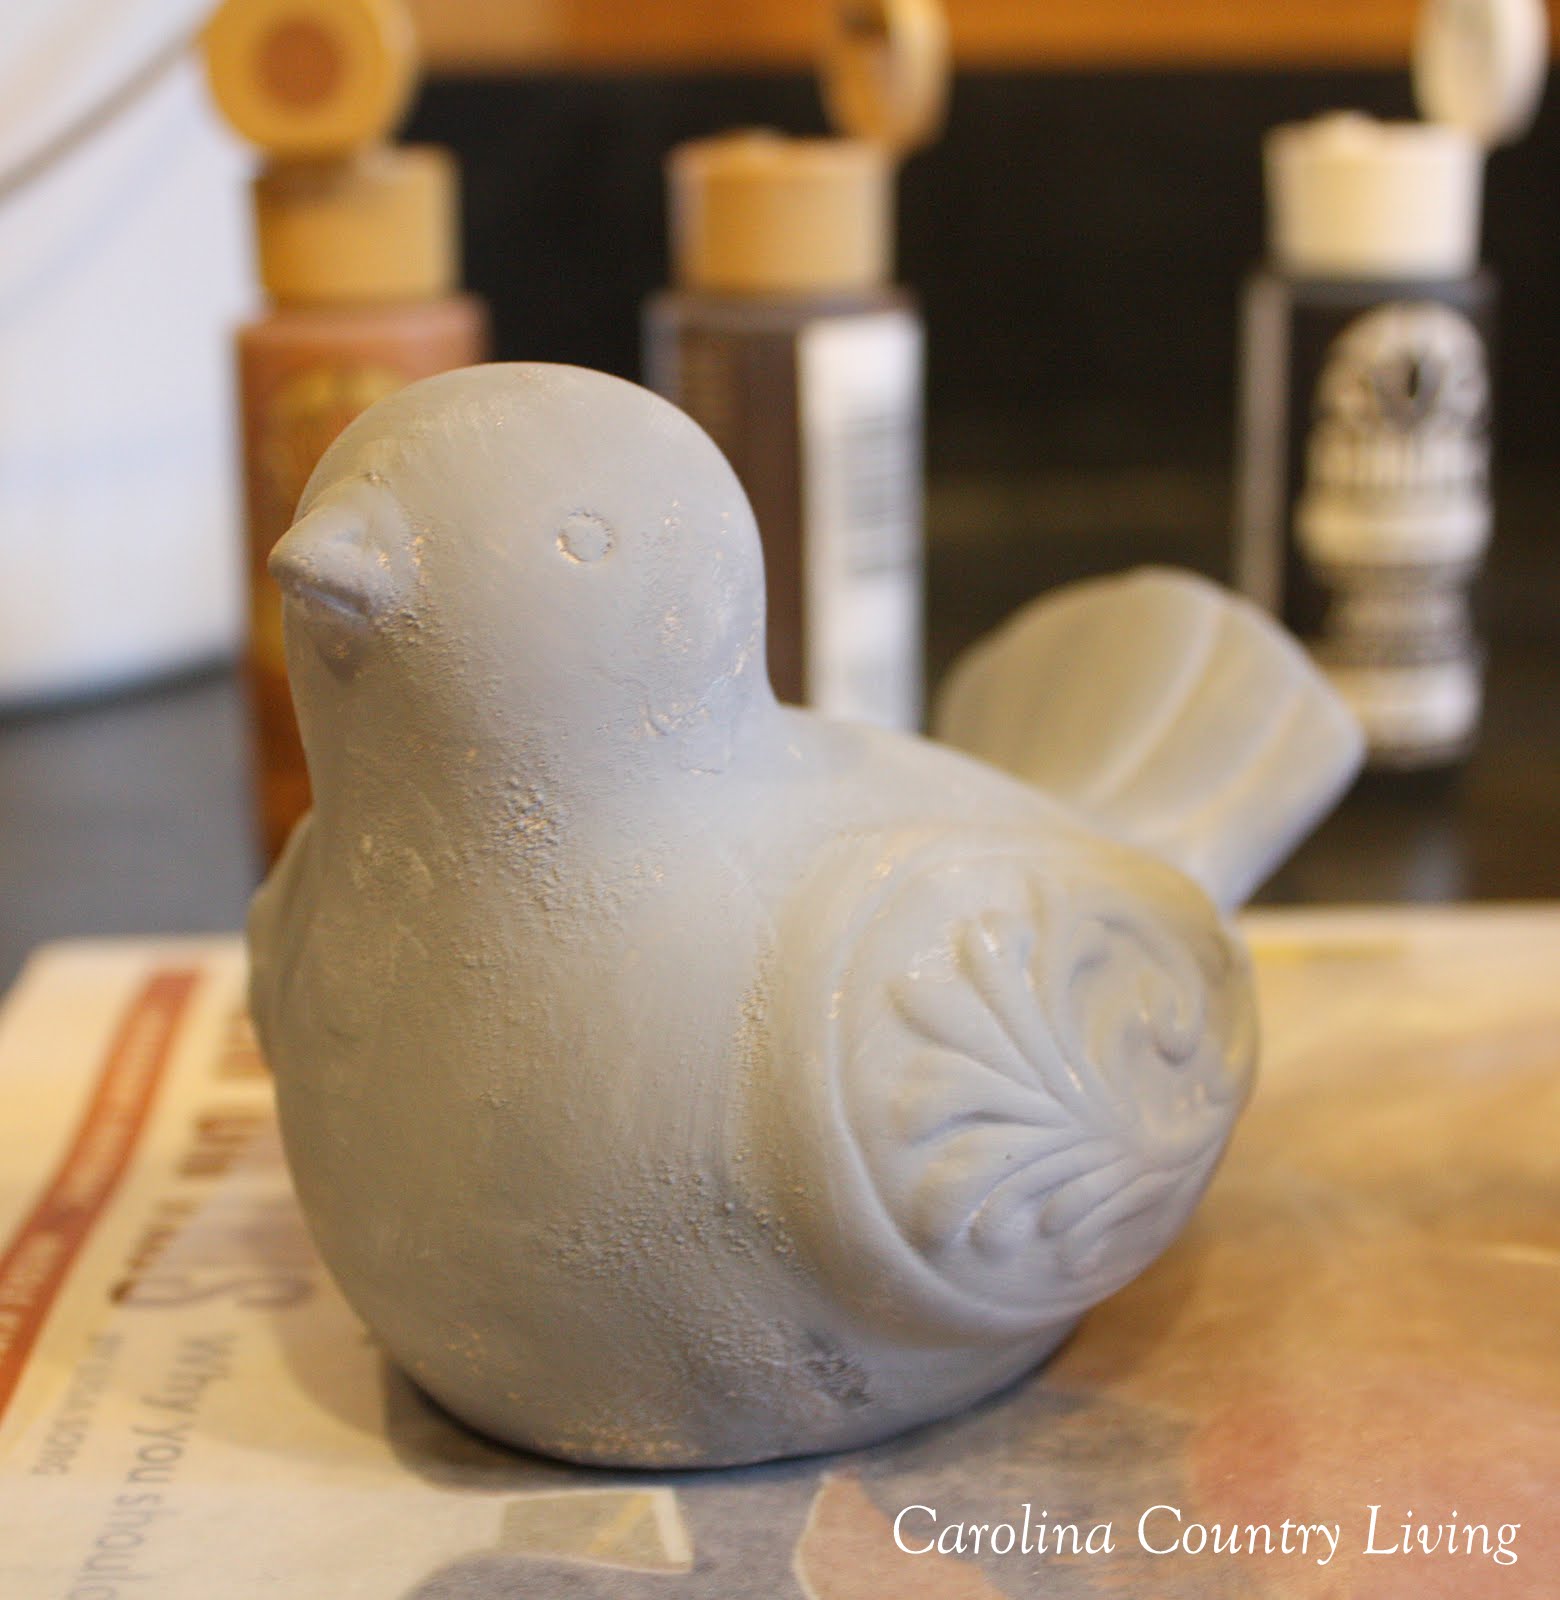
3. Dry brush a light coat of dark brown paint over the dried grey paint. I found that once I finished coating the second bird with grey paint, the first bird was dry and ready for this step.
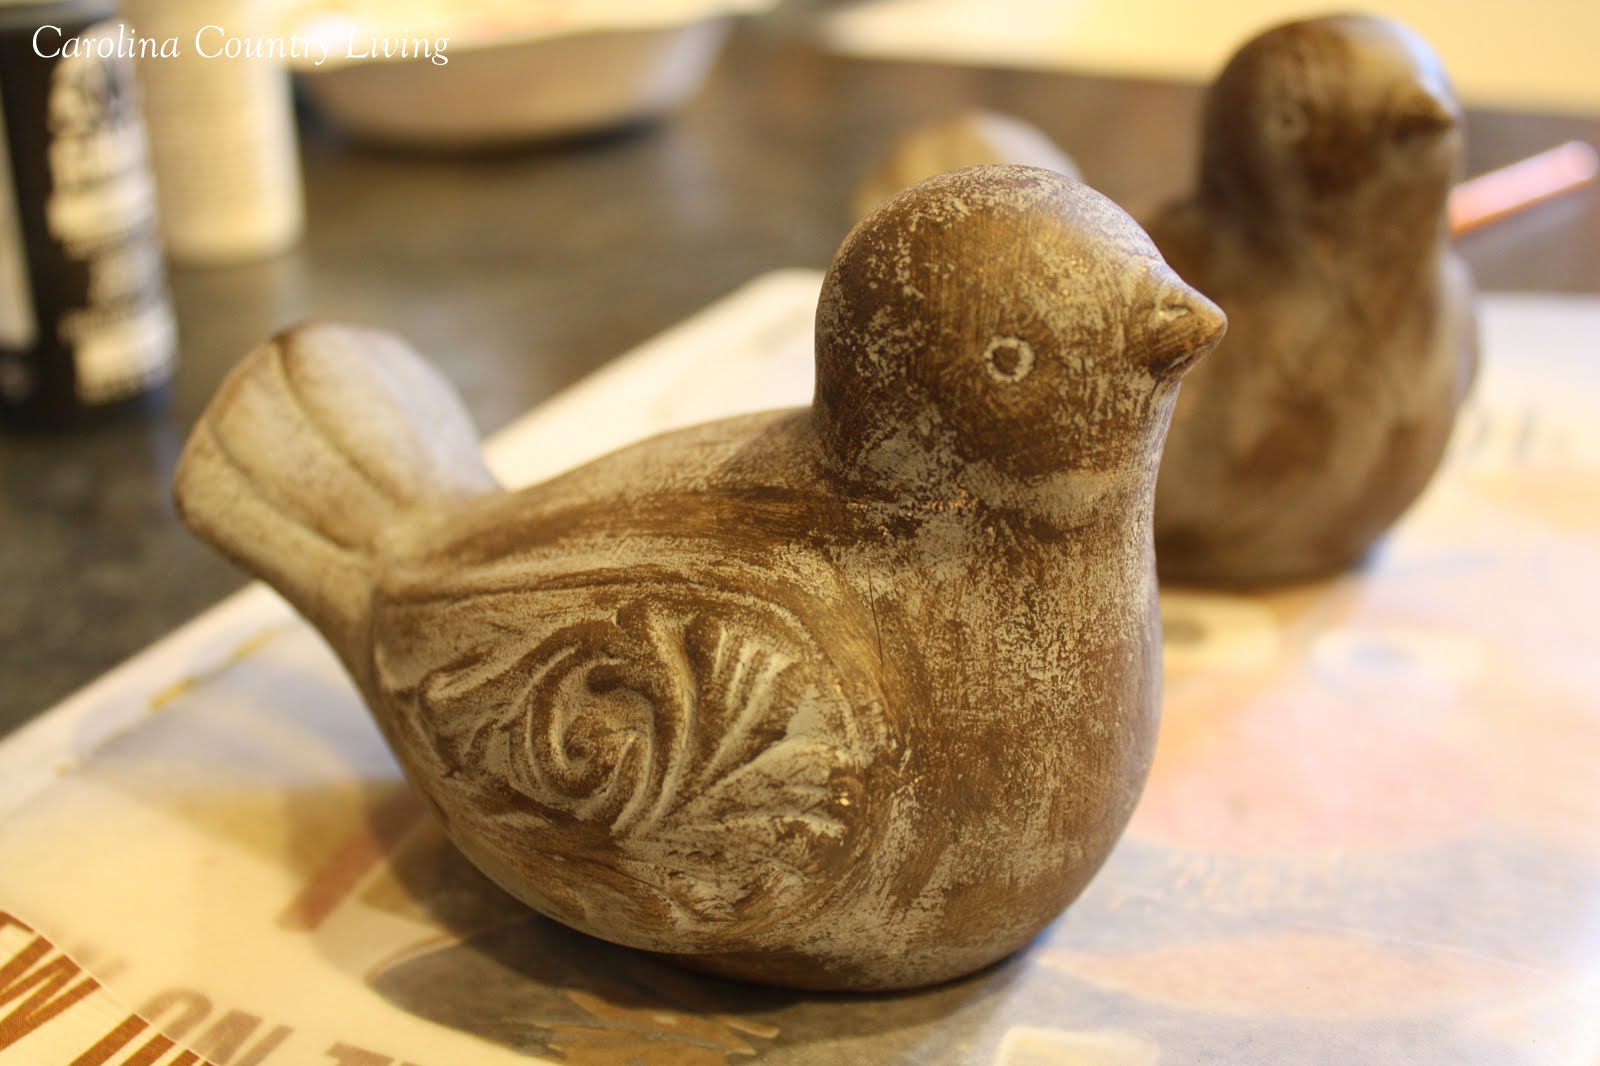
4. Mix the white paint with a bit of the dark brown paint to create an antique or off white color, and brush on a coat to cover most of grey/brown layer.
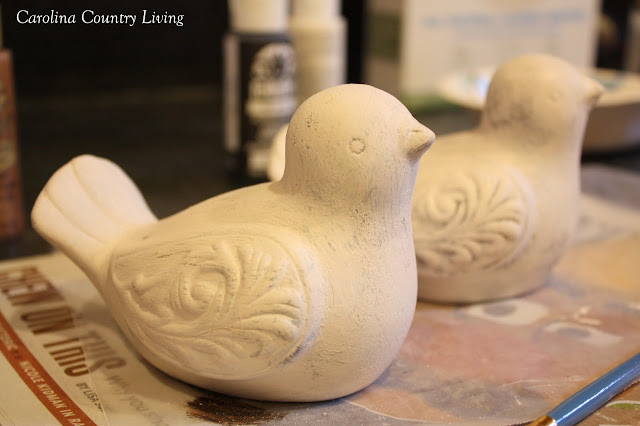
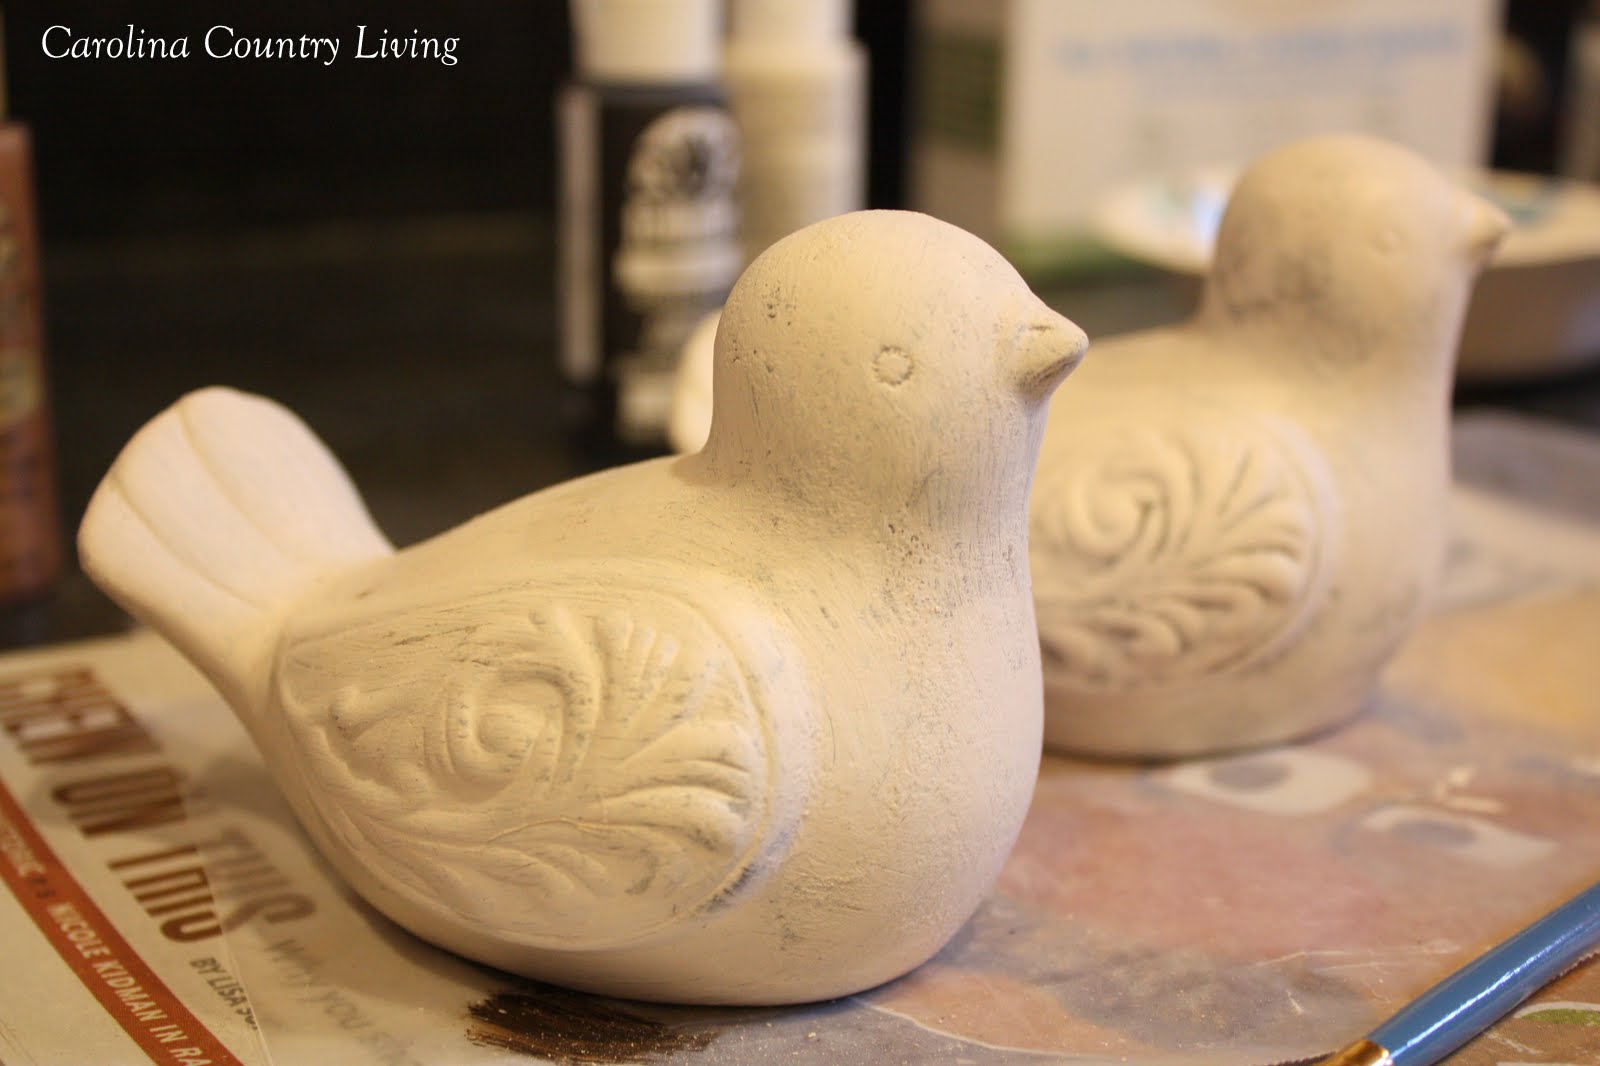
5. While the off white paint is tacky, take a dry brush and hit the paint with short, fast strokes to remove a bit of the paint to expose the undercoat.
6. When white paint is dry, further distress the birds with sandpaper until you achieve the effect you like.
7. In small bowl, put a teaspoon or so of water, along with a bit of the white/dark brown mix (I had plenty left on my plate so I used what remained of this mixture), then add more dark brown until you have what looks like chocolate milk. This is your antiquing glaze.
8. Brush on the milky brown mixture to antique the birds, wiping off the excess as you go. Be careful, though, and don't wipe too hard or else you may rub off all the under layers of paint.
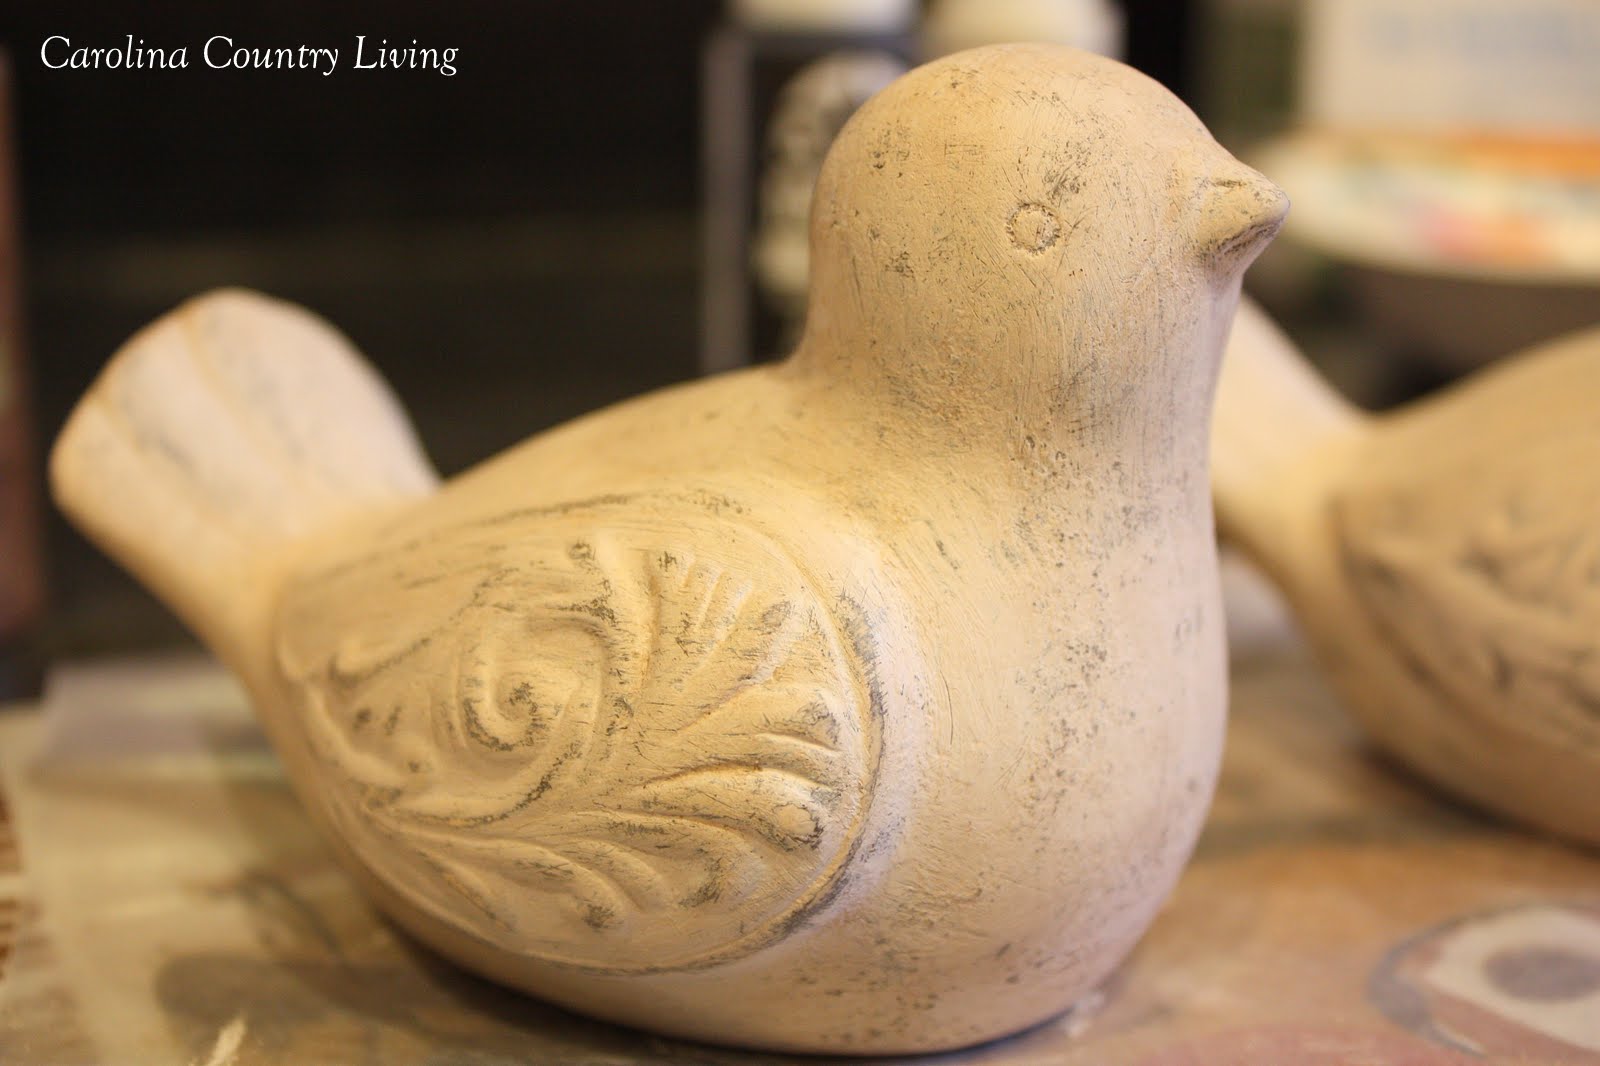
9. Let dry completely and seal with your choice of sealer. Or skip this step as I ended up doing!
And here are a few shots of the lovebirds in their new home...
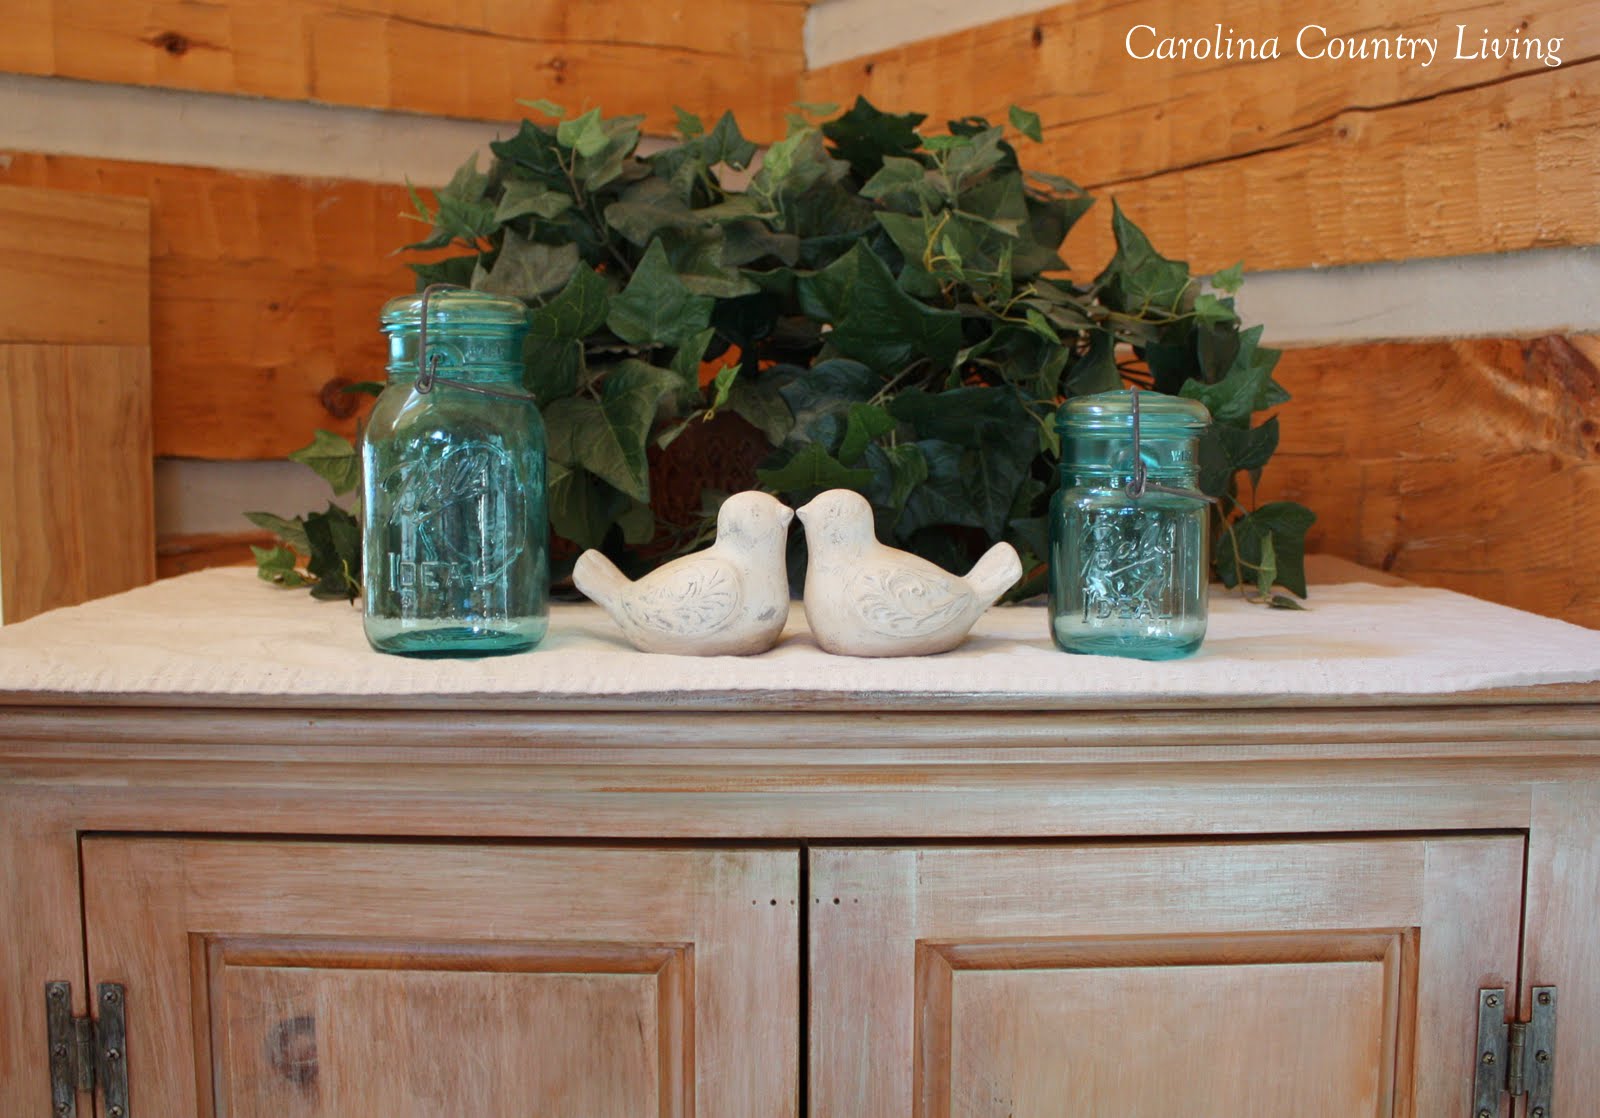
Mwah!
Say buh-bye, little birdies!
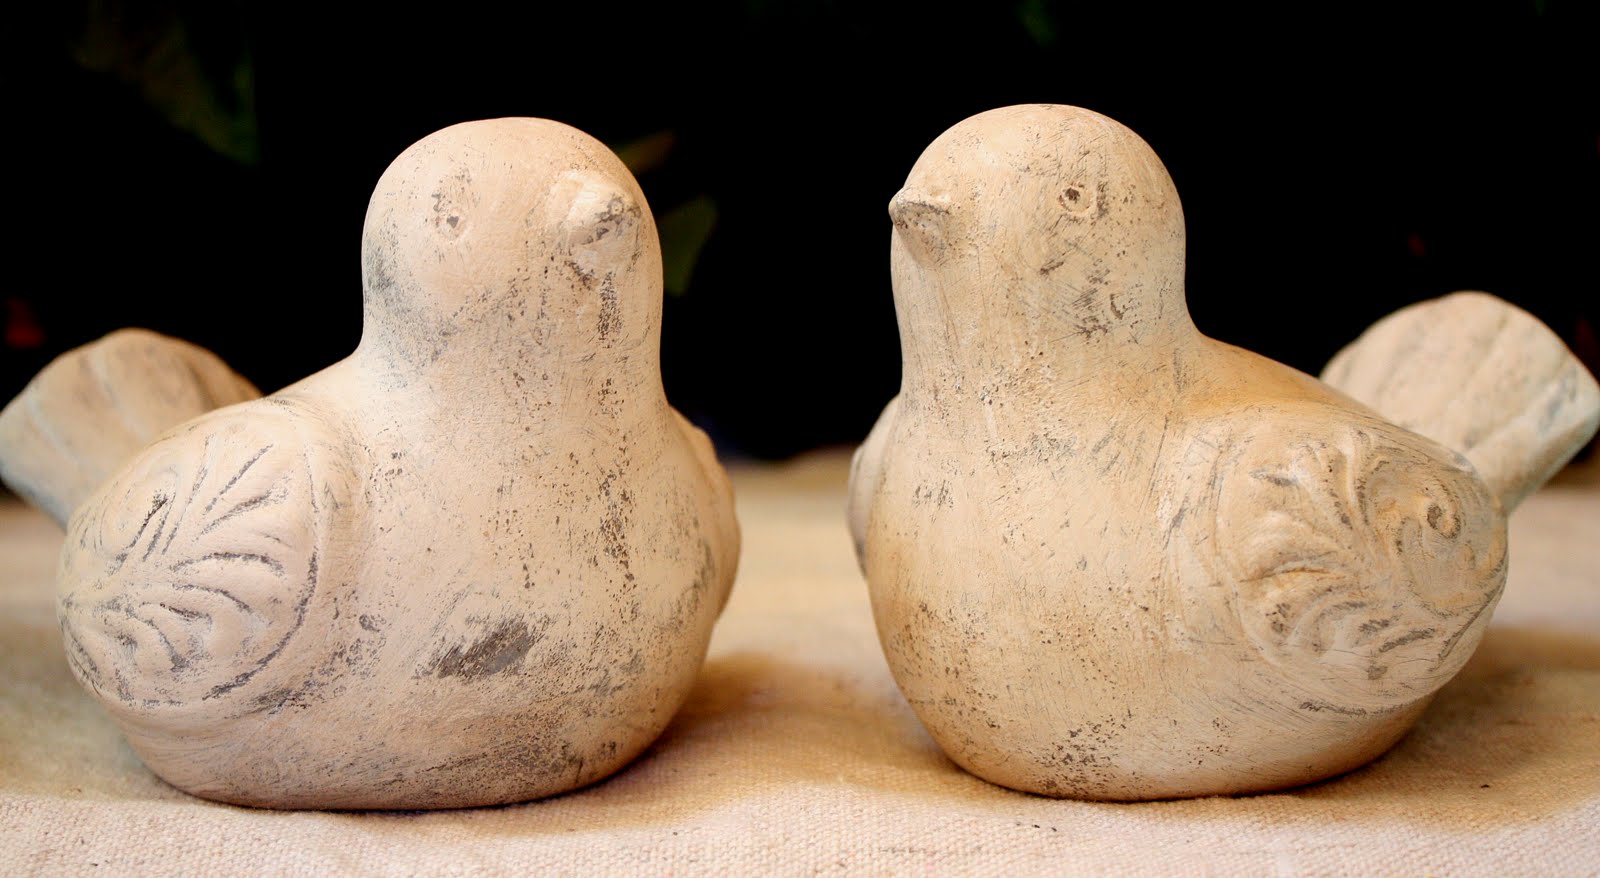
Let me know if you try this project! I had quite a lot of fun doing it and am so pleased to have a sweet little pair of birds to add to my home's decor. Hope you like it, too!
Linking to:


