Thank you for all the wonderful comments and kind words about the craft room reveal last month. The room was even featured on a few blogs!
This project was a labor of love (and fabric, and paint, and organization...) and even nearly a month after completion, I'm still enjoying it every single time I step foot in here. I've actually already done a couple crafty projects, so they be on the lookout for those in the coming weeks!
Since that initial reveal post contained the broader views of the room, I'm back today with close-ups and info on the details that really made this space, in my opinion anyway. I'll warn you, this is a long post--but full of good information, and worth the read--I promise! :)
So, to begin, let's take a peek at the "entrance," if you will.

The door to the left is actually the kitchen pantry. The chalkboard hanging on it was a curbside find courtesy of my husband. Since I'm a chronic list-maker, the door seemed like a good piece of vertical real estate on which to hang the board so I can keep my to-do list in a visible place. Which is very necessary because out of sight, out of mind is a big problem for me. :)

The chalkboard--which is actually metal--just needed a good cleaning with a vinegar-water solution, and the previously barn red frame got two coats of Annie Sloan Chalk Paint in Duck Egg.
Beyond the chalkboard is a reproduction Venetian glass mirror with hooks. My mom gave it to me last year as a present, but she picked it up from Marshall's for a mere $10.

A couple of my favorite vintage aprons hang from it, as does a lightweight Cath Kidston canvas tote from my trip to the UK back in March. I love most anything Cath Kidston, but she's a clever lady when she puts hens on her items, like she did this bag, because that pretty much guarantees I'll want to buy said item. The heart-shaped burlap rosette wreath was a quick Valentine's project I made in 2011. I didn't know where else to put it, but wanted to display it anyway, so there it lives.
Now, moving into the craft room proper, here's a quick refresher of the space.

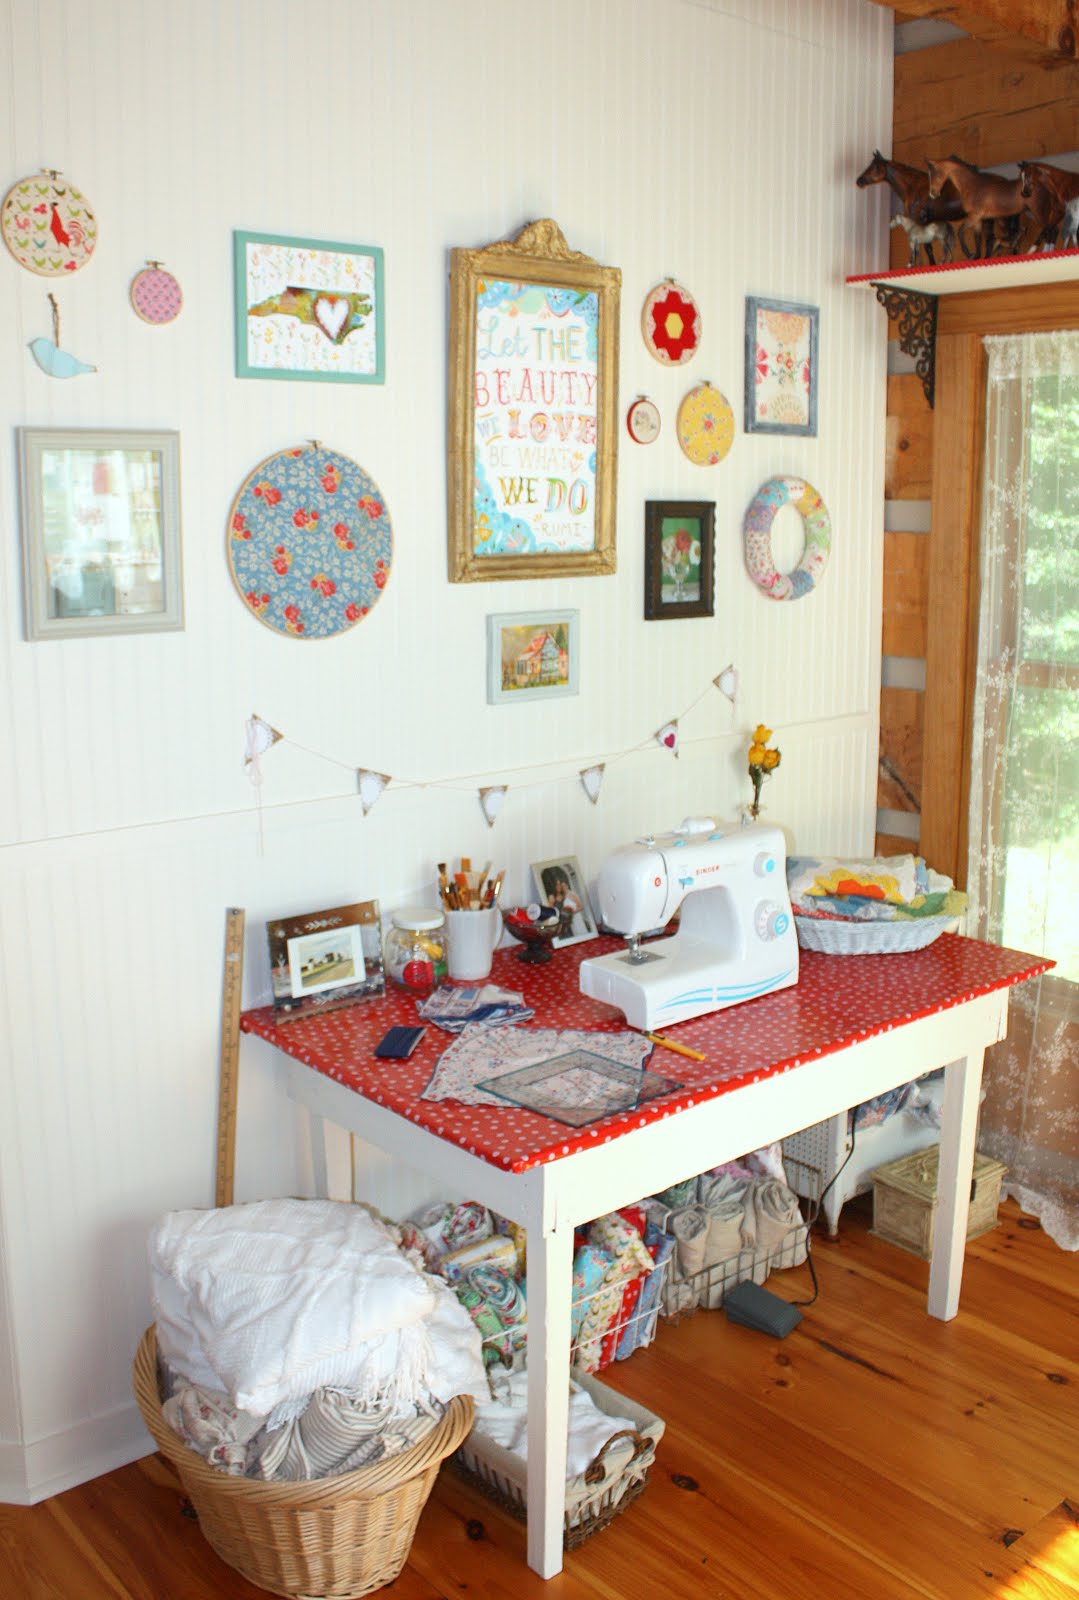
Off to the left is the sewing station and gallery wall (which, I'm so seriously proud of y'all, because I've been intimidated by doing a gallery wall for soooo loooong.)

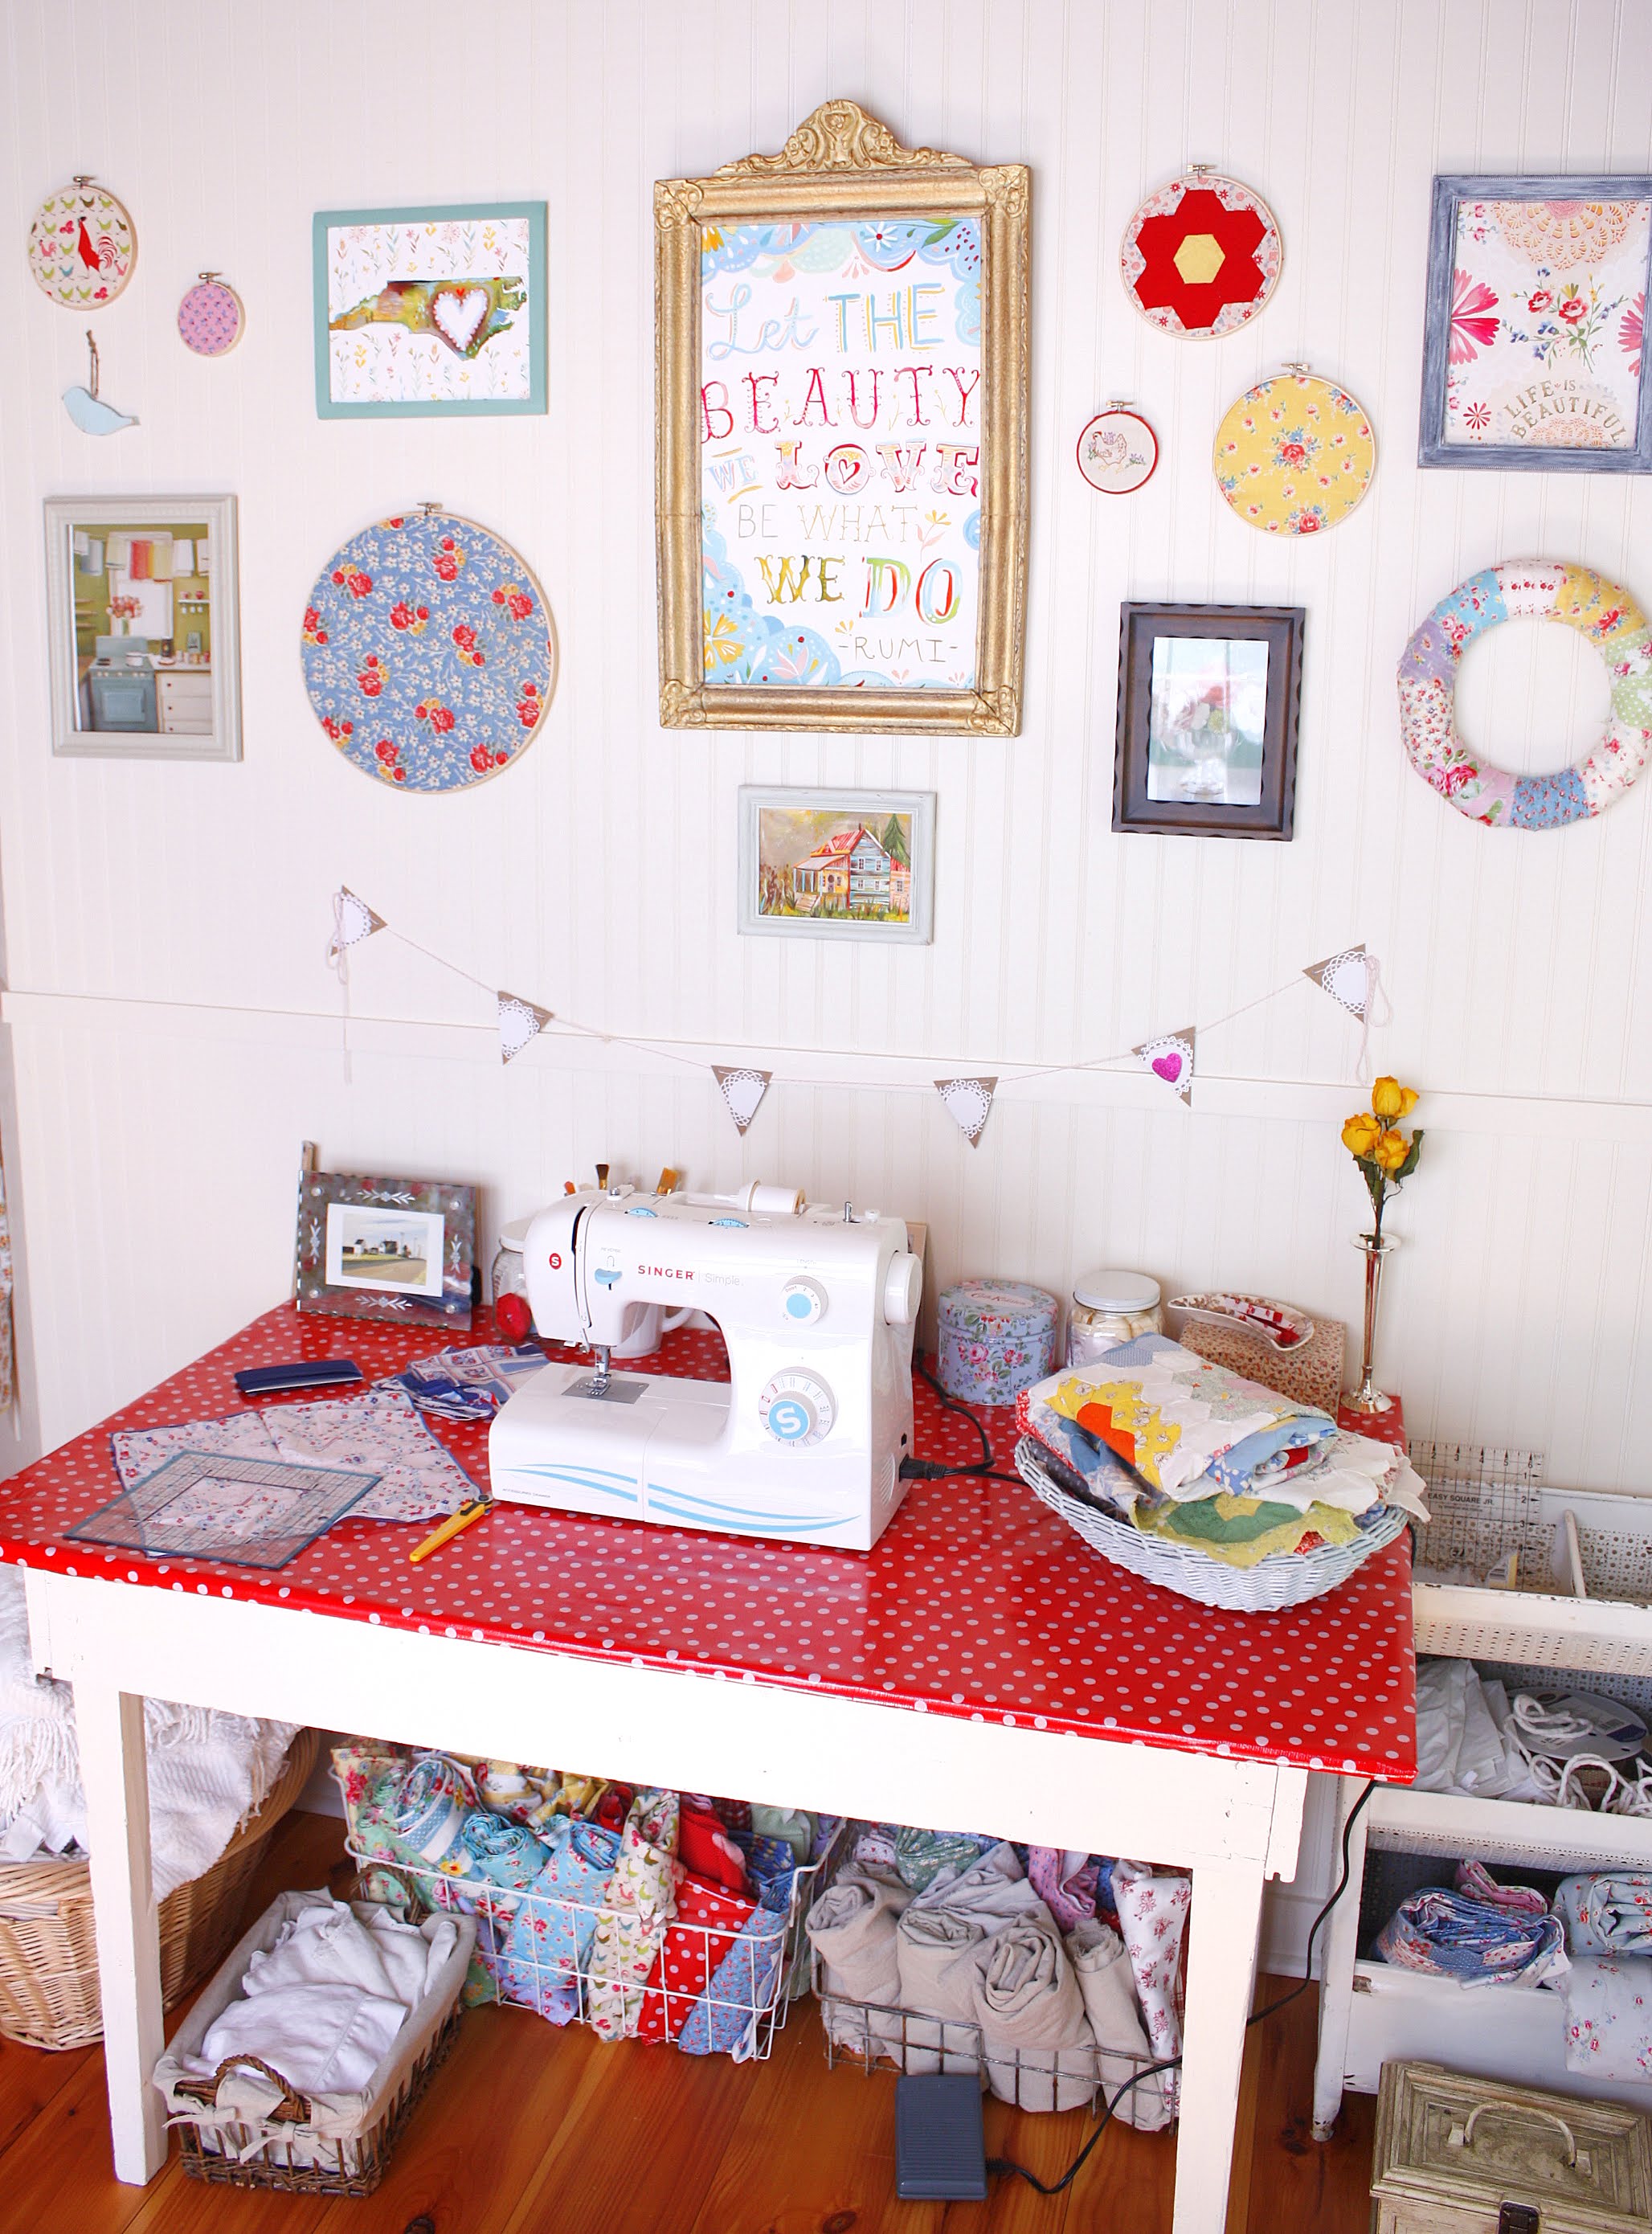
The sewing table itself is a little farm table I picked up from Jeannie at Uniquitiques in Hillsborough, NC. It has a great planked top that I kind of hated to cover, but ever since seeing Elyse at Tinkered Treasures wrap her dining room table in various oil cloths, I knew that's exactly what I wanted to ho here.
The red and white dotted oil cloth--which is from Fabric.com--is easy to wipe down if needed, brings an element of cheer, and breaks up the white. After cutting the appropriate-sized piece, like Elyse, I taped the oil cloth in place.
 |
| Let's pretend this photo isn't all blurry and nausea-inducing, and instead focus on how cute the aqua details of the sewing machine complement the pops of red and blue. |
That cute little bunting hanging on the beadboard wall was made by my pal Ali of Ooh La La Co. The terribly blurry photo above makes it difficult to see, but each brown triangle has a paper doily on it. And one even has a sweet little heart on it for good measure. Ali makes adorable paper and fabric buntings, pom-pom garlands, necklaces, hair clips, and seasonal decorations, and everything is very reasonably priced.
 |
| Cuteness, no? |
Back to to the sewing station...
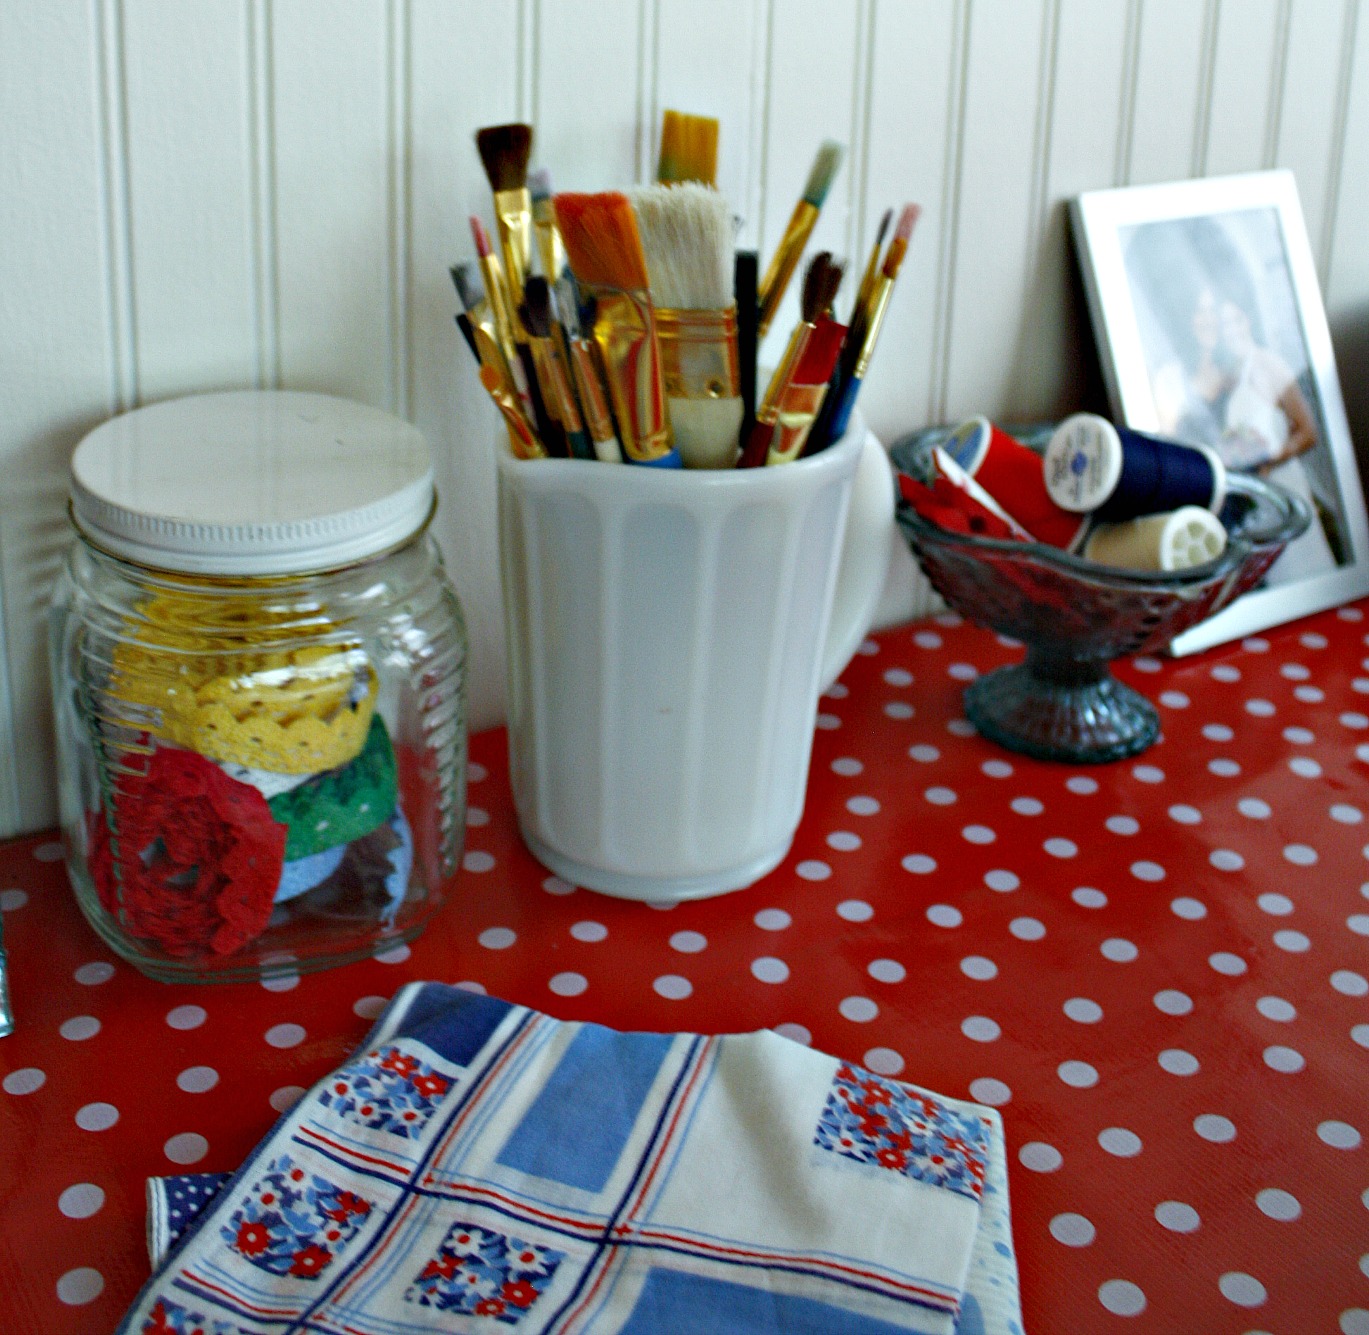
I used containers and what-nots thrifted over the last year for storage on the table. A vintage lidded glass jar holds crocheted lace tape; a small milk glass pitcher is perfect for paintbrushes. The blue footed glass bowl containing the thread is actually from IKEA.
A thrifted mini basket holds some floral flour sacks waiting to be transformed into pillows, perhaps?

Underneath the table, I have a majority of my fabric hoard rolled and stored in various wire and wicker baskets. It helps for me to see all my options when working on a fabric project!


Next to the sewing station is one my favorite recent finds. From Nest in Burlington, NC, I believe this is a metal vegetable bin. It now has a new life as a sewing notions and supplies organizer.

Above the sewing station is--in my opinion--the crowning glory of the room: the gallery wall. All that lovely white beadboard was just begging to be decorated with colorful artwork. Thanks to the fabric stash and great Cyber Monday sales at the The Wheatfield by Katie Daisy and Janet Hill Studio Etsy shops, that mission was most certainly accomplished.
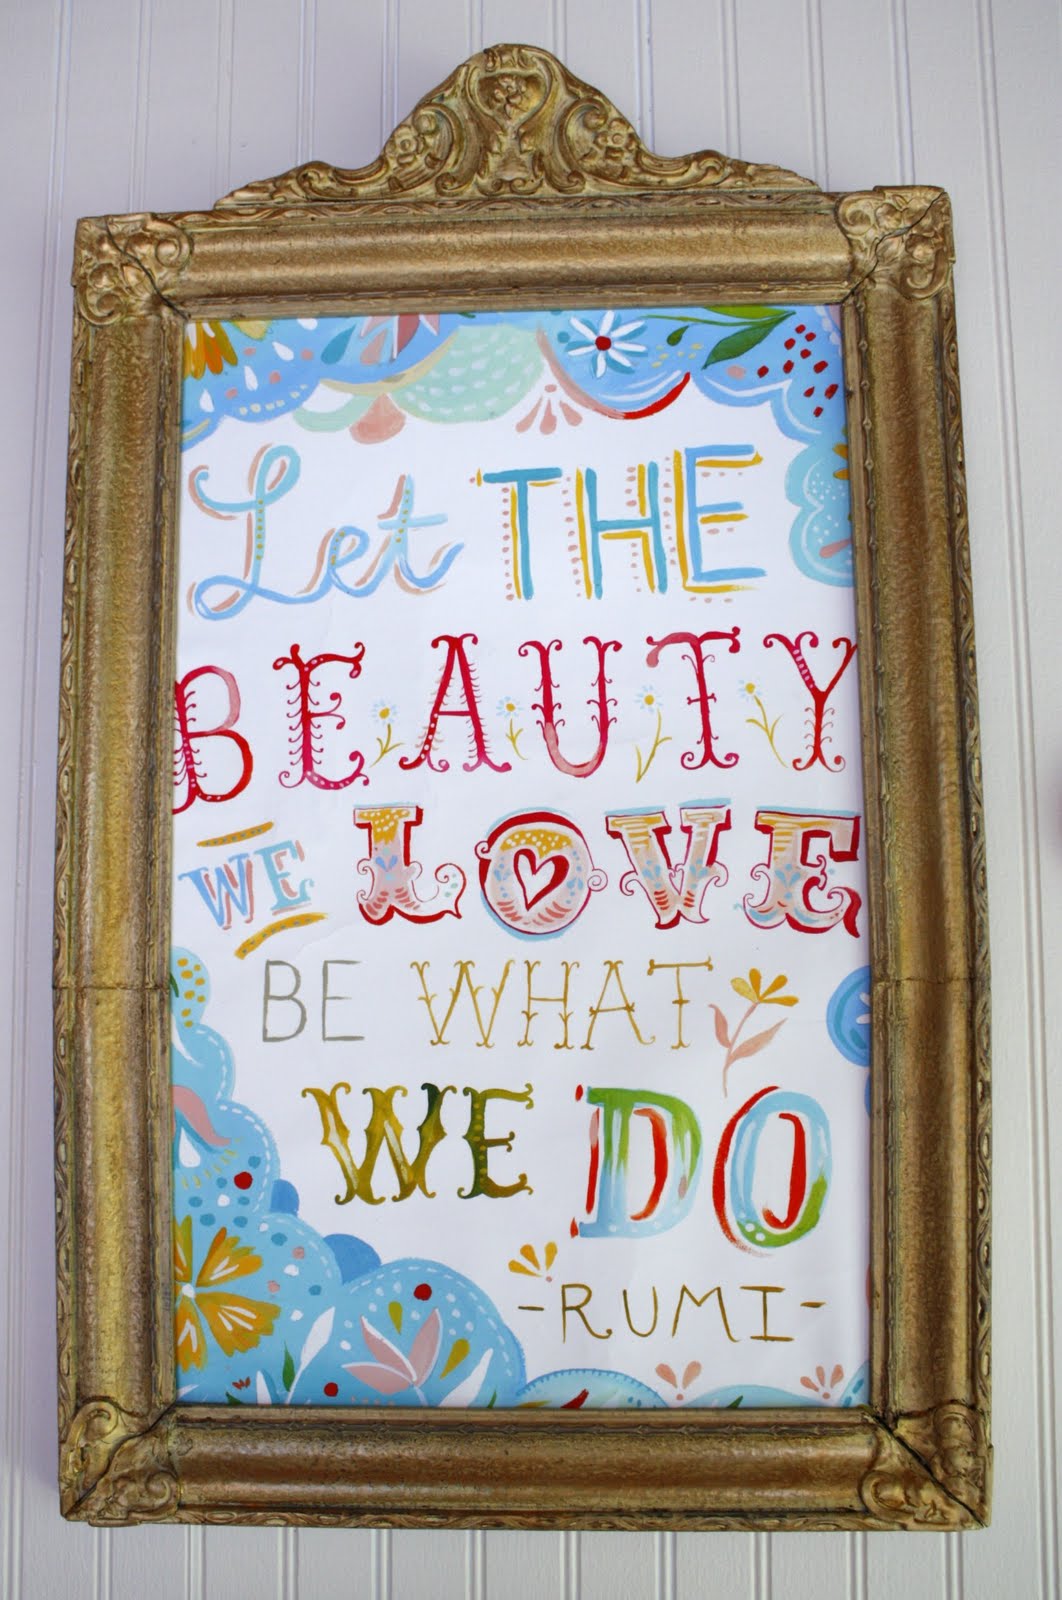
At the heart of the gallery wall is Katie Daisy's Love What You Do print in an old wood frame that I painted, aged, and ultimately slathered in Grecian Gold Rub N' Buff. I'm not usually very partial to gold, but blog friends Cassie and Ali, with their love of gold accents, won me over. And I must say I do like how it turned out! The print was dry mounted (very amateurishly by me, but it got the job done) to foam board and then cut to fit in the frame.
Flanking this inspiring print is a variety of framed prints and embroidery hoops with fabric. Framing fabric in hoops is now my new favorite way to create quick and easy art. I know it's been all over blogland for some time, and I'm slow to catch that train, but it's seriously a no-brainer if you want to add some whimsy to a space. The hoops were all purchased on sale at Michael's and once again, the ever-plentiful fabric stash provided.
The chicken fabric below is from JoAnn's, and the pink floral fabric is from Hobby Lobby. The aqua beadboard bird is from The Shabby Creek Shop. The framed print is Janet Hill's Hot Chocolate, featuring a most quaint and adorable cottage kitchen scene. I mean, who wouldn't want an aqua stove?

Another Katie Daisy print here from her Wanderlust series. That series has just 13 states in it so far, but when I saw the North Carolina print, I couldn't resist. The wood frame it's in came unpainted from The Dollar Tree, but a quick coat of Hummingbird Blue by Behr spiffed that right up.
Beneath that picture is a gorgeous vintage floral flour sack I picked up at the Spring 2011 Liberty Antiques Festival from a dealer in Asheville, NC. You'll be seeing a project soon where I used more of that fabric.

And more fabric art. The hexagon flower was cut from a damaged, vintage quilt top. The yellow repro feedsack fabric is from the Lecien's Old New 30s collection. And the little red hen was my first try at embroidering.

 |
| Katie Daisy's Life Is Beautiful print, which is a neat mixed media piece featuring doilies, embroidery, watercolor, and foiled letters. The frame is actually made of black plastic that I whitewashed. I didn't want to buy any frames to do this wall, so I made the best of what was in my stash. |
 |
| Janet Hill's The Silver Sugar Bowl |
 |
| A fabric-wrapped wreath using more fabrics from the the stash. |
And the the last piece from the gallery wall is Katie Daisy's Someday Cottage in greeting card size. Another frame from my stash--which was actually already painted--was scuffed up to go along with the primitive feel of the picture.
 | |
All of the embroidery hoops were hung with small nails, but I used 3M Command Strips to hang the framed pieces. I'm now a big fan of those strips!
While there are many tips and tutorials for creating gallery walls, I simply made templates for each of the pieces I wanted to hang from sheets of paper. With double-sided tape, I hung and rearranged them until a pleasing composition formed. I then marked on the beadboard with chalk the upper corners (or edges in the case of the hoops) of each piece, so I'd know where to place them when hanging. After that experience, gallery walls are a lot less daunting!
Moving right along...another detail I wanted to share with you is the wood shelf I hung above one of the sets of double windows for my model horse collection.

Before re-doing the room, there was a shallow cabinet-turned-bookcase on the wall where the sewing table is now. The horses were all located on top of that cabinet. Well, when that piece was moved out, I had no where to keep the horses...until I looked up. One 1"x12"x8' board, a pair of on-sale iron scroll brackets from Hobby Lobby, some white paint, and crocheted lace tape later, we have a simple but cute and functional shelf.
All of the fixtures in the house are oil-rubbed bronze, so I liked how the brackets picked up on that, and offered a different texture to the space. With the wood wall, I knew the shelf would pop nicely with a coat of Annie Sloan Chalk Paint in Old White. And it took awhile to figure out how to embellish the shelf edge, but a well-timed sale on crocheted lace tape from GroopDealz via Mindy Mae's Market solved that quandary.
In the corner near my desk are a pair of wooden shelves from Michael's. They were purchased unpainted in a three-pack and with a 40% off coupon were like $8. The scalloped edges and routed details were too charming to pass up. The upper shelf was painted with red craft paint, while the bottom shelf received a coat of Hummingbird Blue paint by Behr.

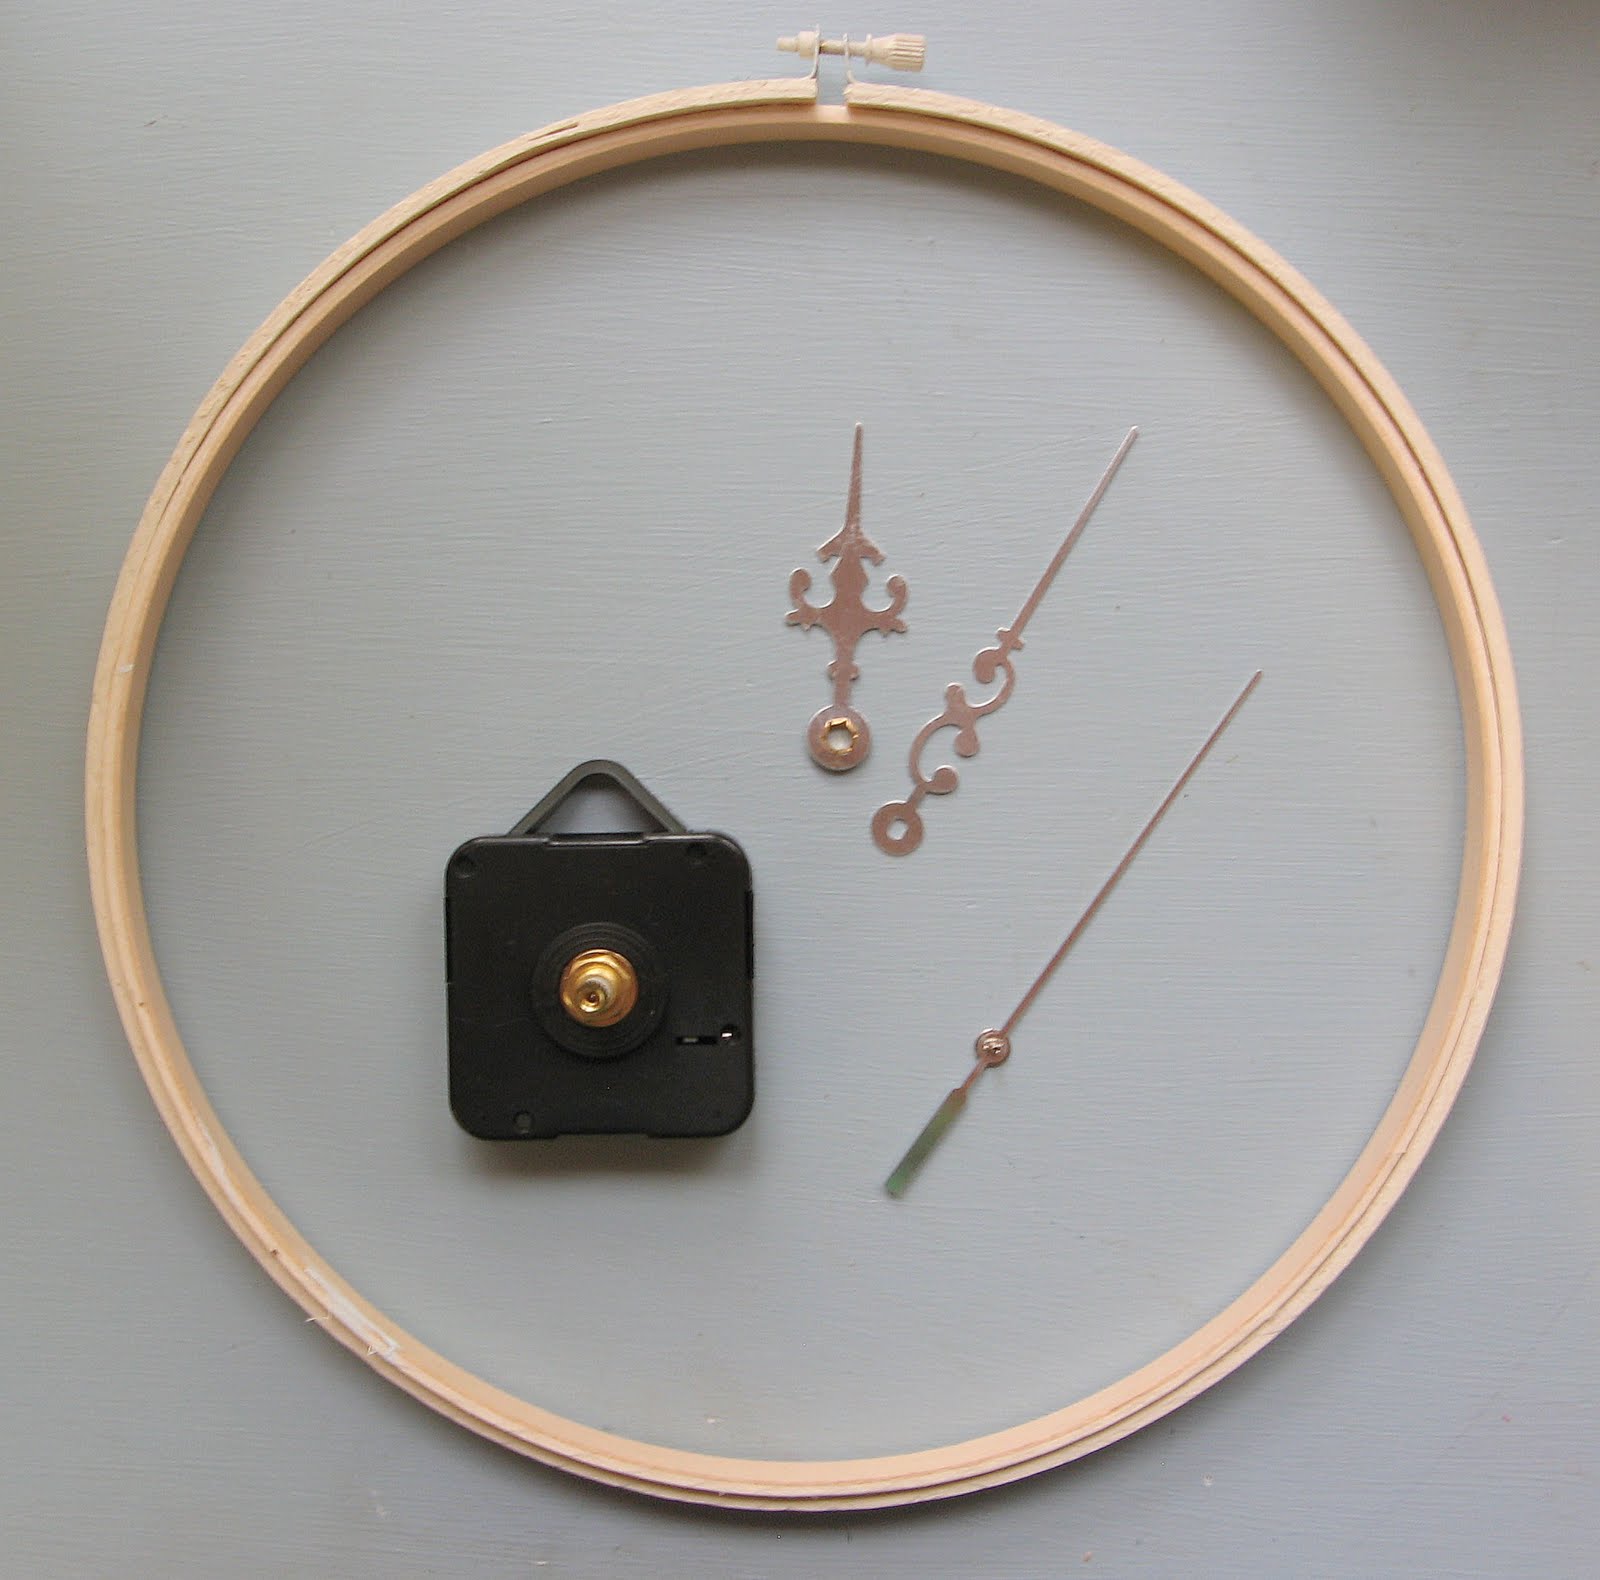
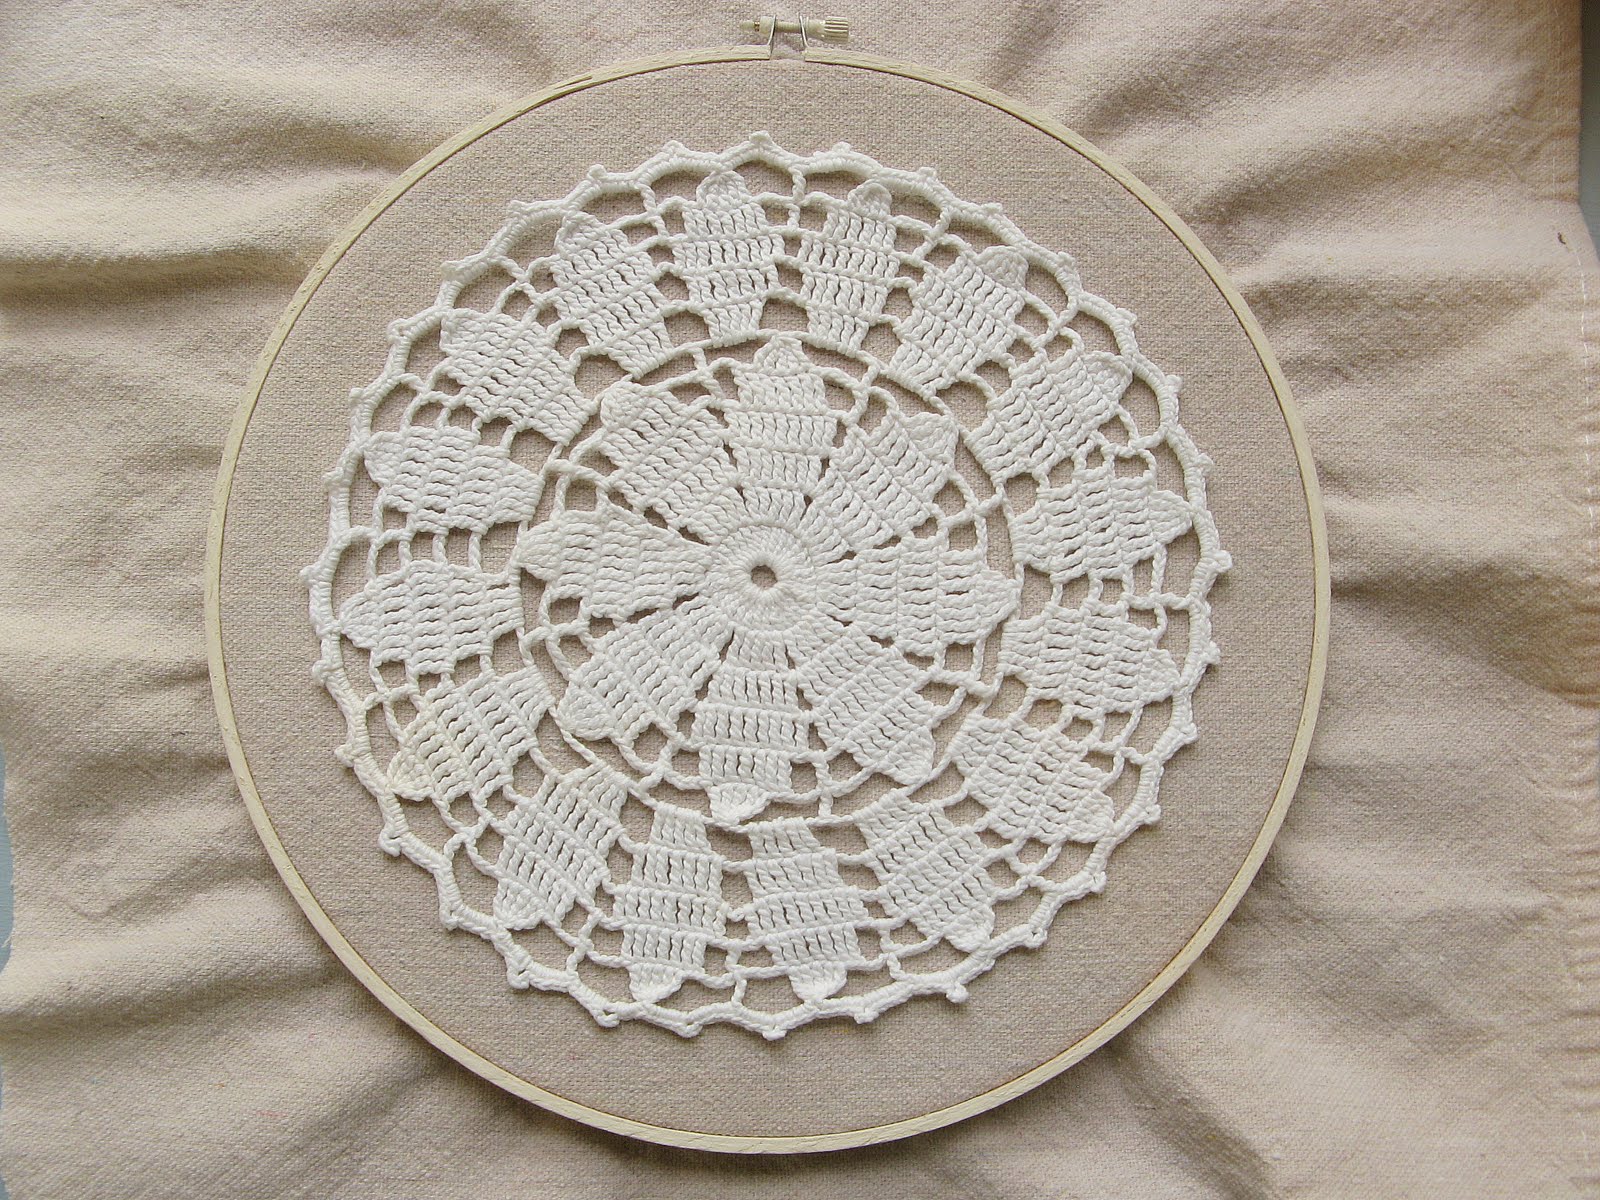
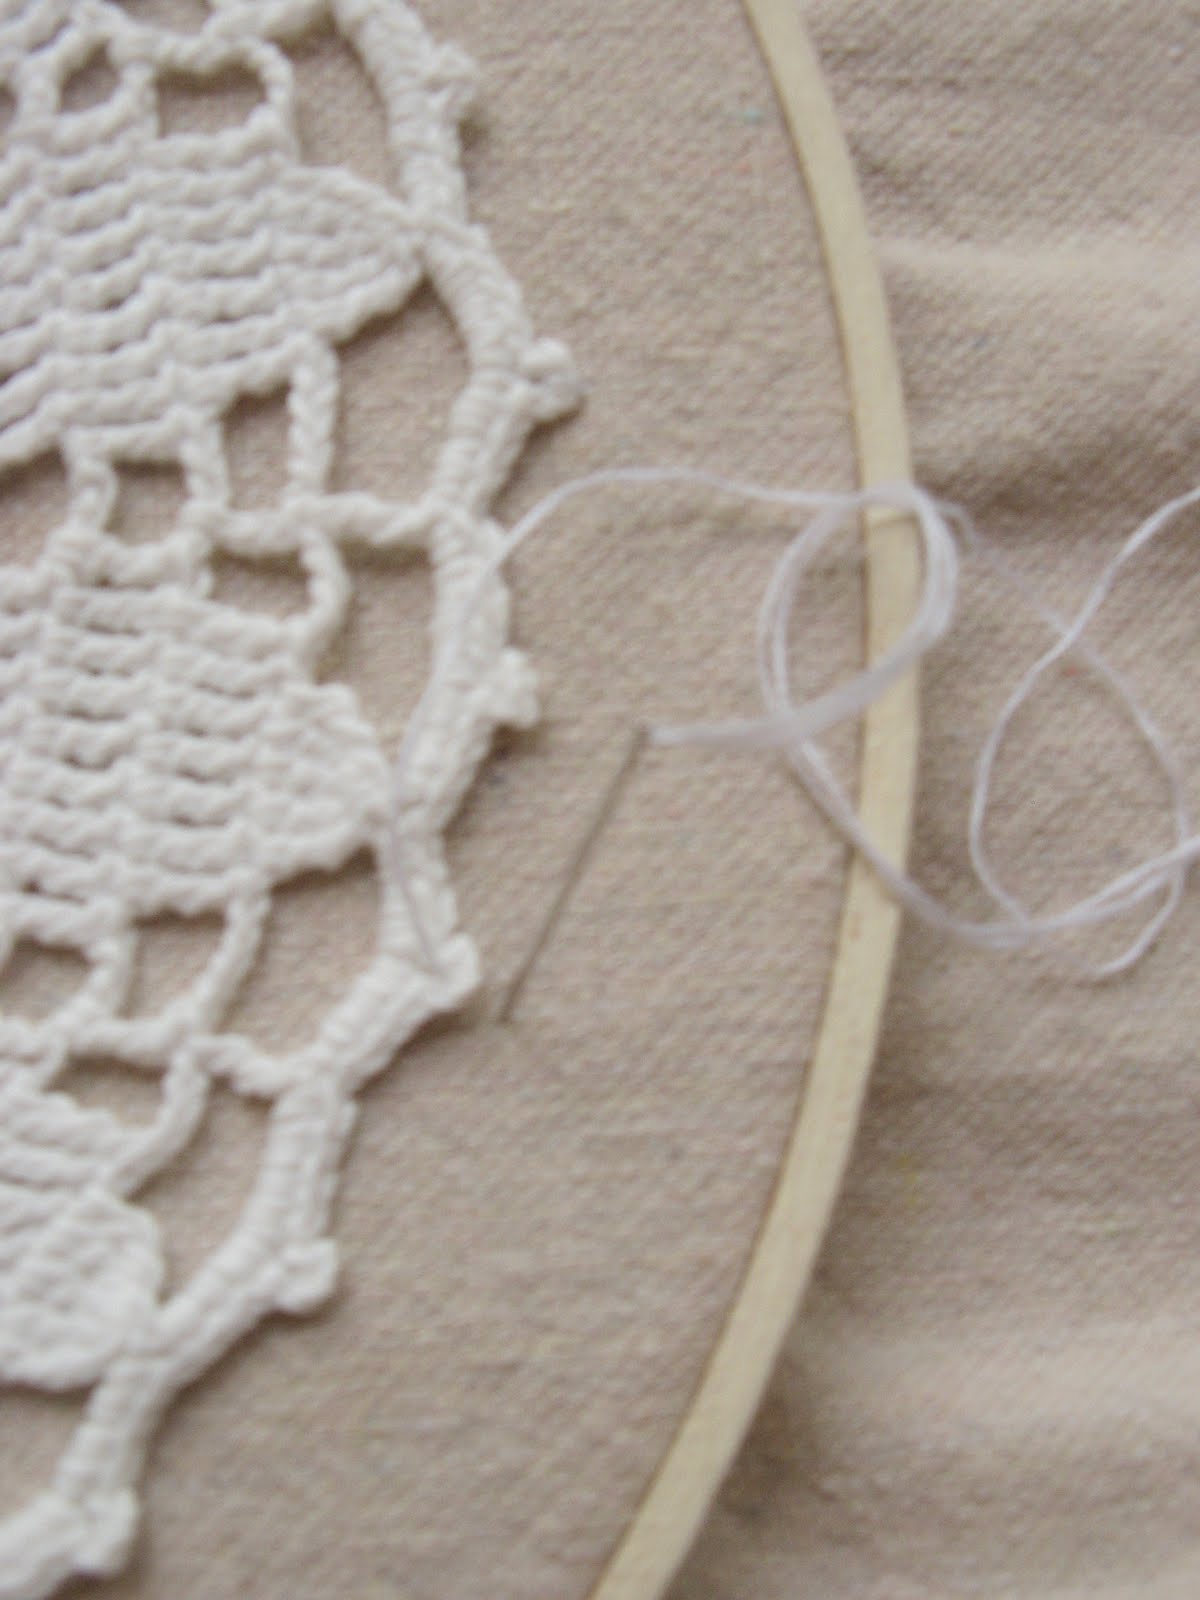
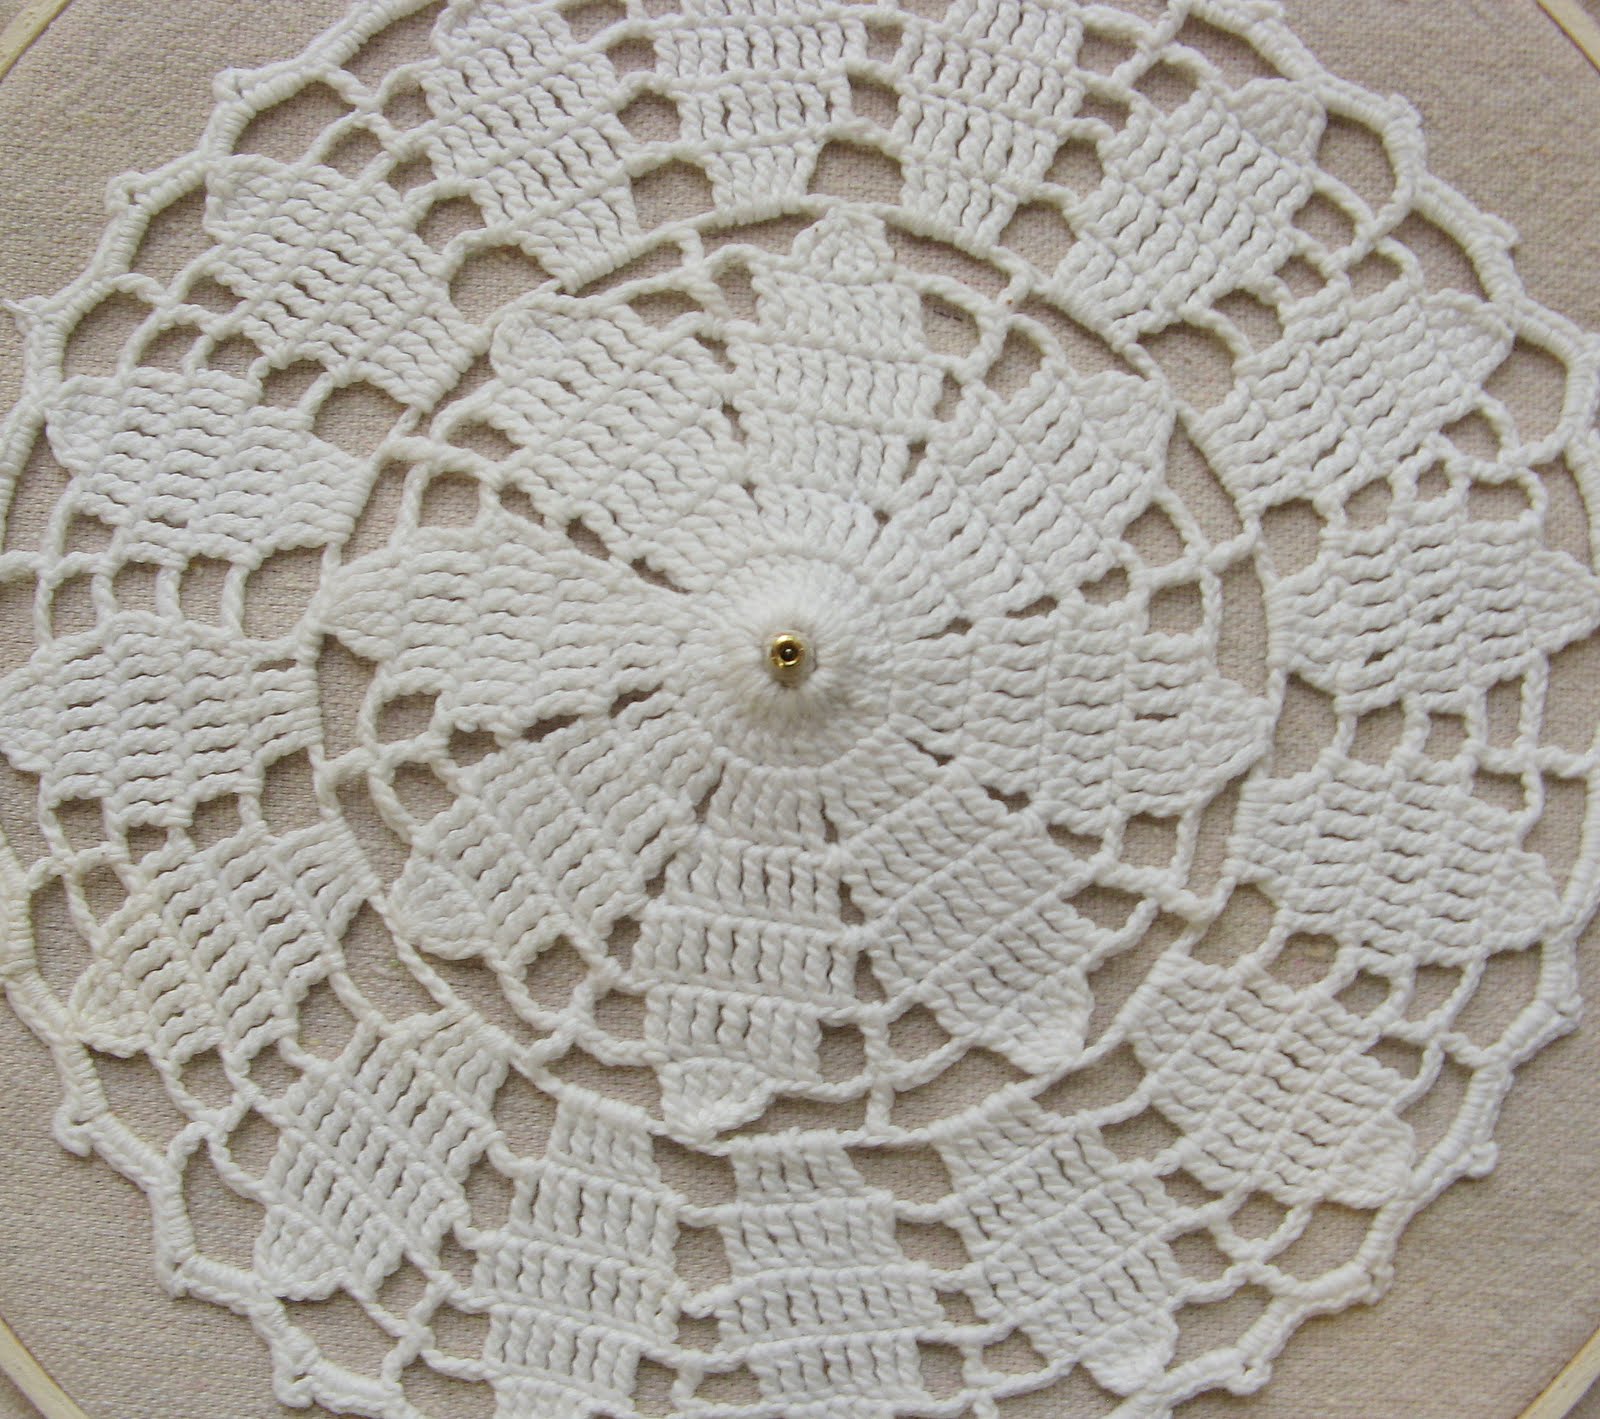
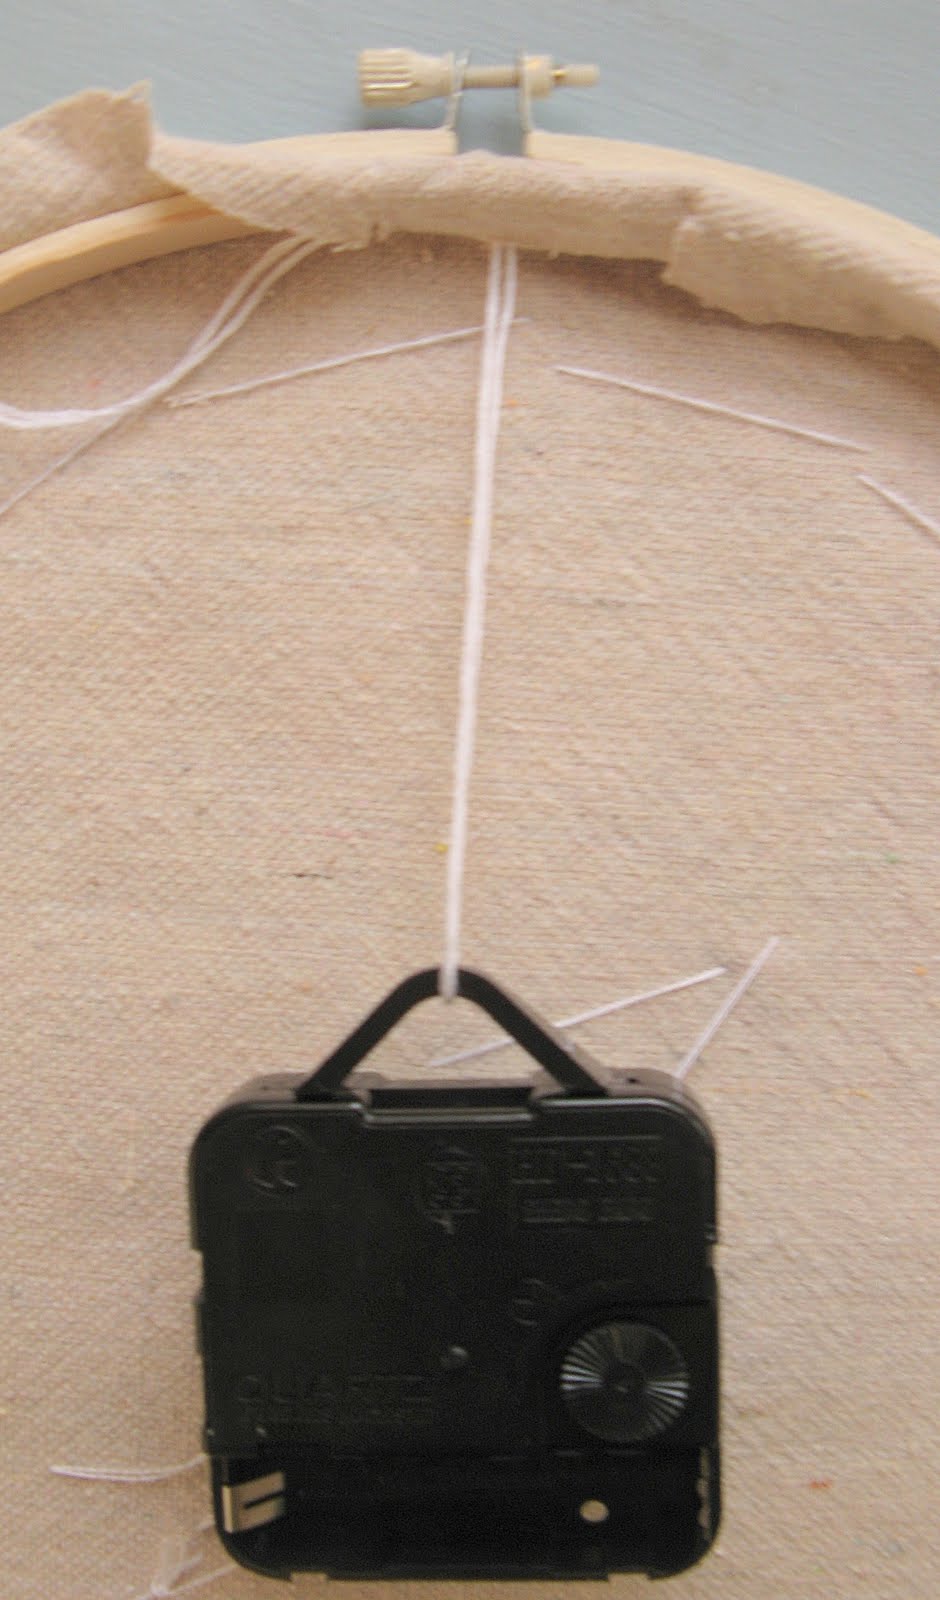
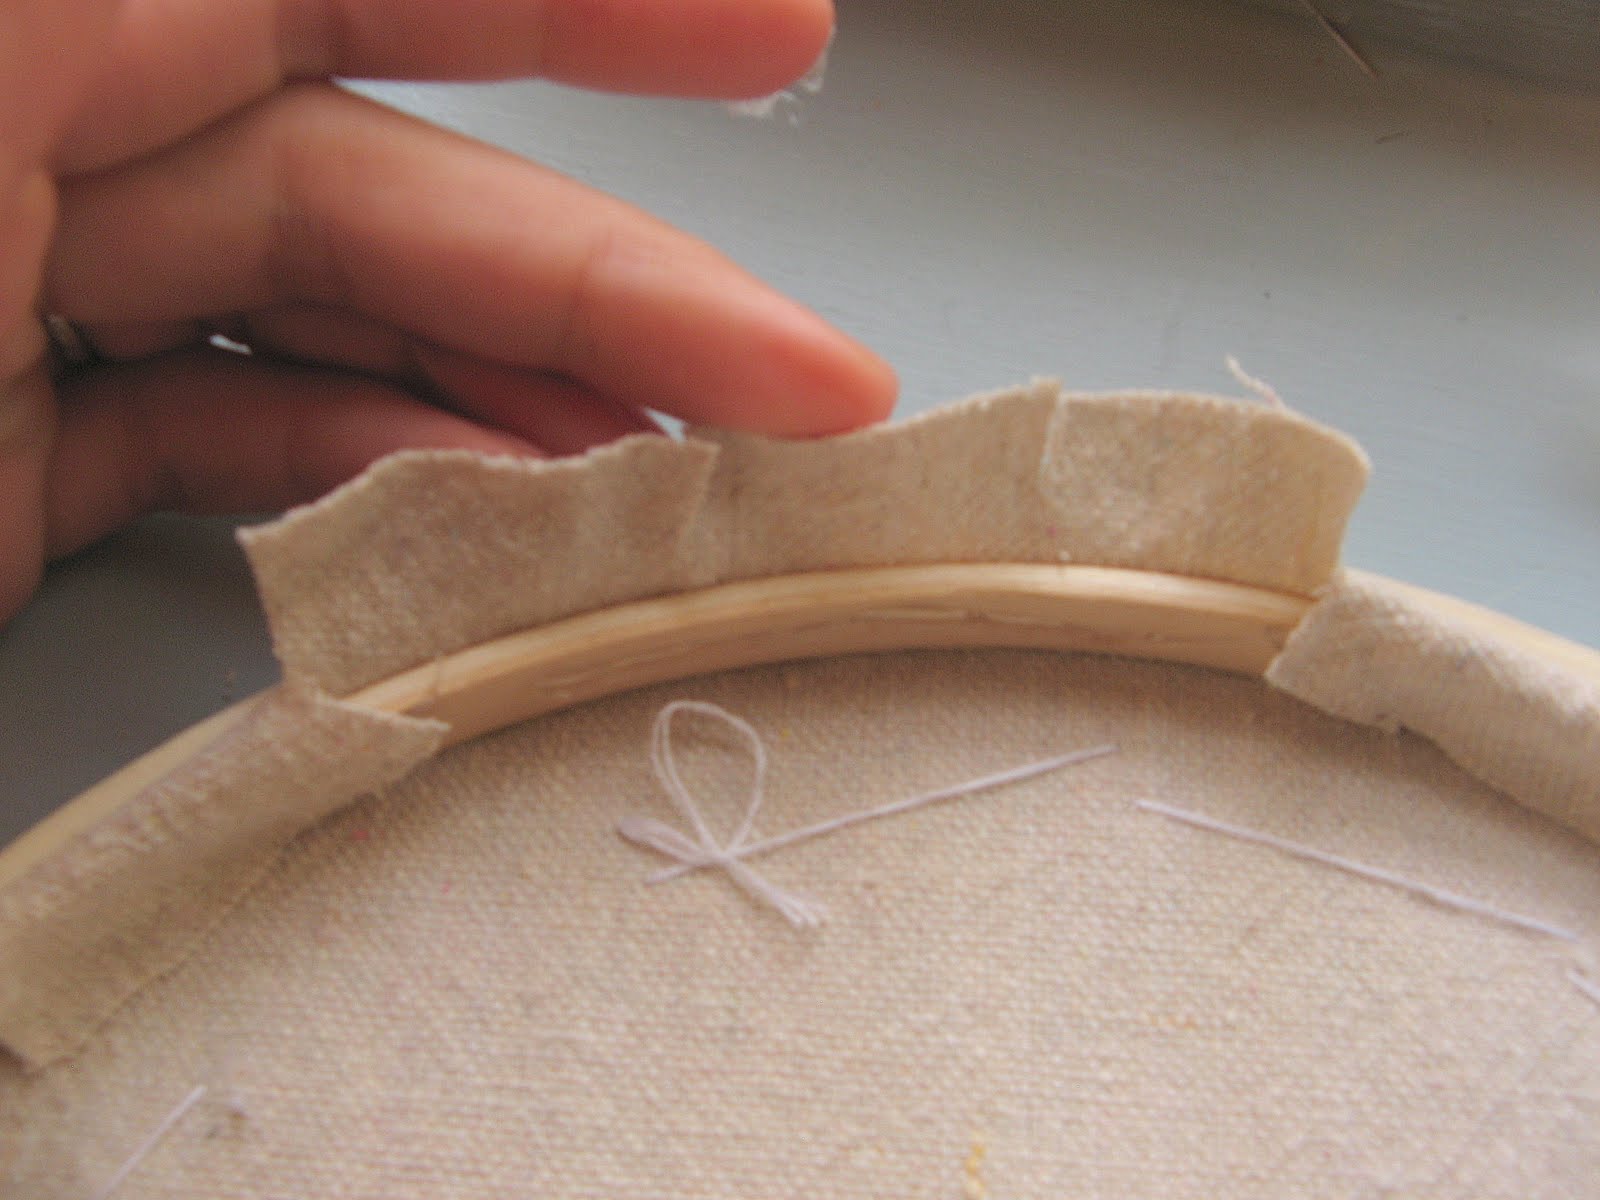
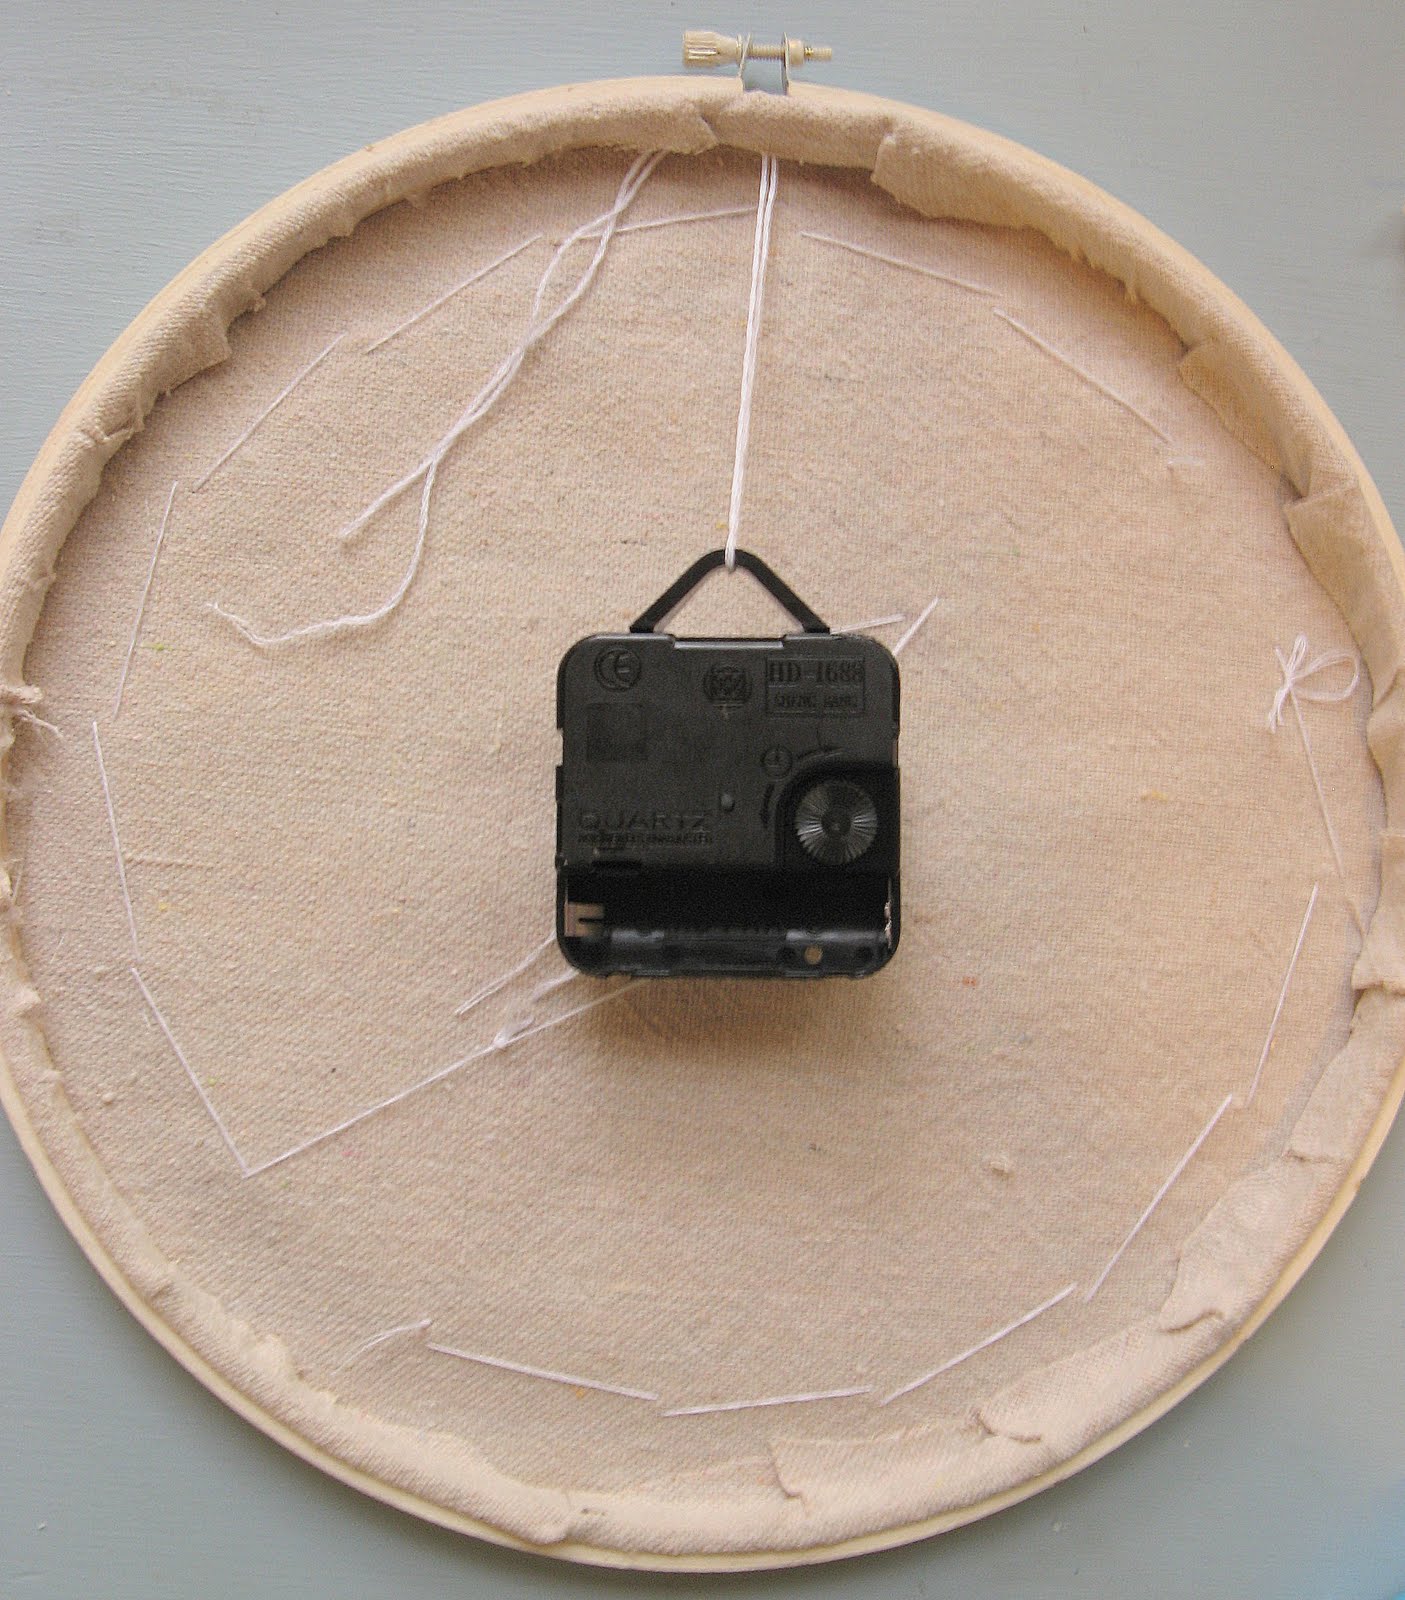
Since taking these photos, I've actually already rearranged and added some more knick-knacks, but the Scottish boy with bag pipes is a remembrance of going to Scotland; the green transferware creamer was found at Cottage Treasures in Mebane, NC; the double-decker bus is actually a pencil sharpener and also came from the UK trip. A tutorial on how to make the embroidery hoop and doily wall clock is here.
Though this next piece isn't new to the room, I still wanted to share the printer station. Can anyone tell me what it is? Is it a vegetable storage bin of some sort? I picked it from Nest in Burlington, NC, a few years ago for a song, and it was just the right size to hold the printer. Paper, stationery, etc. are stored behind the door.

The little clay tags hanging from the knob were an order thank-you from Jami at Freckled Laundry.

Next to the printer is the blue desk; you can see the before and after from 2010 here, but the main thing I did during this transformation was add some of Cath Kidston's Chintz wallpaper, which doesn't seem to be available any longer. My always-reliable double-sided tape affixed the wallpaper quickly and easily to the panel.

Also in the desk area is this sweet milk glass lamp. A yard sale find, the shade just needed some TLC and so I covered it in strips of Lecien's Yellow Floral Stripe from the Flower Sugar collection. There were many comments about this detail and I have to share that this was most certainly not an original idea on my part! Nope, the inspiration came from The Handmade Home and a tutorial can be found here.
 |
| The lamp aglow in the evening. |
Finally, the last details I wanted to share are these coffee filter flowers atop the grey armoire...
 |
| For some great tutorials on how to make various coffee filter flowers, visit this Pinterest board I created. |
And this wall...the blue bookcase is another find from Uniquitiques in Hillsborough, NC, while the small quilt rack came from Nest in Burlington, NC.

The book case is "candle central" for fragrance and essential oils, as well as finished candles. The lightweight rack is the perfect place to to drape favorite fabrics. Right now, there's a pink floral flannel you might recognize if you've been reading the blog for awhile--I made a pair of pajama bottoms from it earlier in the year. Next to it is a long-ago discontinued, but very cherished Cath Kidston fabric called Lupins, and on top of that, some delicate pink and white hanky fabric, also from Cath Kidston.
If you have any other questions about the craft room, don't hesitate to leave them in the comments section!