
So, I'm still working on putting the finishing touches on the craft room. It's taking longer than I'd like, but c'est la vie, right?
And speaking of c'est la vie, as I was getting ready to make this clock, I pulled out my Canon Rebel to photograph the steps, and it's. not. working. Eeeeeee!!!!!
The battery's charged but the camera simply won't turn on. I shook it gently and it sounds like there's something rattling around inside, which is obviously not good. Bleurgh. Luckily I still have a my little point-and-shoot, so that's the camera I used for this post (and will have to use in future posts for the foreseeable future!)
Well, I was able to cross off one of the "final touch" to-do items this afternoon when I made an embroidery hoop clock with a doily face. I love doilies and since the craft room needs a clock, I couldn't resist the touch of granny chic.
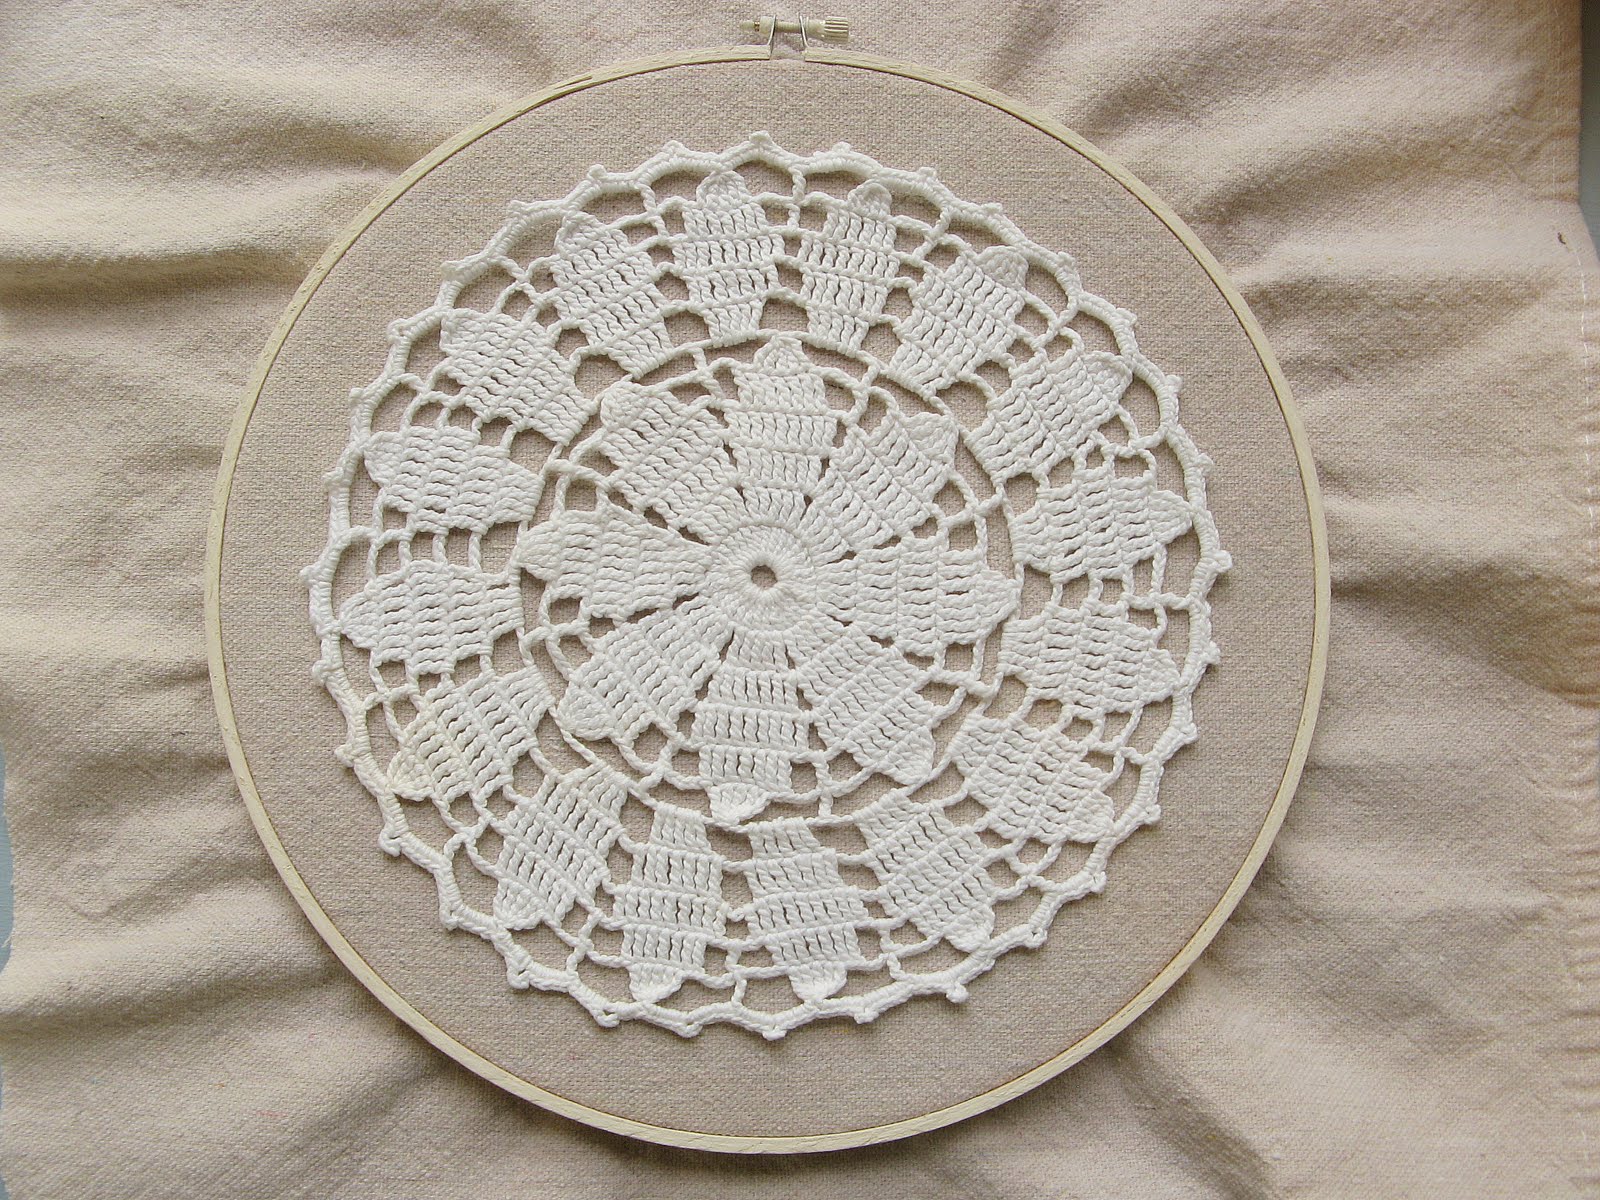
Here's a peek of how it turned out.

If you'd like to make your own, these are the supplies you'll need:
-embroidery hoop (I used a 10" one and painted the outer hoop in Annie Sloan Chalk Paint in Old White)
-piece of drop cloth or other fabric large enough to put in hoop
-doily
-ArtMinds clock movement kit for 1/4" surfaces (from Michaels)
-ArtMinds "Designer Clock Hands" (also from Michaels; I bought these longer ones than what came with the movement kit because they fit the scale of the hoop better)
-embroidery needle
-white embroidery thread
-hot glue gun
-scissors
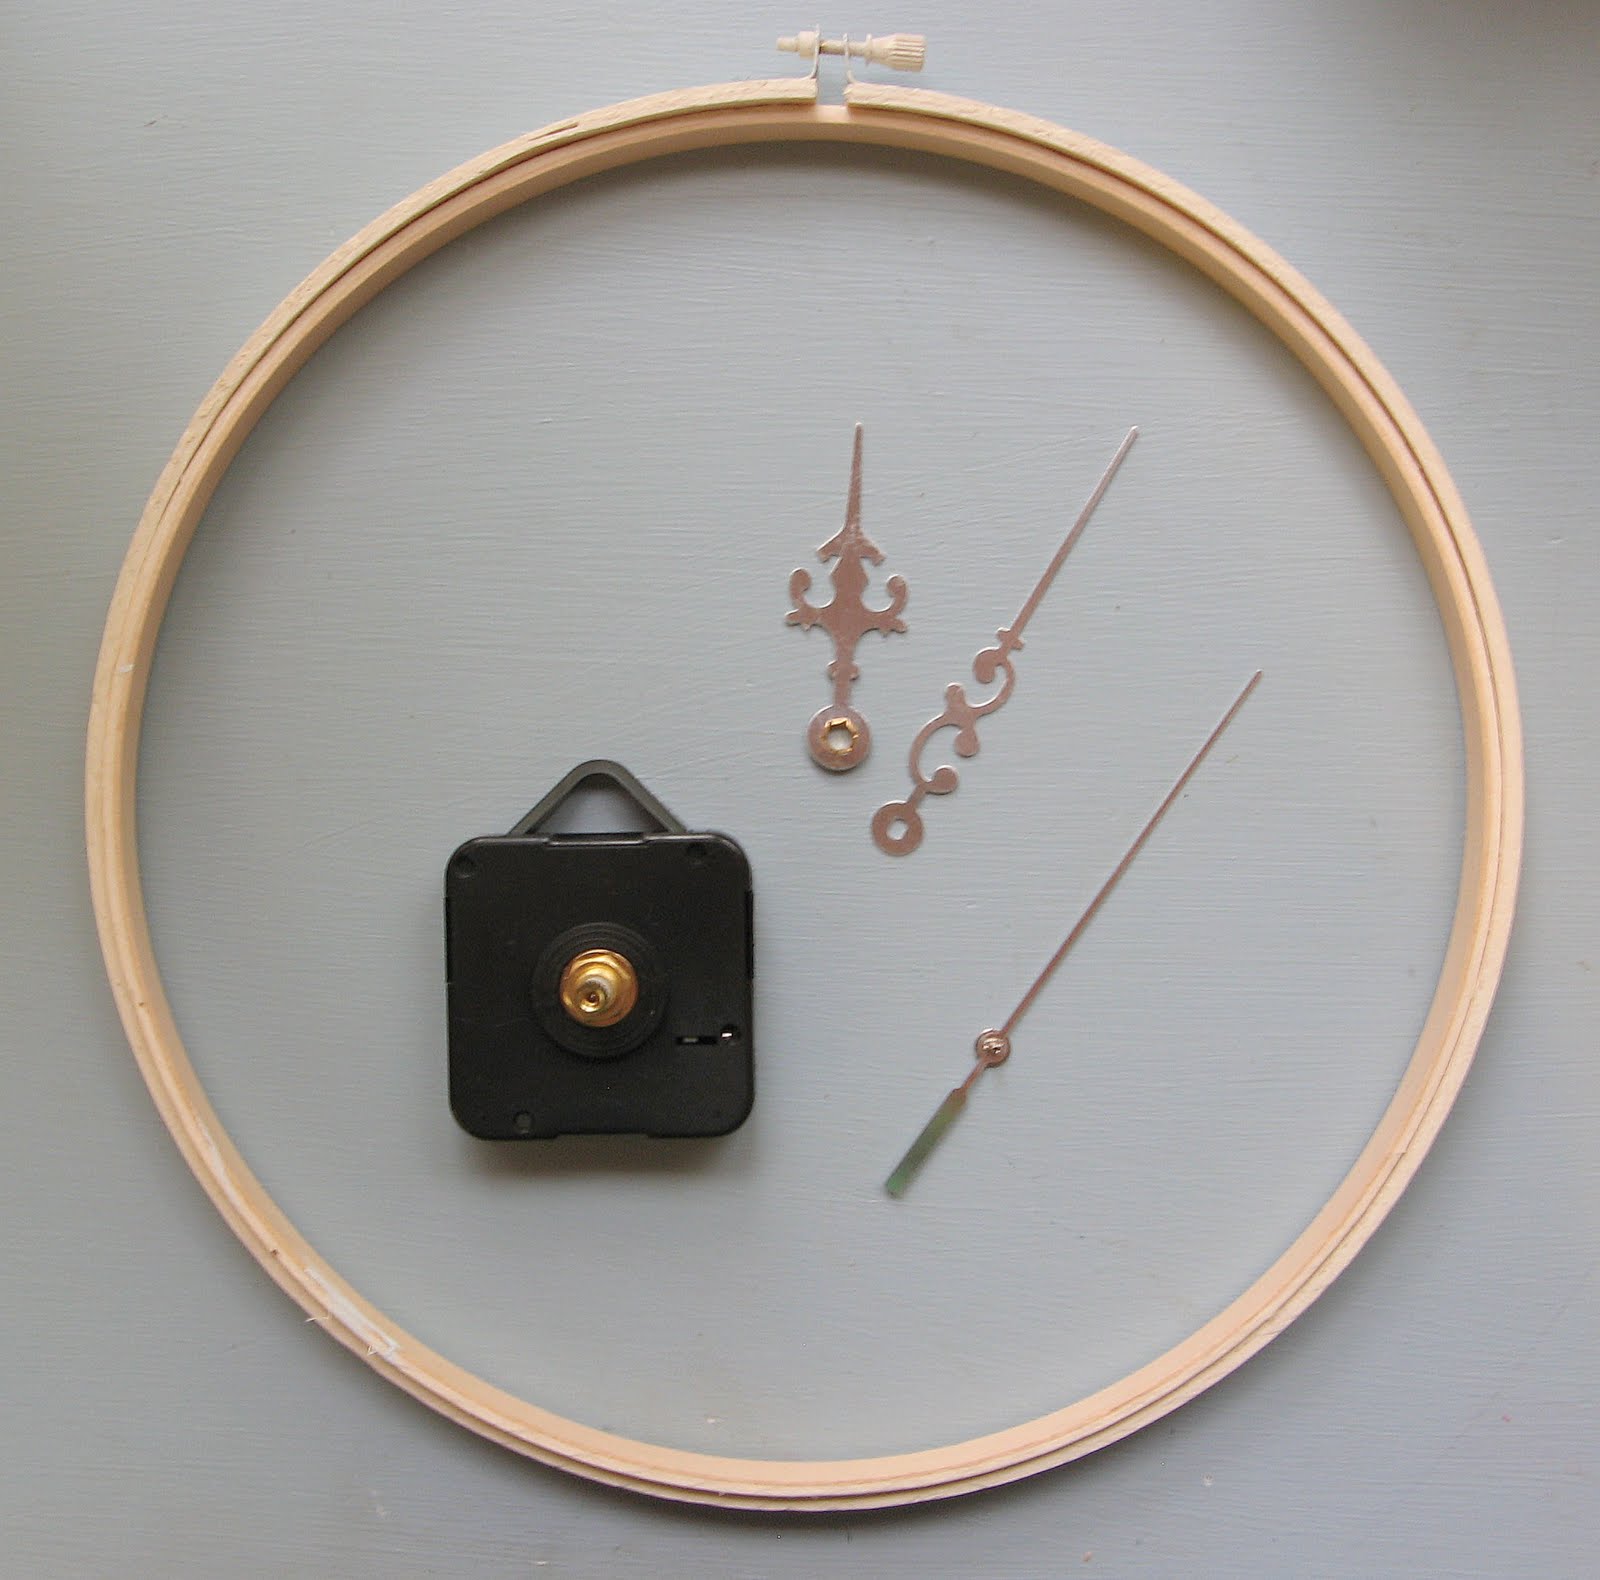 |
| A shot of the movement kit and clock hands I used |
Directions
1. Stretch the drop cloth over the inner hoop, then place the outer hoop on top and tighten.
2. Lay the doily on top of the drop cloth and center it as best you can.
3. Mark where the center hole in the doily lays, then with a pair of scissors, snip a hole for the movement kit, which will be inserted in a later step. (Note: I didn't do this until after Step #4 and it was a major pain in the booty, so do it at this point and save yourself a headache.)
4. With white embroidery thread (I used 2-ply) tack down the outer edge of the doily to the drop cloth. Tie off the embroidery thread.
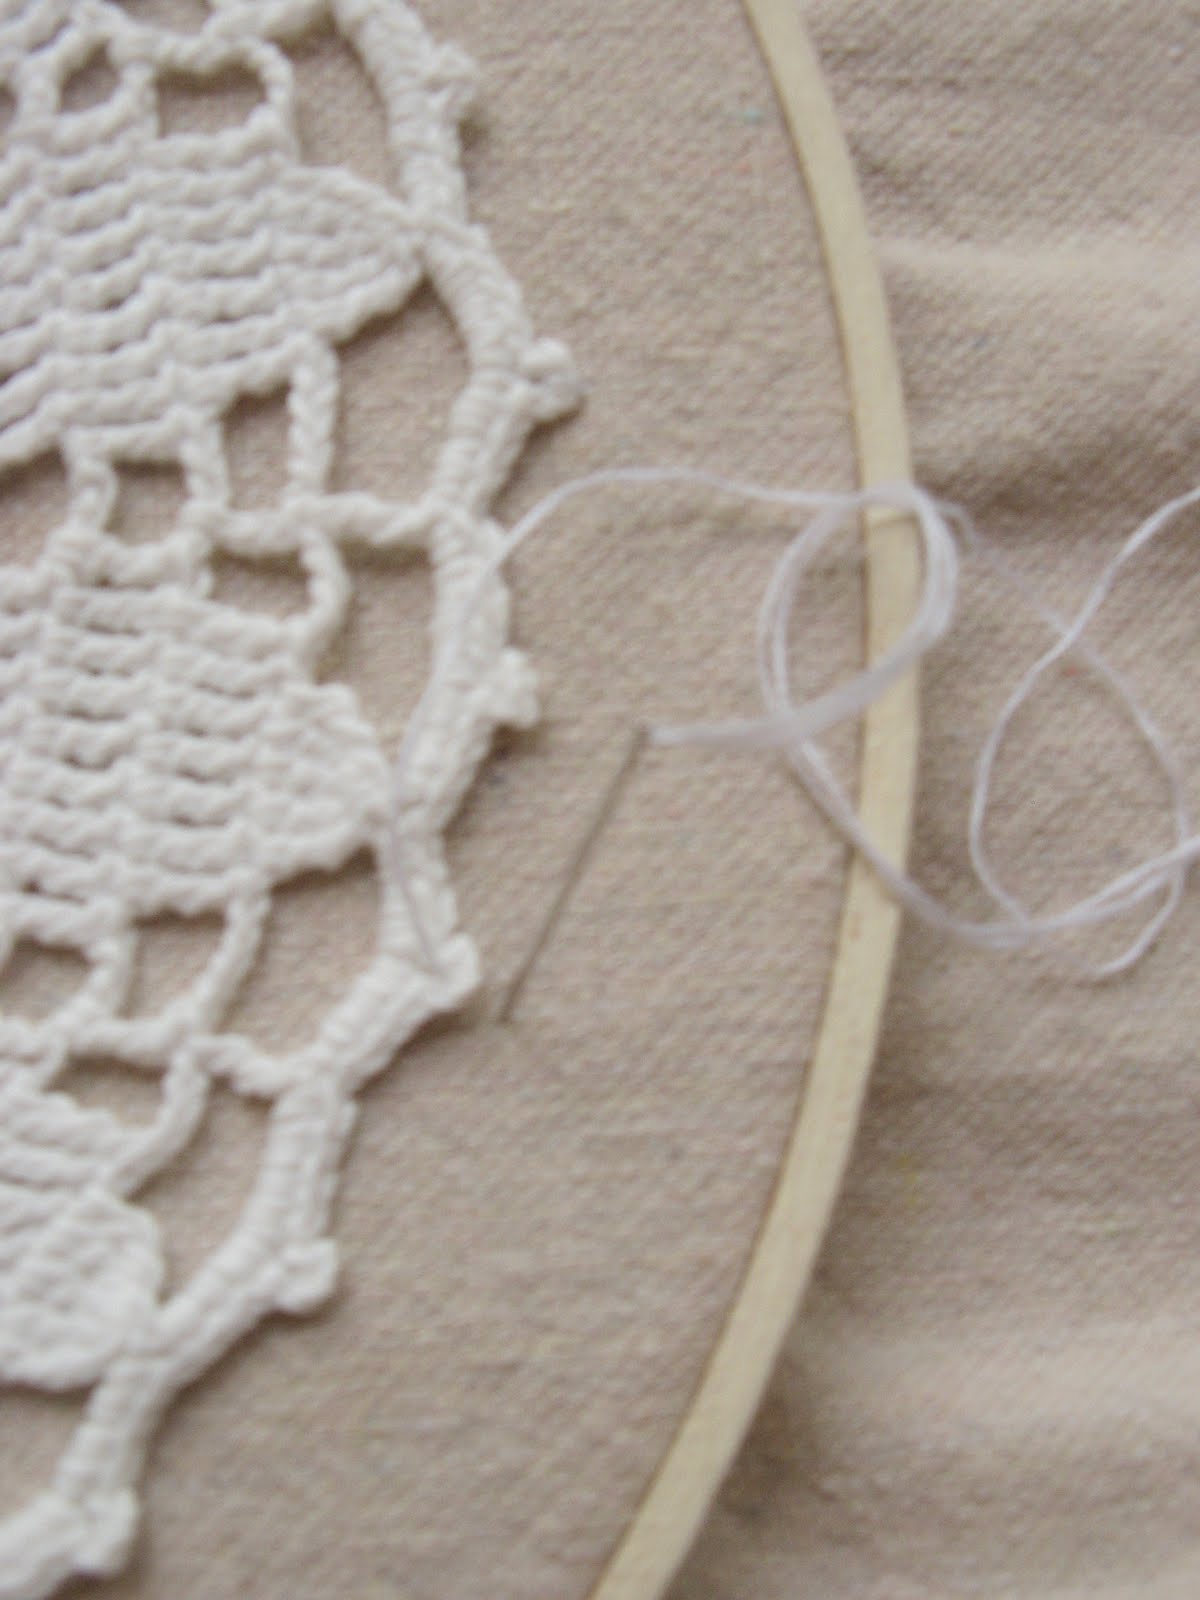 |
| Sorry about the blurriness! The zoom on the P&S (I keep wanting to type POS...hehe) doesn't focus particularly well. |
5. Insert the movement kit from the back and through the hole in the drop cloth and center of the doily.
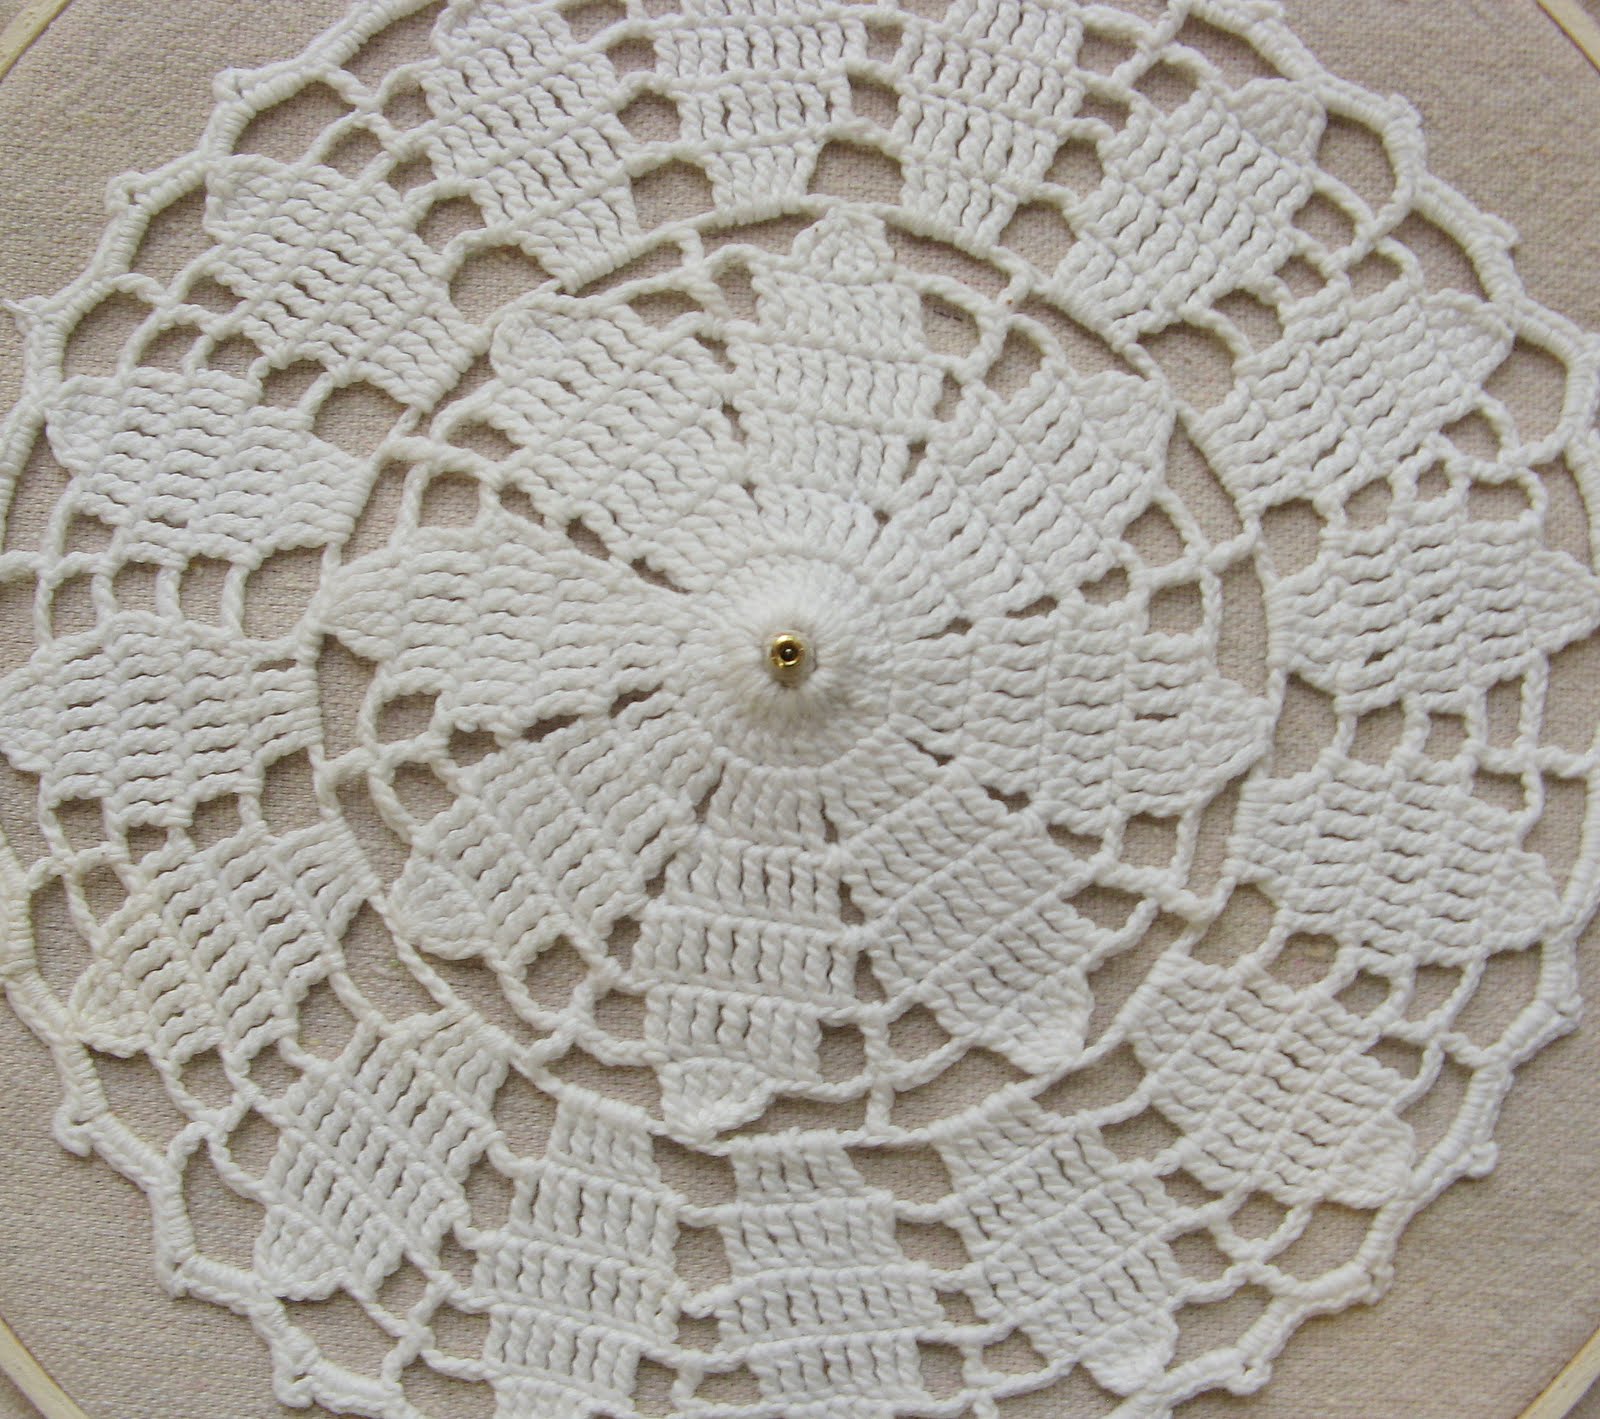
6. Stack the clock hands in this order: hour hand, minute hand, second hand. Secure in place with hardware included in set.

7. Carefully turn over the clock and trim the excess drop cloth, leaving enough to fold over.
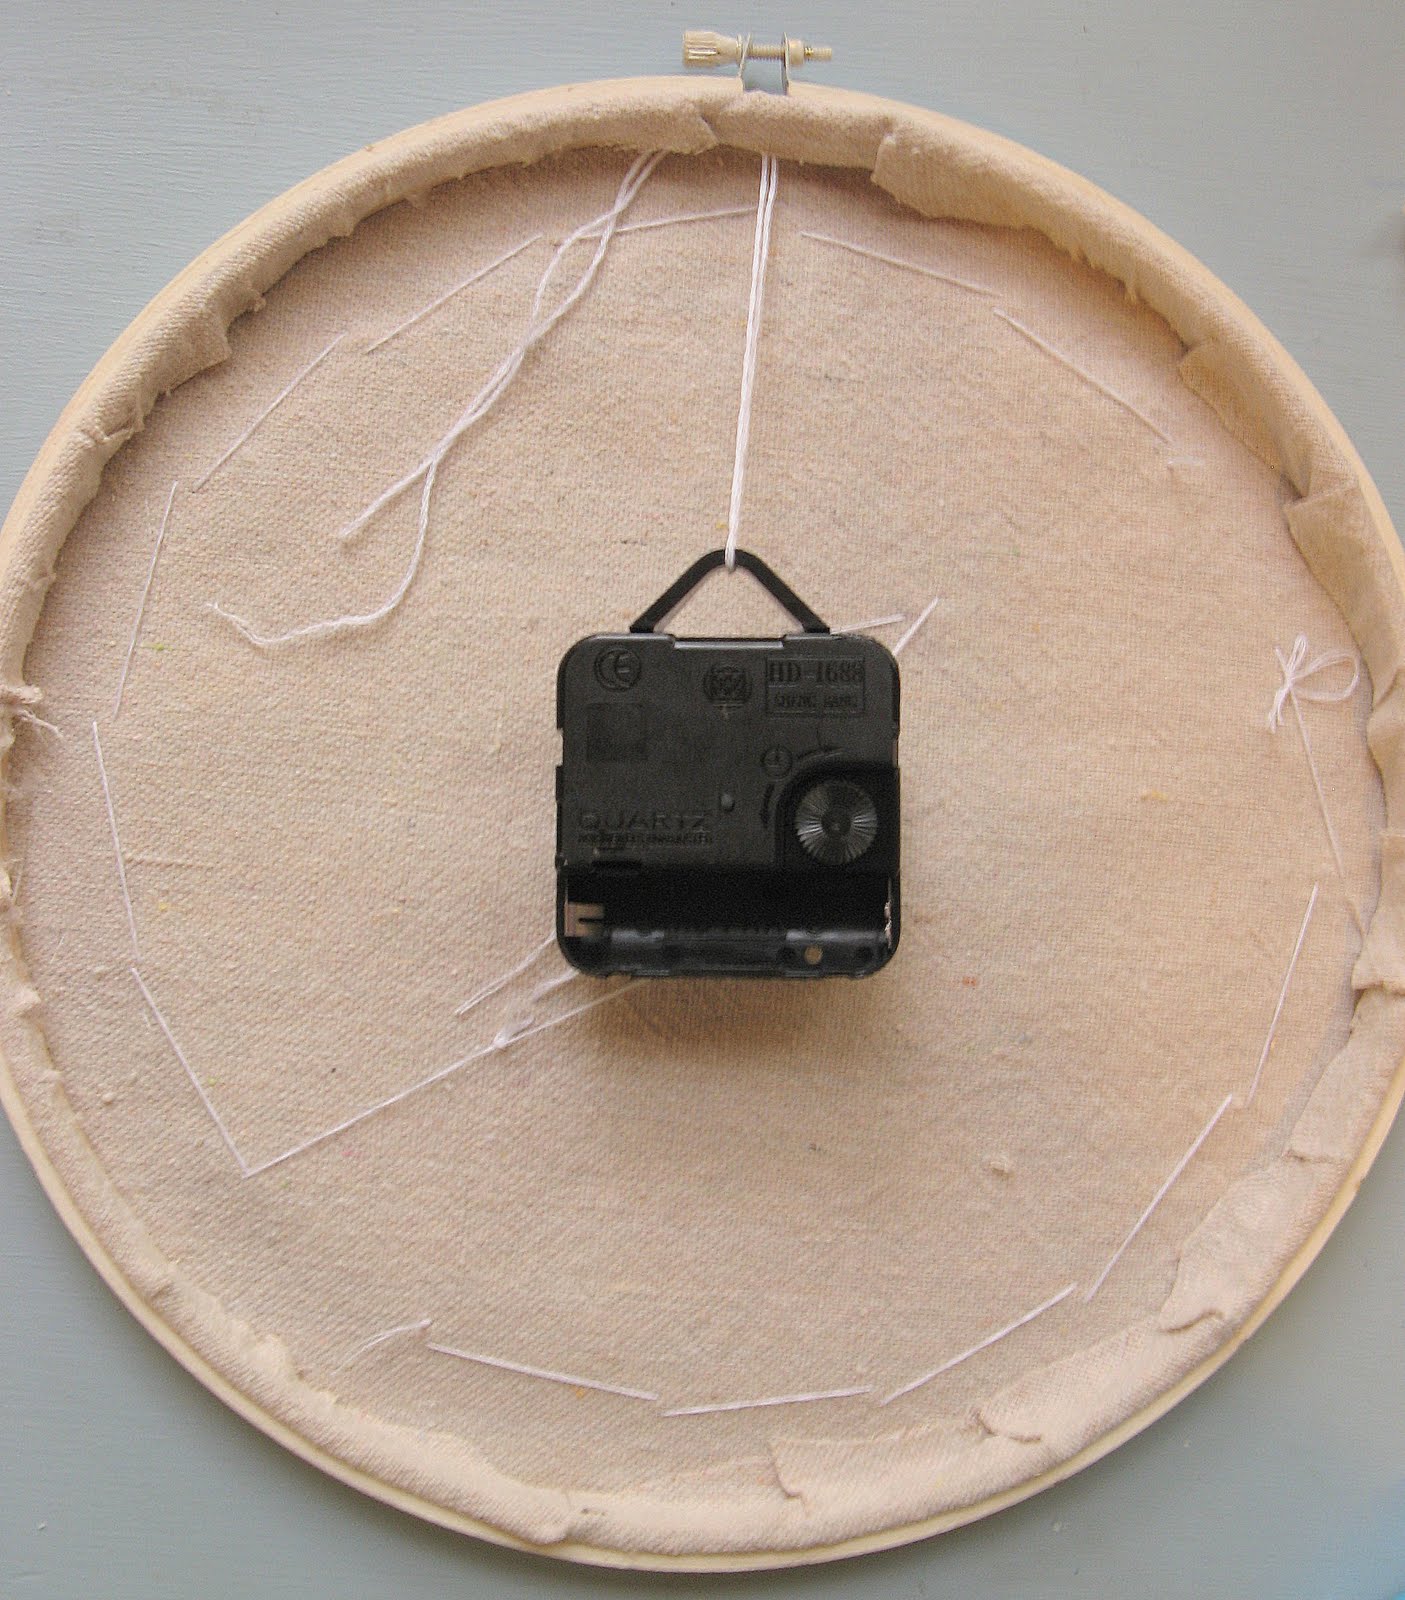
8. Take a 6-8" length of embroidery thread and thread it through the movement kit. Hot glue the thread to the inside back of the hoop to support the movement kit.
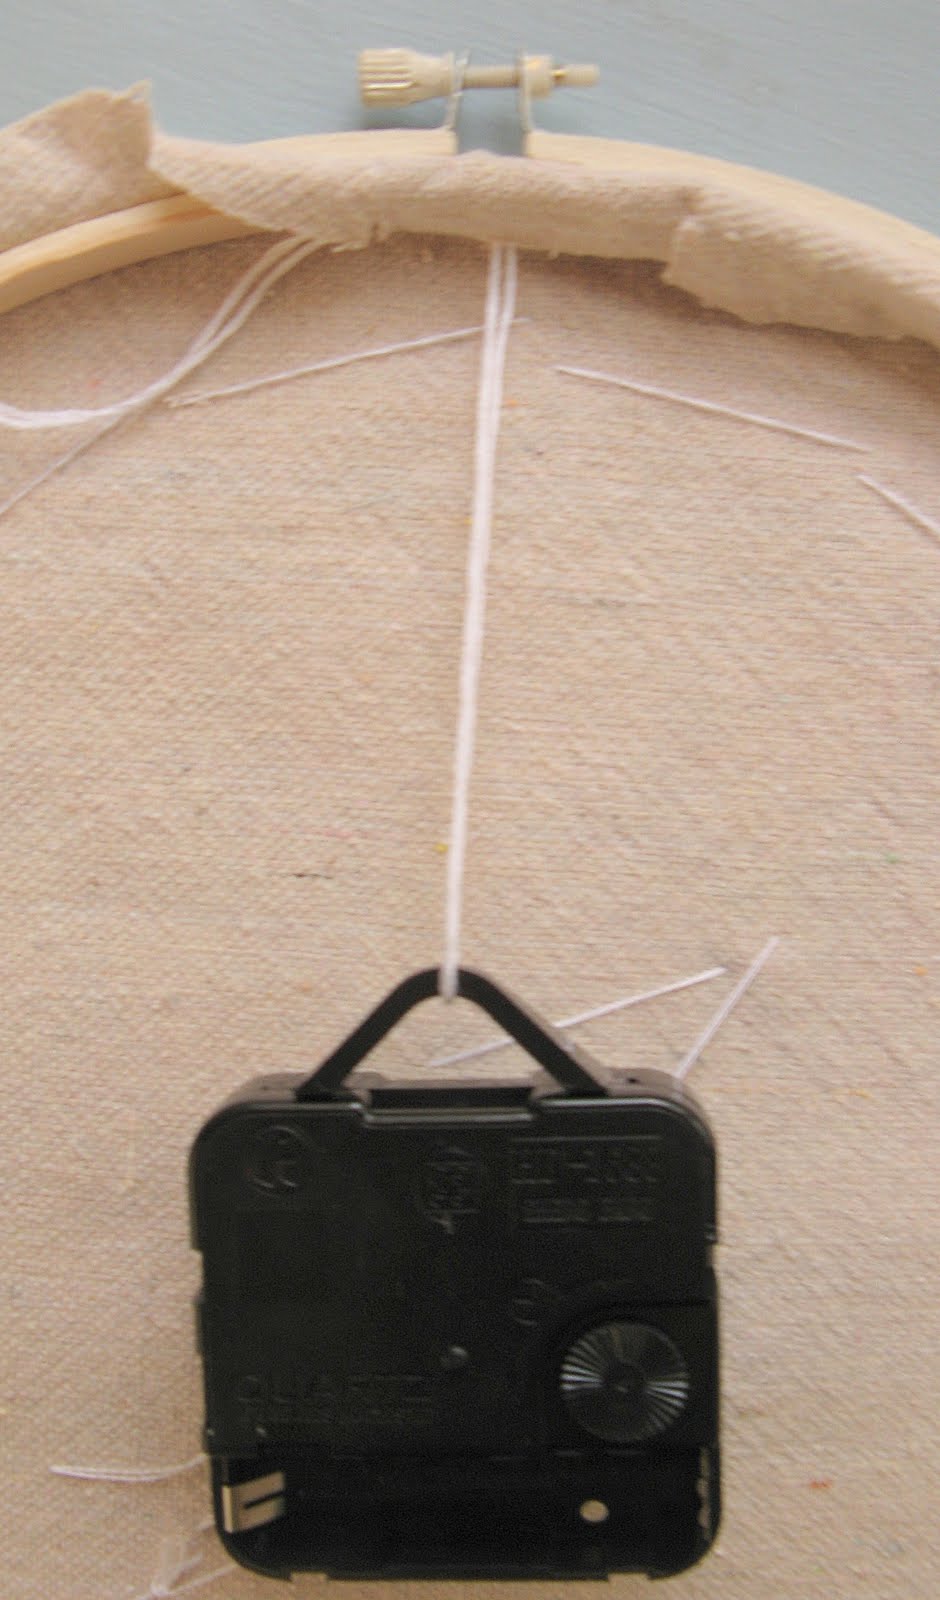
9. Snip the drop cloth every inch or so, then fold it over and hot glue in place.

10. Insert battery into the movement kit, adjust the hands, and the clock is ready to hang!
Hope you're having a great weekend!
-Erin


Very COOL...it would look pretty in my craft room too! Thanks for sharing this great idea.
ReplyDeletedeb
that is adorable! great idea, erin!
ReplyDeleteAwesome Erin!!!! Love this! Can't wait to see more (ps - I'm sitting in Cassie's guest room as I type this - YAY)
ReplyDeleteGreat idea, thanks for sharing the tutorial. I have framed doilies hanging in my sewing room and I could use a clock in there.
ReplyDeleteGenius!!!!!
ReplyDeleteJanet xox
The Empty Nest
Oh wow! What a cute and unique idea for a clock. It turned out so pretty.
ReplyDeleteSo pretty!!
ReplyDeleteThat is such a sweet clock! I just did a framed hoop project, and it is up on my blog right now :)
ReplyDeleteSmiles,
The Joyful Thrifter
Love this! I'll be featuring you next week at the Knick of Time Tuesday Vintage Style Party - thanks so much for sharing it this week. There will be an "I Was Featured" button waiting at the party for you!
ReplyDeleteBlessings,
Angie @ Knick of Time
Love this idea!!
ReplyDeleteThanks for sharing!!
Hugs.
Debbie
This is absolutely adorable! I just love it..thank you do the great tutorial too!! Looking forward to seeing the spiffed up craft room - it will be perfection!
ReplyDeleteI LOVE embroidery hoop art!!!!!! How clever to make it into a clock! Very pretty, Erin!!
ReplyDeleteThis is amazing!! Love it..
ReplyDeleteYou've been featured on Whistlin' Wednesday on Be Wit'n Wise!
ReplyDeletehttp://bewitnwise.blogspot.com/2012/10/ww-embroidery-hoop-doily-clock.html
Thanks for being so awesome and sharing your awesomeness online!
Hi Erin,
ReplyDeleteI love your tutorial. Could you please contact me if you don't mind.
hugs
Karen B.~ Todolwen