Showing posts with label self sufficiency. Show all posts

Tuesday, April 24, 2012

More Sq. Ft. Gardening: What I Planted and Resources for Your Own Garden


Before I finish the square foot gardening post I started last week, I want to take a quick minute to remember Lucille, seen here on the blog last summer.


She died today from injuries sustained in a possum attack last night.  Poor, sweet girl.  She's the only hen we've lost to a predator in the nearly two years we've kept chickens.  My husband--ever the avenger--made swiss cheese out of dispatched the possum so our other ladies won't be in any further danger.

Such is life in the country.

R.I.P., Lu. :(

----------------

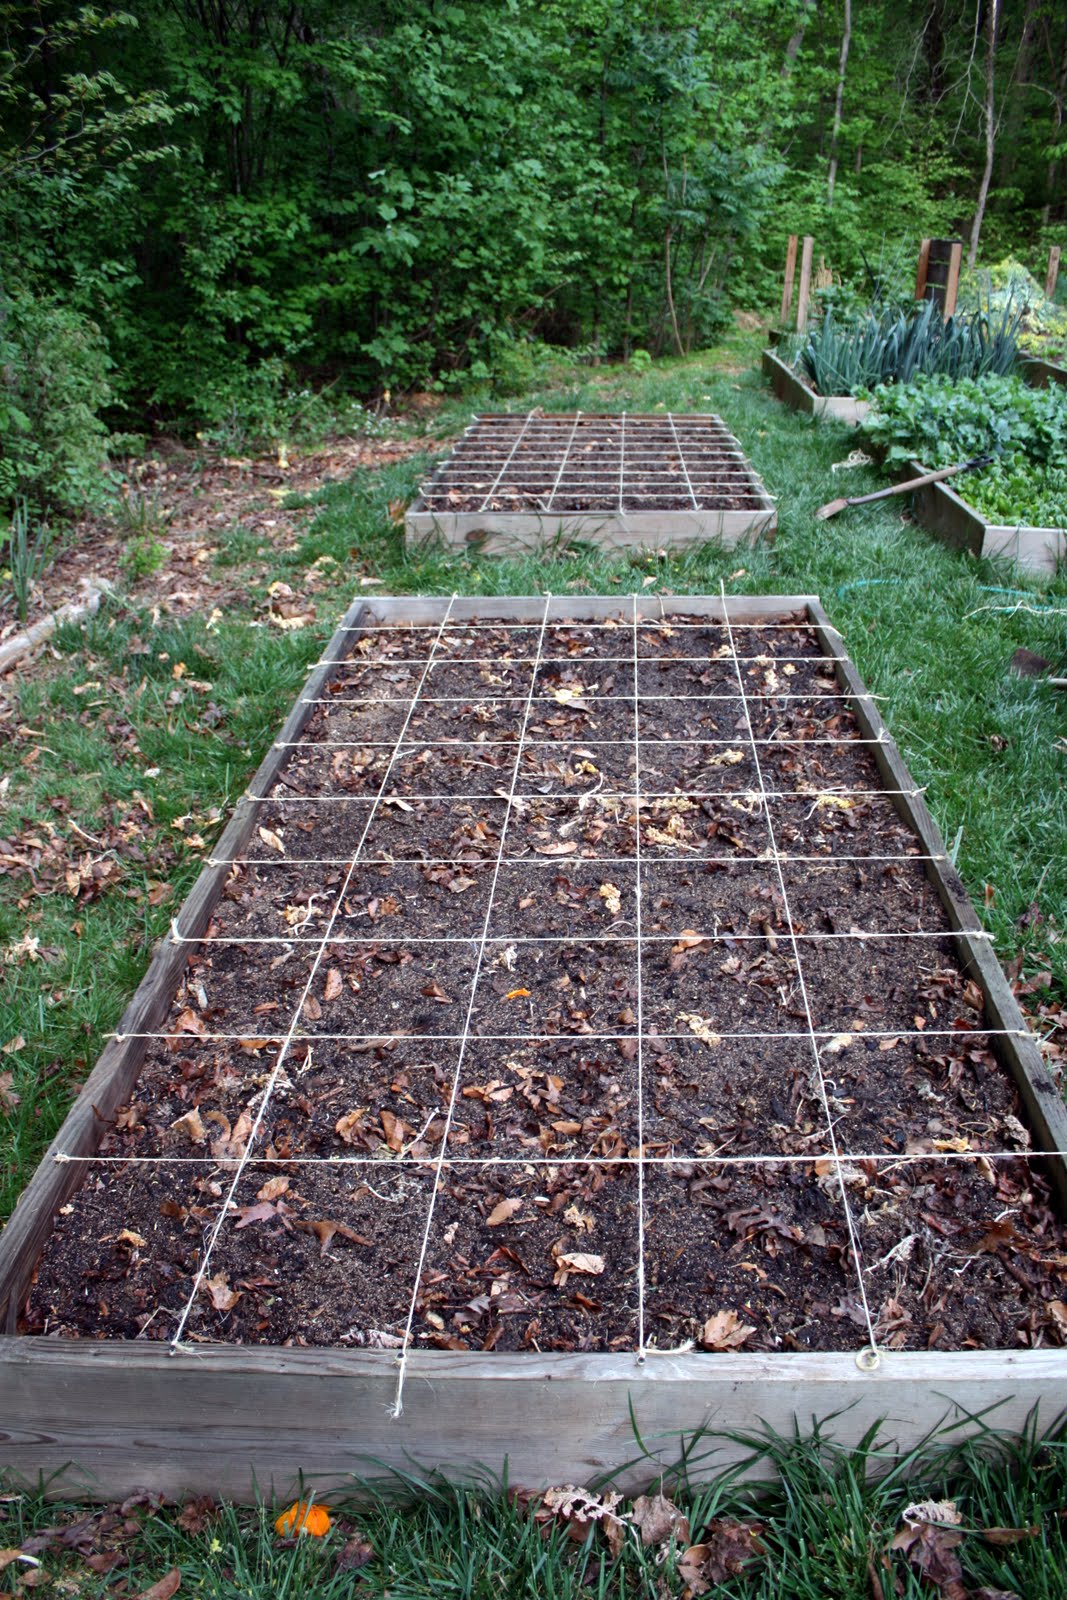
So, back to square foot gardening.  Last week, I cleaned out two raised beds in our garden, added vermiculite to the preexisting compost/topsoil mix, and created grids with baling twine.


I then planted 10 heirloom tomato seedlings (4 Pink Brandywine and 6 Cherokee Purple) that my mom gave me.


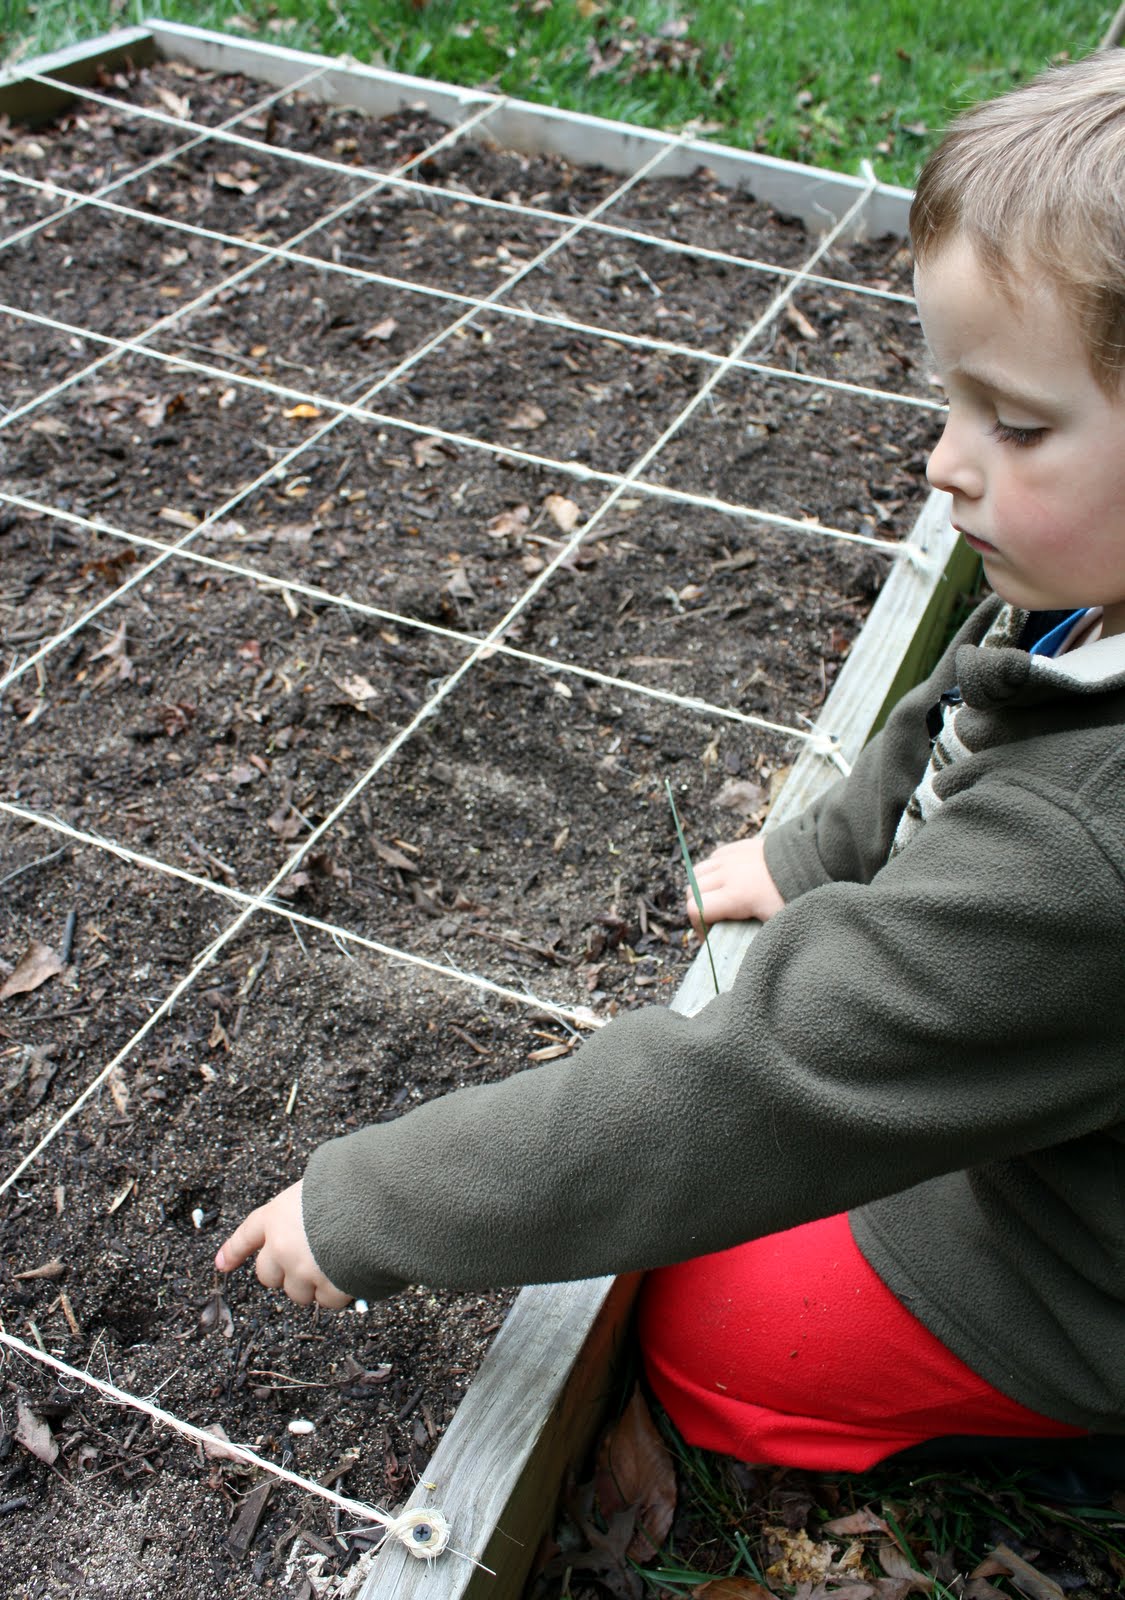
In the rest of the squares of the two beds, my little helper and I planted these seeds:

  • Yellow Crookneck Summer Squash
  • Jalapeno Peppers
  • Black Beauty Zucchini
  • Cocozelle Zucchini
  • Sugar Snap Peas
  • Spacemaster Cucumbers
  • Blue Lake Bush Beans
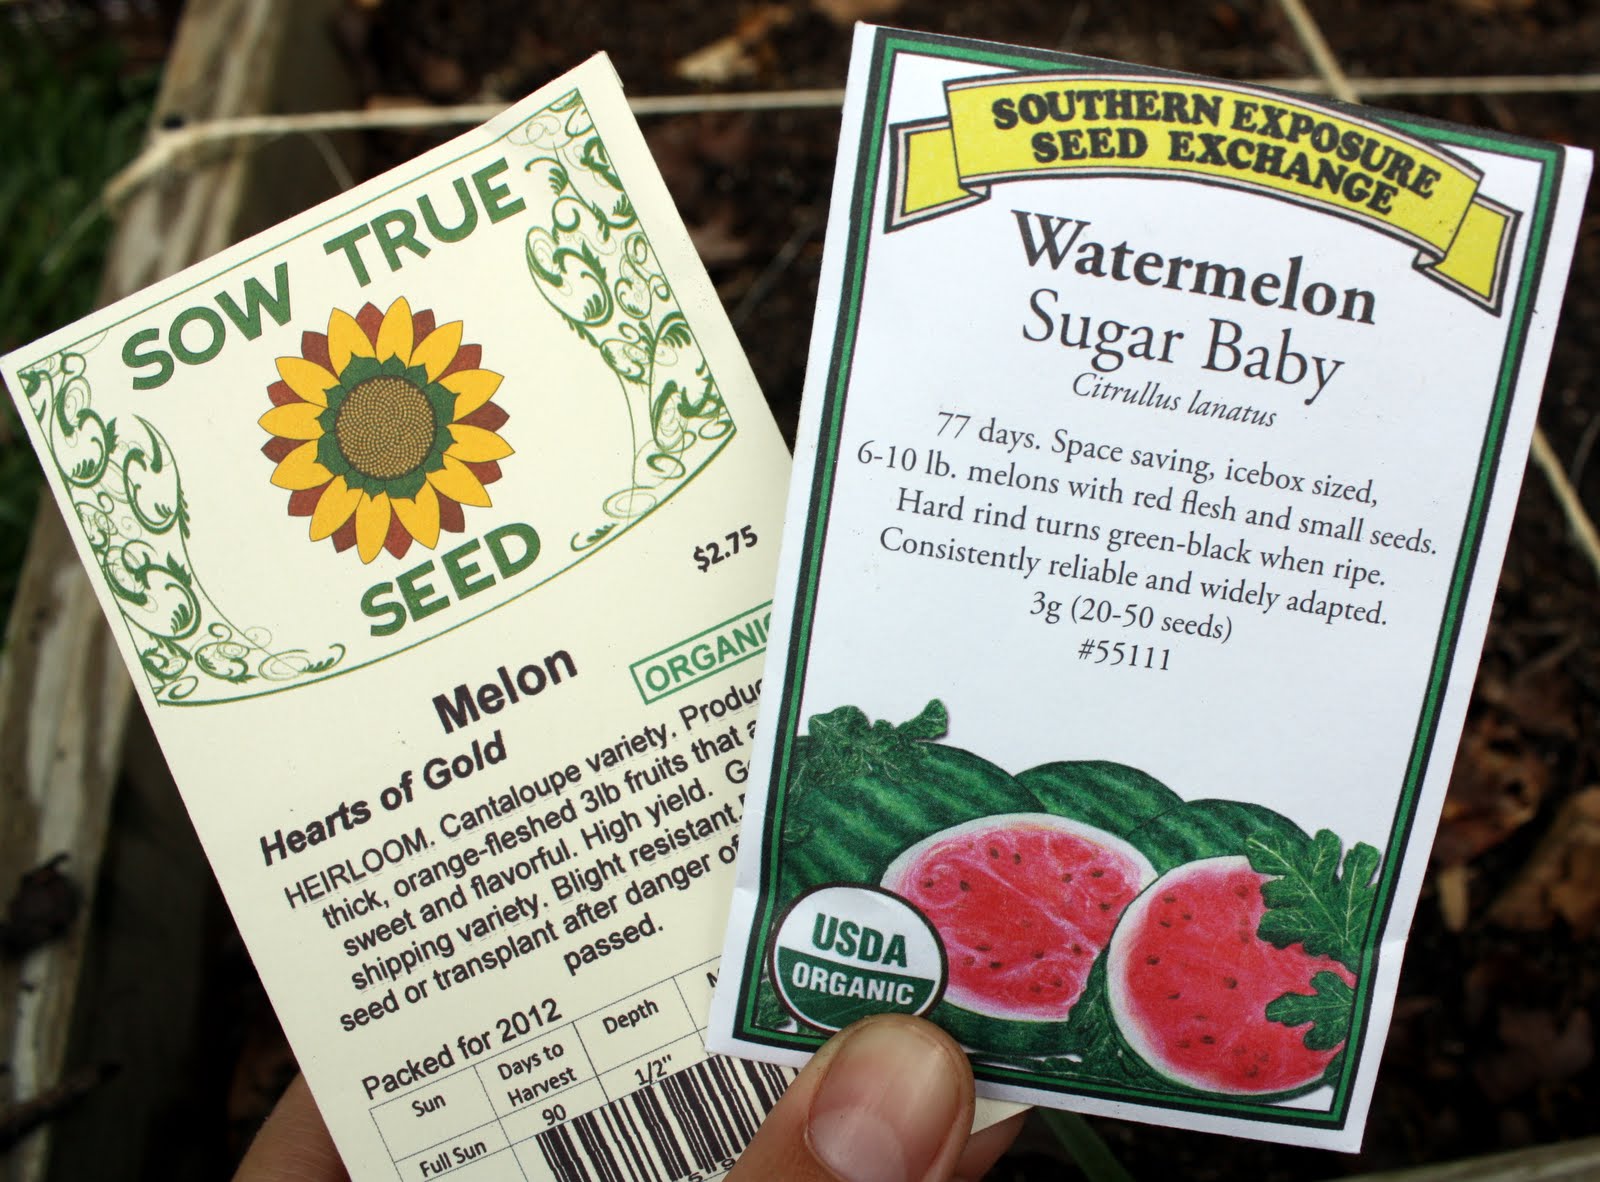
  • Sugar Baby Watermelons
  • Detroit Dark Red Beets
  • Hearts of Gold Canteloupe
  • Chadwick Cherry Tomatoes
  • Chives

Planting peas


One more seed to plant in that square!

For information on how many seeds to plant per square, check out Plant Spacing for a Square Foot Garden. All New Square Foot Gardening does not have an exhaustive list of plant types, so this Web site was a great additional resource.

And I also found this spreadsheet on companion planting quite helpful as I laid out the grids and determined where to place seeds.

So that I don't forget anything, as I'm very prone to do, I'm keeping a notebook with diagrams of each bed, noting what and how many seeds were planted in each square, and when they were planted. 

Speaking of the seeds, all were from Southern Exposure Seed Exchange of Mineral, VA and Sow True Seed of Asheville, NC.  Most are organic and heirloom varieties native to the Southeast U.S.  Just trying to keep it local/regional!


If you're looking for vermiculite, it can be hard to come by as it's not generally carried in big box stores. I found this handy-dandy spreadsheet on My Square Foot Gardening that lists retailers by state.  For folks in North Carolina, Fifth Season Gardening (locations in Carrboro, Charlotte, Greensboro, and Raleigh) carries vermiculite, as do a few other specialty gardening businesses in eastern and western NC.

I'll be cleaning out the mustard greens this week, and converting those beds to sq. ft. beds.  I need to pick up some corn and okra seeds, and probably a few more varieties of herbs, to add some diversity to the garden. And with all the rain we've had lately, hopefully we'll be seeing some sprouts in the coming weeks!

-Erin


Sharing at:


{Primp} 
 
 
Momma Hens Coop

Thursday, April 19, 2012

Square Foot Gardening: The Work-With-What-You-Have Edition

Spring arrived early here, much like in the rest of the country, and I've had gardening on my mind ever since!

We still have lettuce, spinach, mustard greens (ick--can't stand 'em!), onions, and garlic in the raised beds in our backyard leftover from fall plantings.  And until earlier this week, we also had two beds full of kale, which had bolted earlier in the month.


My husband usually takes the lead on our garden, but this year he said he just wasn't feeling it, so since I most certainly want a summer garden, it was up to me to get that ball rolling!

Jason takes a more relaxed approach to planting the garden, usually broadcasting seeds into the beds, waiting to see what comes up, then thinning and tending to the plants.

Well, I needed a bit more structure--or more like someone telling me what do--so I read Mel Bartholomew's All New Square Foot Gardening.  I quickly realized how simple, straightforward, and logical the system is, and decided that's how I'd plant and grow our summer garden.

Now, the basic tenets of SFG are:
-forgetting all you've been taught about planting gardens in rows--that systems works for producing food on a very large scale; home gardens needn't take up nearly as much space
-building raised beds in dimensions of 4 feet (ex: 4'x4' {the ideal} or 4'x8', etc.)
-filling the beds with a mix of compost, top soil, and vermiculite to minimize weeds and ensure quality soil
-making grids to go on top of the beds to delineate each square foot
-planting seeds and/or seedlings densely in each square foot block
-maximizing the amount of food grown in a small area of square footage

Mel gives guidelines on how many plants to grow in a given square foot, based on the mature plant size.  For instance, a single tomato plant encompasses 1 sq. ft., while 9 beets can be planted in the same amount of space.

He also states that by using the SFG system, one adult can harvest enough food from three 4'x4' beds (48 sq. ft.) to eat a salad and have dinner vegetables every day of the growing season, plus have enough extra produce to preserve and put up as well.  Pretty impressive, huh? 
 
Our large beds--of which there are 8--are 5'x10' and constructed of 2x12s, so they were workable enough for the SFG system. 

Since building them in 2010, we originally filled them with a compost/topsoil mix, and then amended the beds with more of the same mix last year, plus leaves, grass clippings, and some horse manure compost from a neighbor.

For this project, I decided to start small(ish) as Mel recommends and convert the two beds of bolted kale to square foot garden beds.  As the spinach and lettuces and greens wilt with the heat, I'll clean out those beds and convert some of them to the SFG system.  I may leave a few beds alone and use them for more sprawling plants like watermelon and pumpkins since we have the space, though you can technically grow them semi-vertically with the SFG system!

Anway, here's one of the beds of kale.


I ripped all that out:


Took a 4 cu. ft. bag of vermiculite:


  And emptied the contents into the bed and worked it into the soil:

The vermiculite prevents the soil from compacting and allows for better drainage


Now, the official way to do the SFG grid is to use wood lathe and make a permanent grid to lay on top of the raised bed.  After looking into several options at the local home improvement stores, we'd either have to spend a bundle on wood lathe long enough to span the 10' beds, or buy a table saw and rip 2x4s into thin strips of lathe, which isn't exactly the safest thing to do.

(This is where if you make your beds the recommended 4'x4' dimension, you can get lathe in 4' lengths for a cheap price.  Plus, a 4'x4' bed is easy for most people to reach in from all sides--another reason why Mel recommends those magic dimensions.)

Anyway, in the name of thrift (and instant gratification), I went against Mel's advice of building the wood grids. I already had 5,000 feet of baling twine and plenty of screws on hand.  And even if I have to replace the twine next year, I figure I'd rather use what I already have first than spend any money.   Plus, I could make a grid of twine without any assistance and get it done quickly.

So I marked off each foot around the perimeters of the beds and placed the screws: 


Then I took lengths of twine and tied them off, first along the 10 ft. lengths:


And then across:

The OCD/anal retentive part of me is totally loving all those neat little grids!

And tah-dah, Square Foot Gardening beds!  

My son and I planted the beds today, but it's dinner time now so I'll be back in the next few days to give a quick rundown of what we've planted so far.

Do you use the SFG method?  Have you been working in your garden yet?  What have you planted?

-Erin

Monday, April 25, 2011

Country Living Series: The Ladies (and Possibly a Gent)

I can think of little that is more quintessentially 'country' than keeping chickens.


Yes, many urban homesteaders and suburbanites are raising chickens in their postage-stamp-sized yards these days, so keeping chickens is certainly not exclusive to country living. But in the country is where it all started and I think that every urbanite or suburbanite who keeps chickens is seeking to capture some of the essence of country living via their chickens.

My chickens are collectively referred to as "The Ladies."  The flock currently numbers six laying hens and two youngsters, one of which we believe is a boy. I hope he will prove to be a true gentleman because we had a not-so-gentlemanly rooster not too long ago.  Let's just say he's no longer with us in this earthly realm...

Anyway, when we got chickens last year, I had no idea how entertaining they'd be or how much I would adore keeping them. I just wanted fresh eggs from chickens that were treated humanely and allowed to live happy lives. My husband simply sought good-quality fertilizer to add to the garden.

What we have now is feathered pets who just so happen to endow us with delicious eggs and fertile compost.

These chickens never fail to put a smile on my face. I love hearing the ladies chattering away when I'm outside.  It delights me to no end to walk past a window while inside the house and spot them in the yard, scratching and pecking for bugs.

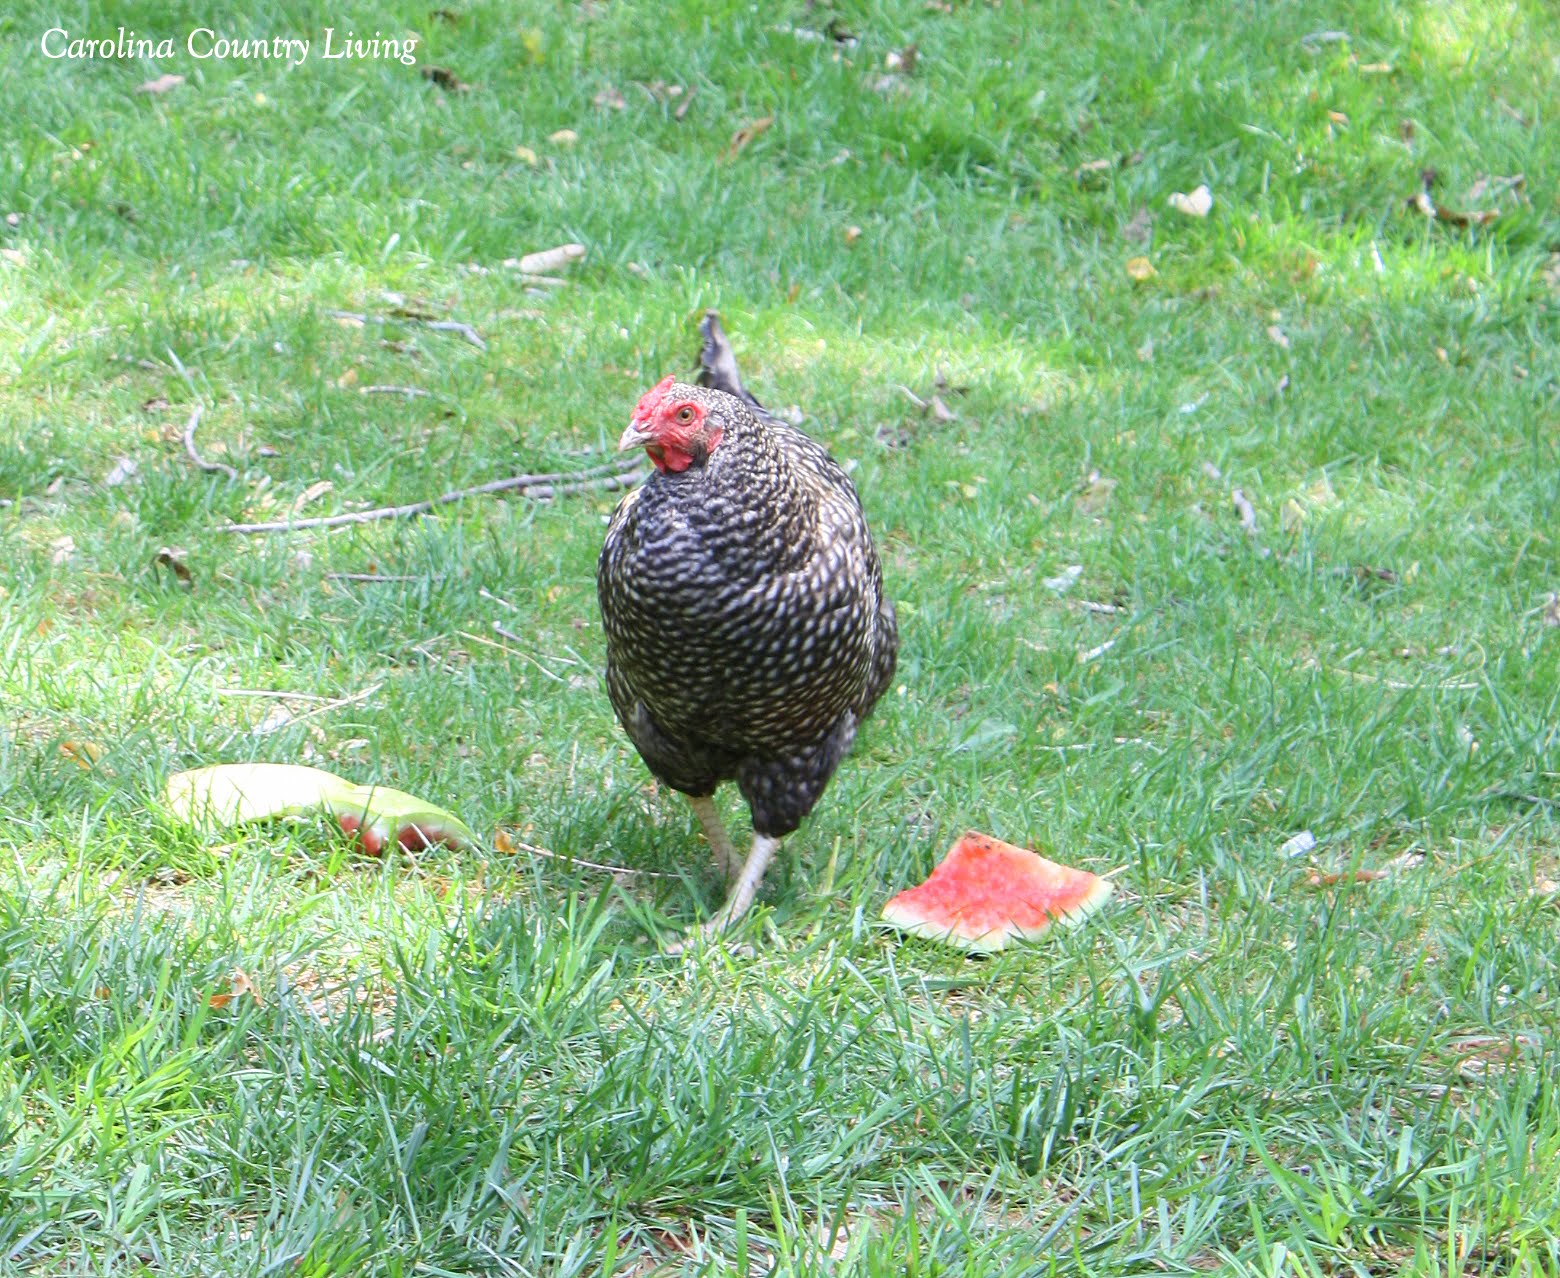
I'm quick to take them treats--bananas, melons and yogurt are favorites--and I chided my husband just the other day when he'd emptied some veggies into the compost bucket rather than give them to the ladies.
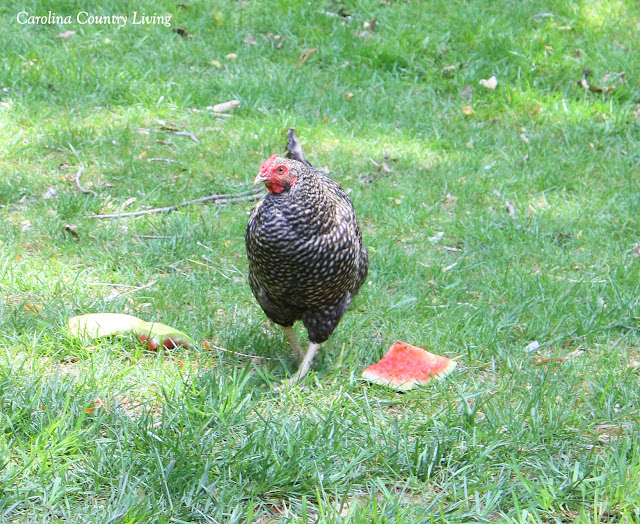
Chicken enjoying her watermelon

As the temps warm here, I often find myself in the evenings headed out to "play with the chickens." That usually entails me cornering one of them in the run and then picking her up and talking softly to her whilst stroking her feathers.  You know how it's said that stroking an animal (usually a dog or cat) calms you, lowers your blood pressure, etc.? I find chickens have the same effect on me.
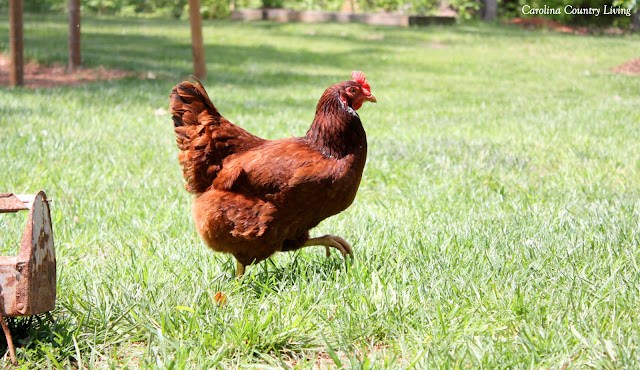
If I didn't have this camera in my hand, I'd pick you right up, Lu!

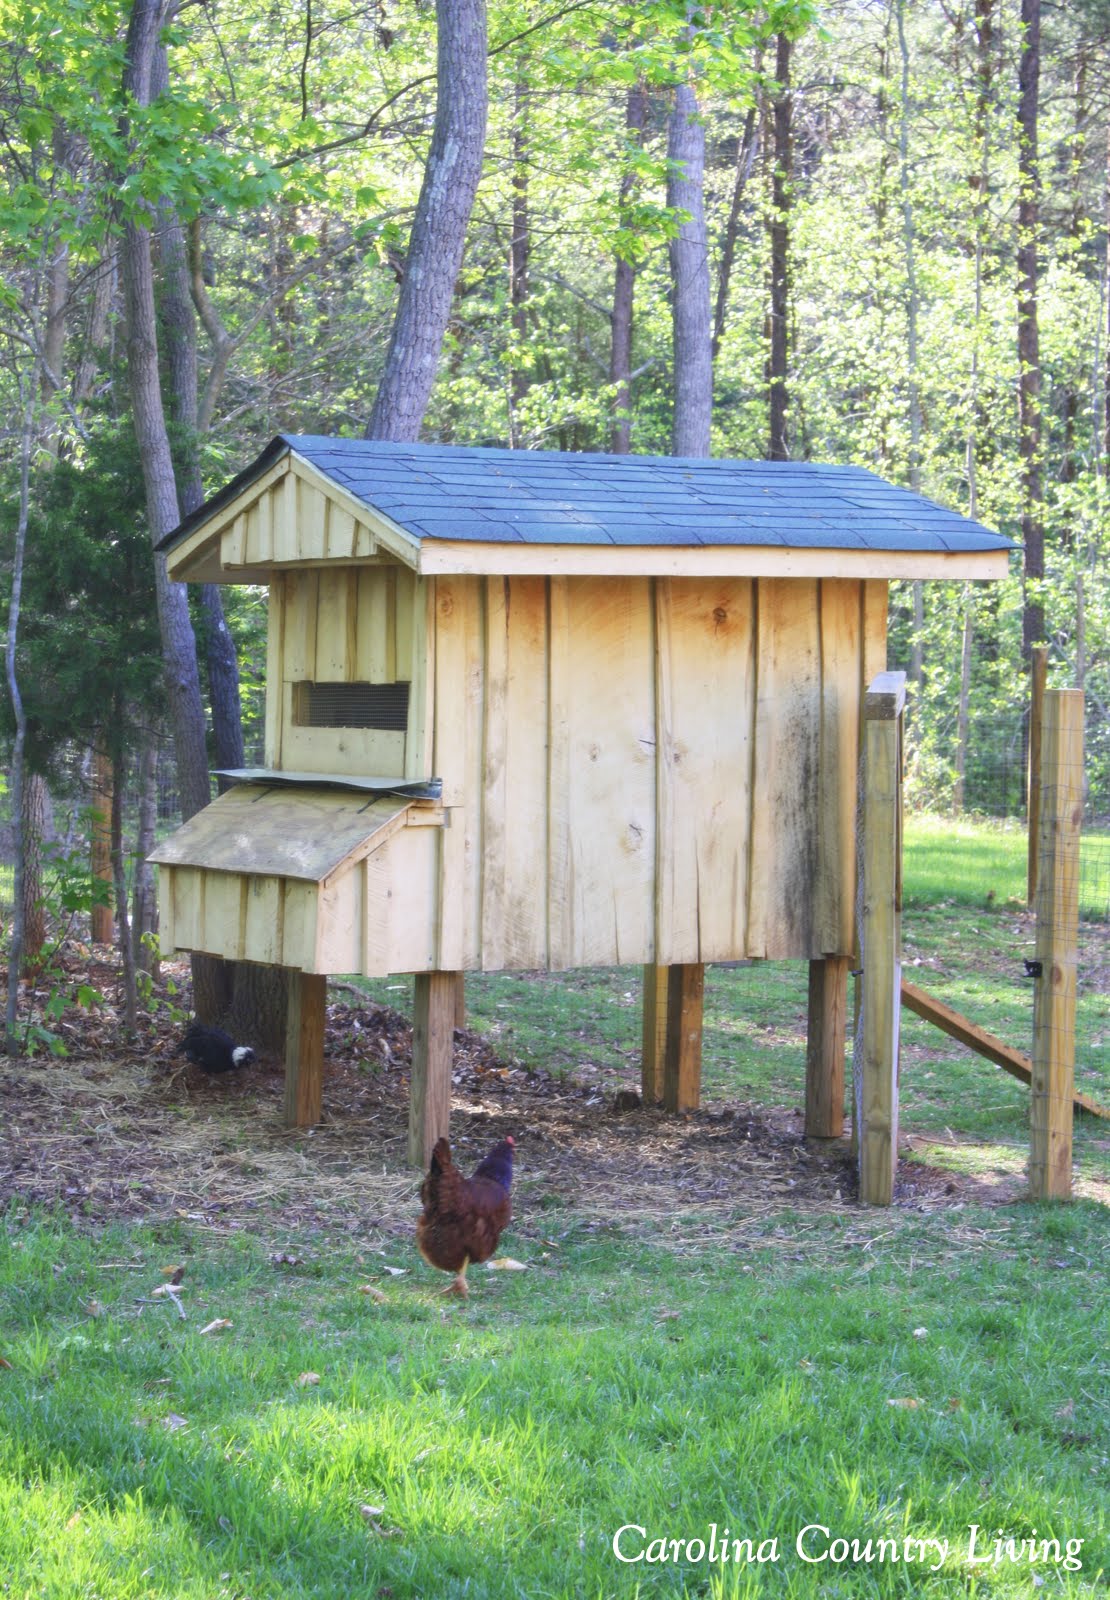
My husband designed and built the ladies' coop from various salvaged materials that we and my dad (our next-door neighbor) had on hand.  The siding came from a local sawmill that sells green, rough-hewn oak boards (usually 8-10" in width by 8-10' in length) for $1 a piece, making this a very frugal project.


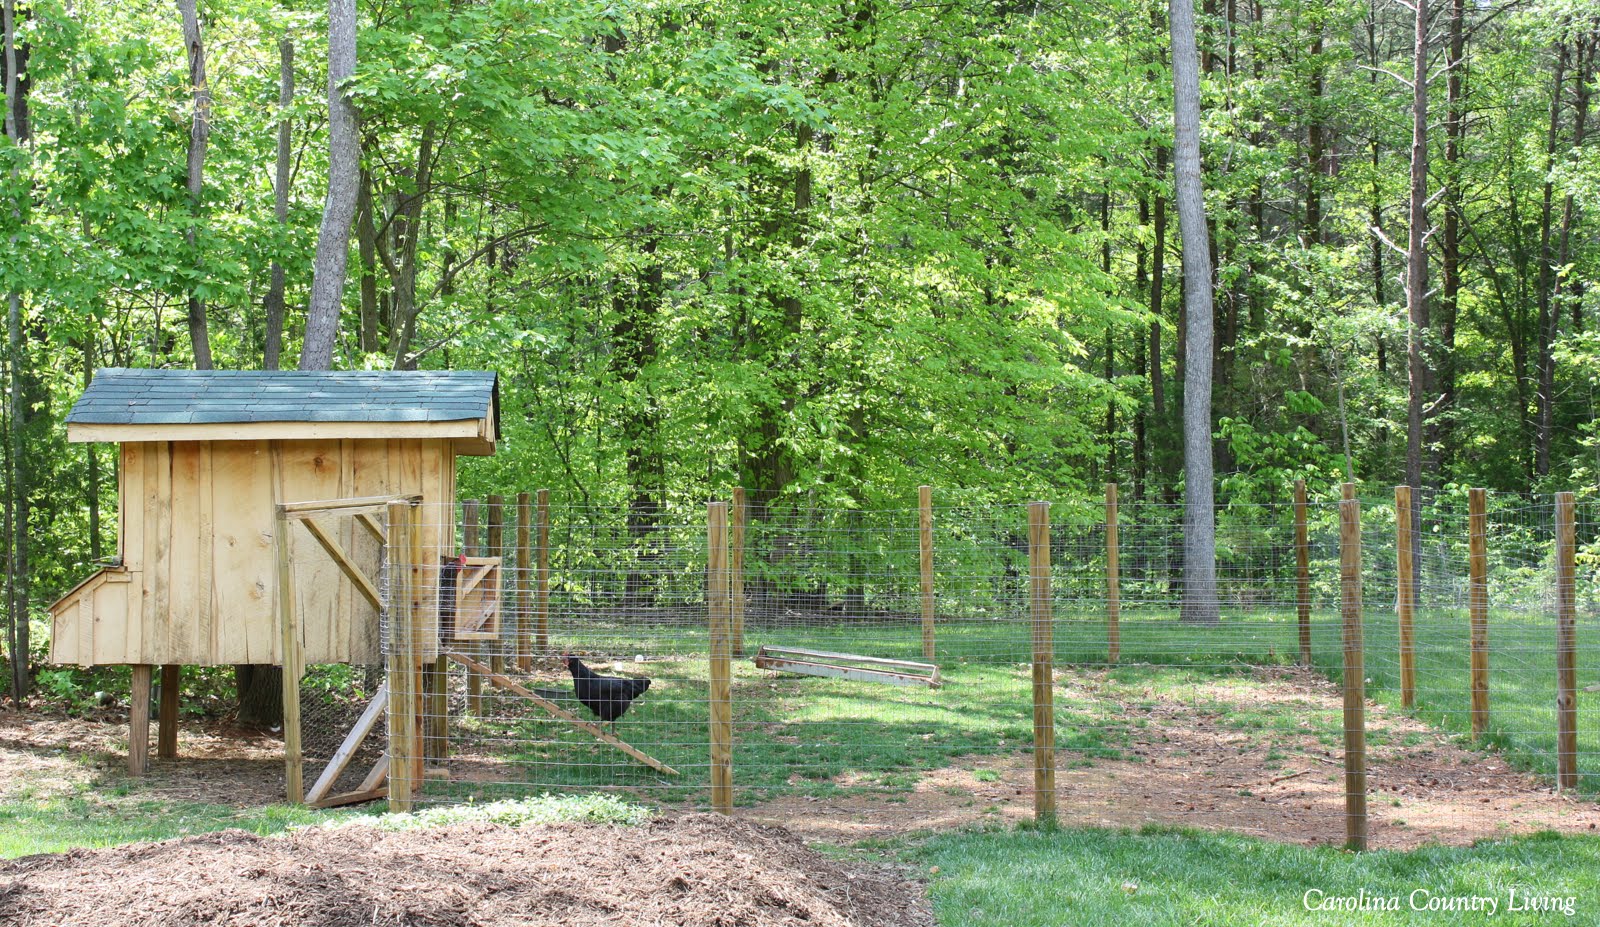
The nesting boxes are housed at the rear of the coop (left in the photo below) and a hatch that lifts up gives us access to the eggs from the exterior. The hens enter via a gangplank in the front (right, below), and though you can't see it from this angle, there is a larger access door on the offside for cleaning the coop. The floor of the coop is made of hardware cloth and some droppings fall through, but much of it rests on top, thus I scrape it out with a hoe via this access door.


We attached a 20'x30' run to the coop to give the chickens an ample yard in which to scratch and do their chicken thing. I dug all the post holes by hand (for which I thought I deserved Wife of the Year!) and then up went the fence for the chicken run.


Since getting the hens, we've actually alternated between keeping them in the run and letting them free range in our yard and woods. They are happiest having the run of the place and even go as far as sulking, pacing along the front edge of their fence while giving me the stink-eye, when I shut them in the run  The only downside to free-range chickens in the yard is the free-range poo I occasionally step in, but it's an inconvenience I'm willing to live with.
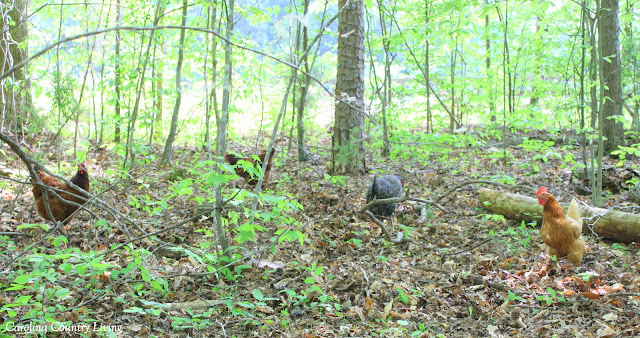
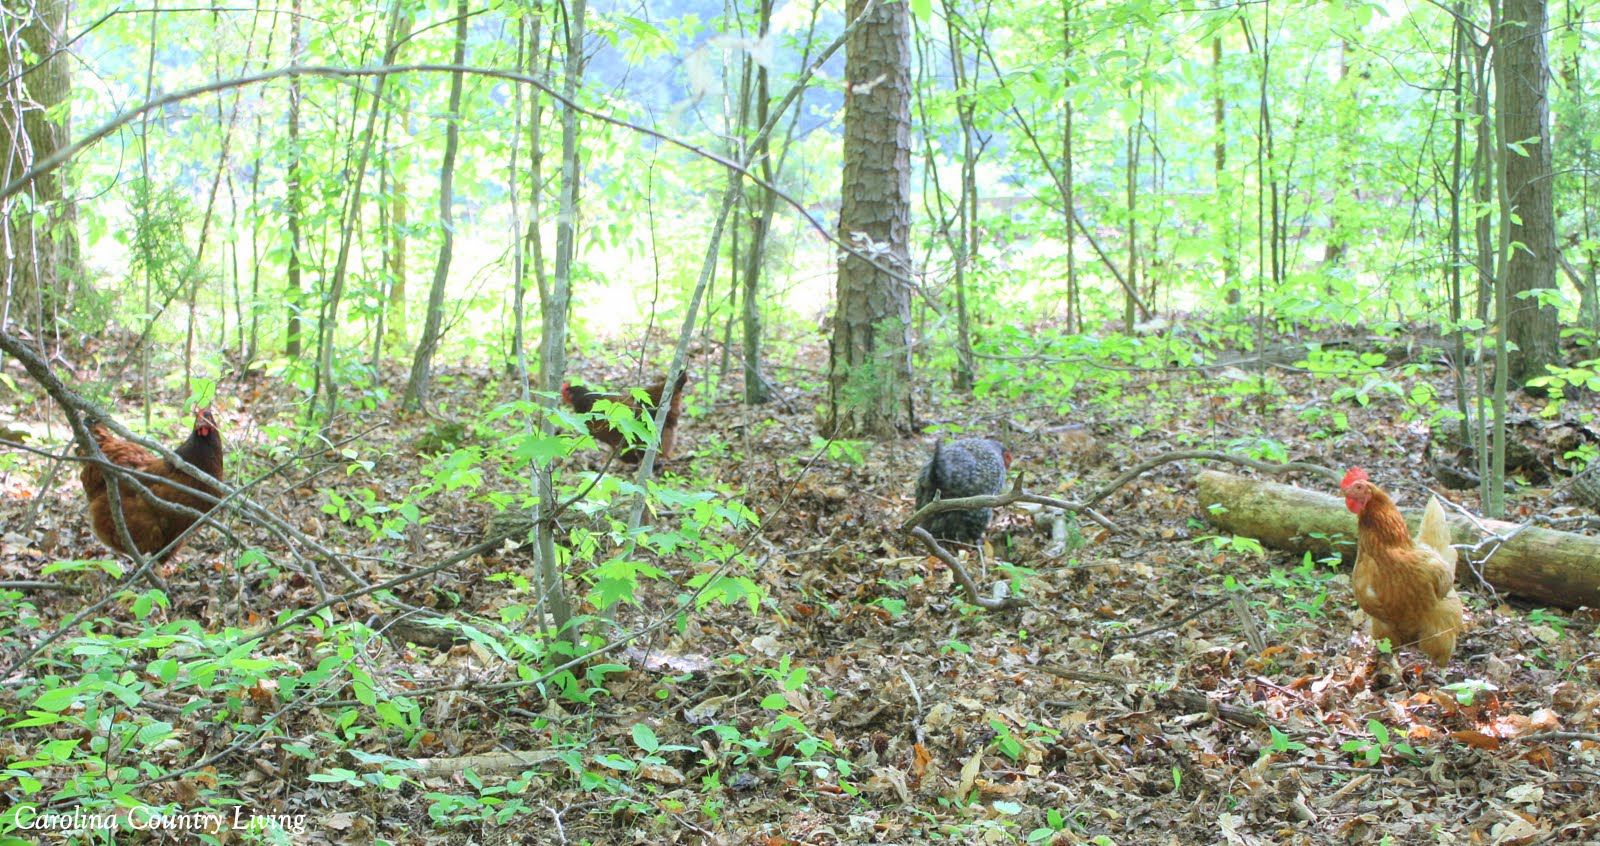
The ladies frequently free range in the woods around the house where ample bugs and grubs are found.

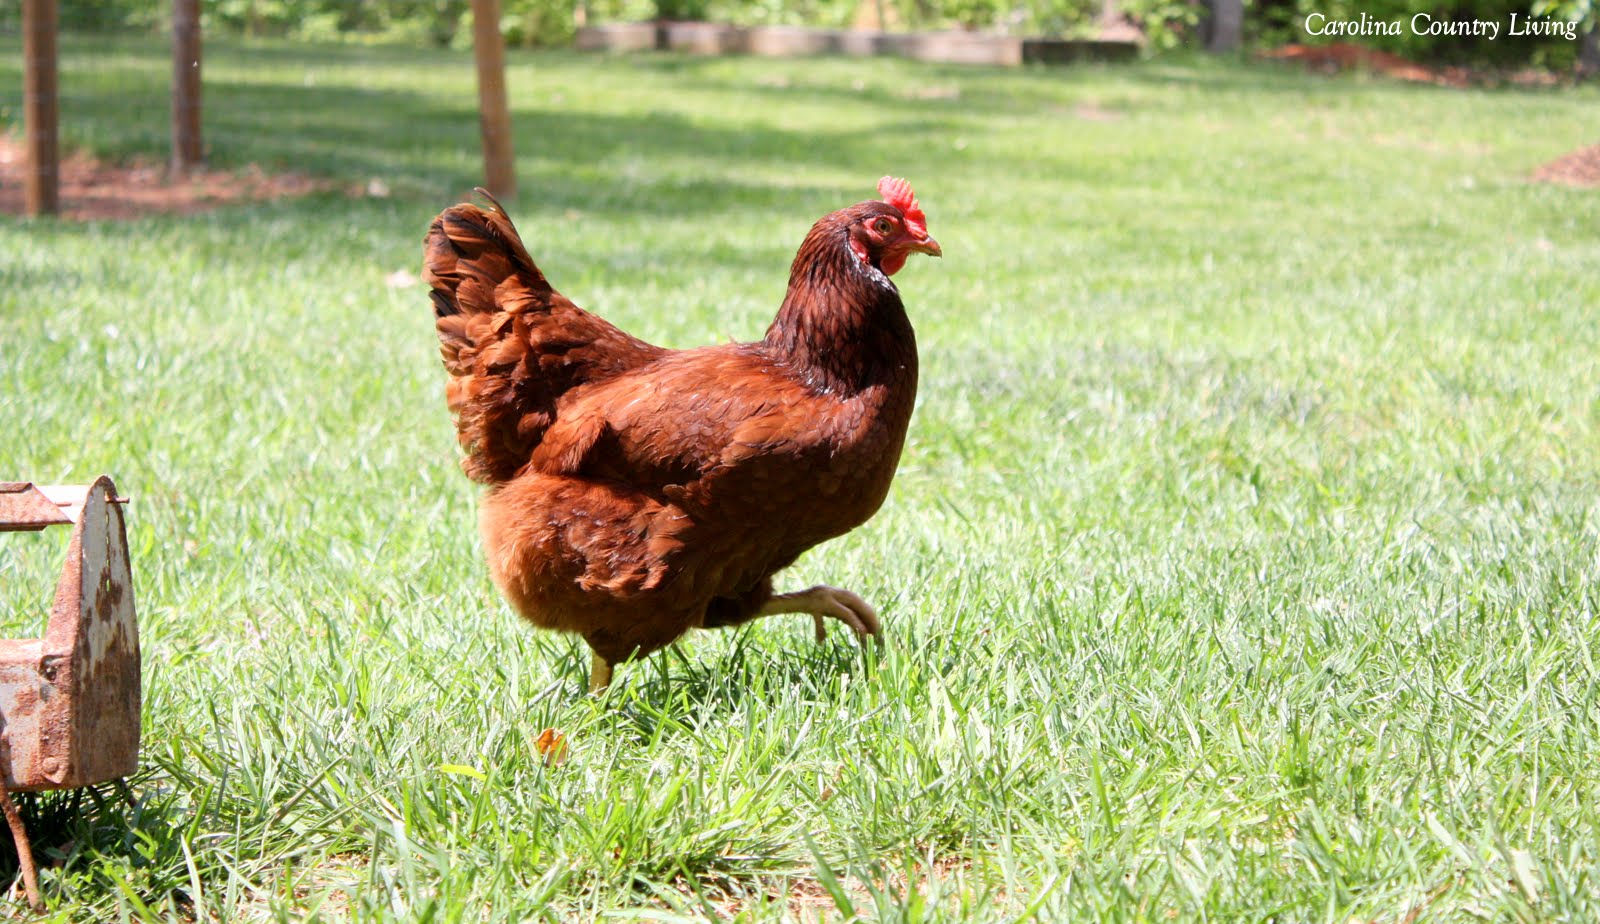
The leader of the flock is Henny Penny. I believe she's a standard production Red Sex Link, but possibly a Buff Orpington. I've only ever found conflicting information when visiting online chicken forums and doing Google Image searches. Regardless of her breed, she's intelligent and quick to eat out of your hand when offered crumbles.  And I swear that chicken has laid an egg every single day since we've had her. You couldn't ask for a better egg producer than Henzer.
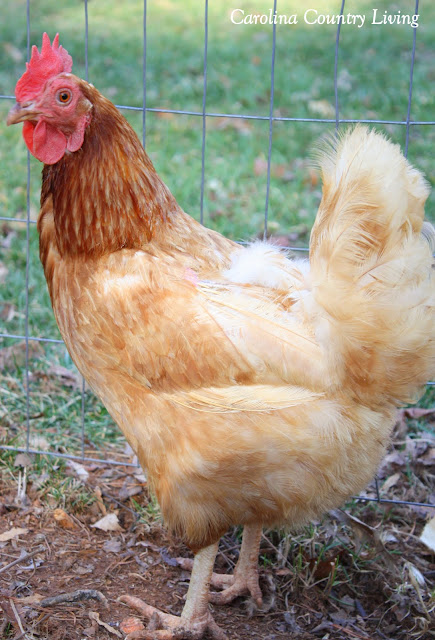
Henny Penny - Alpha Hen

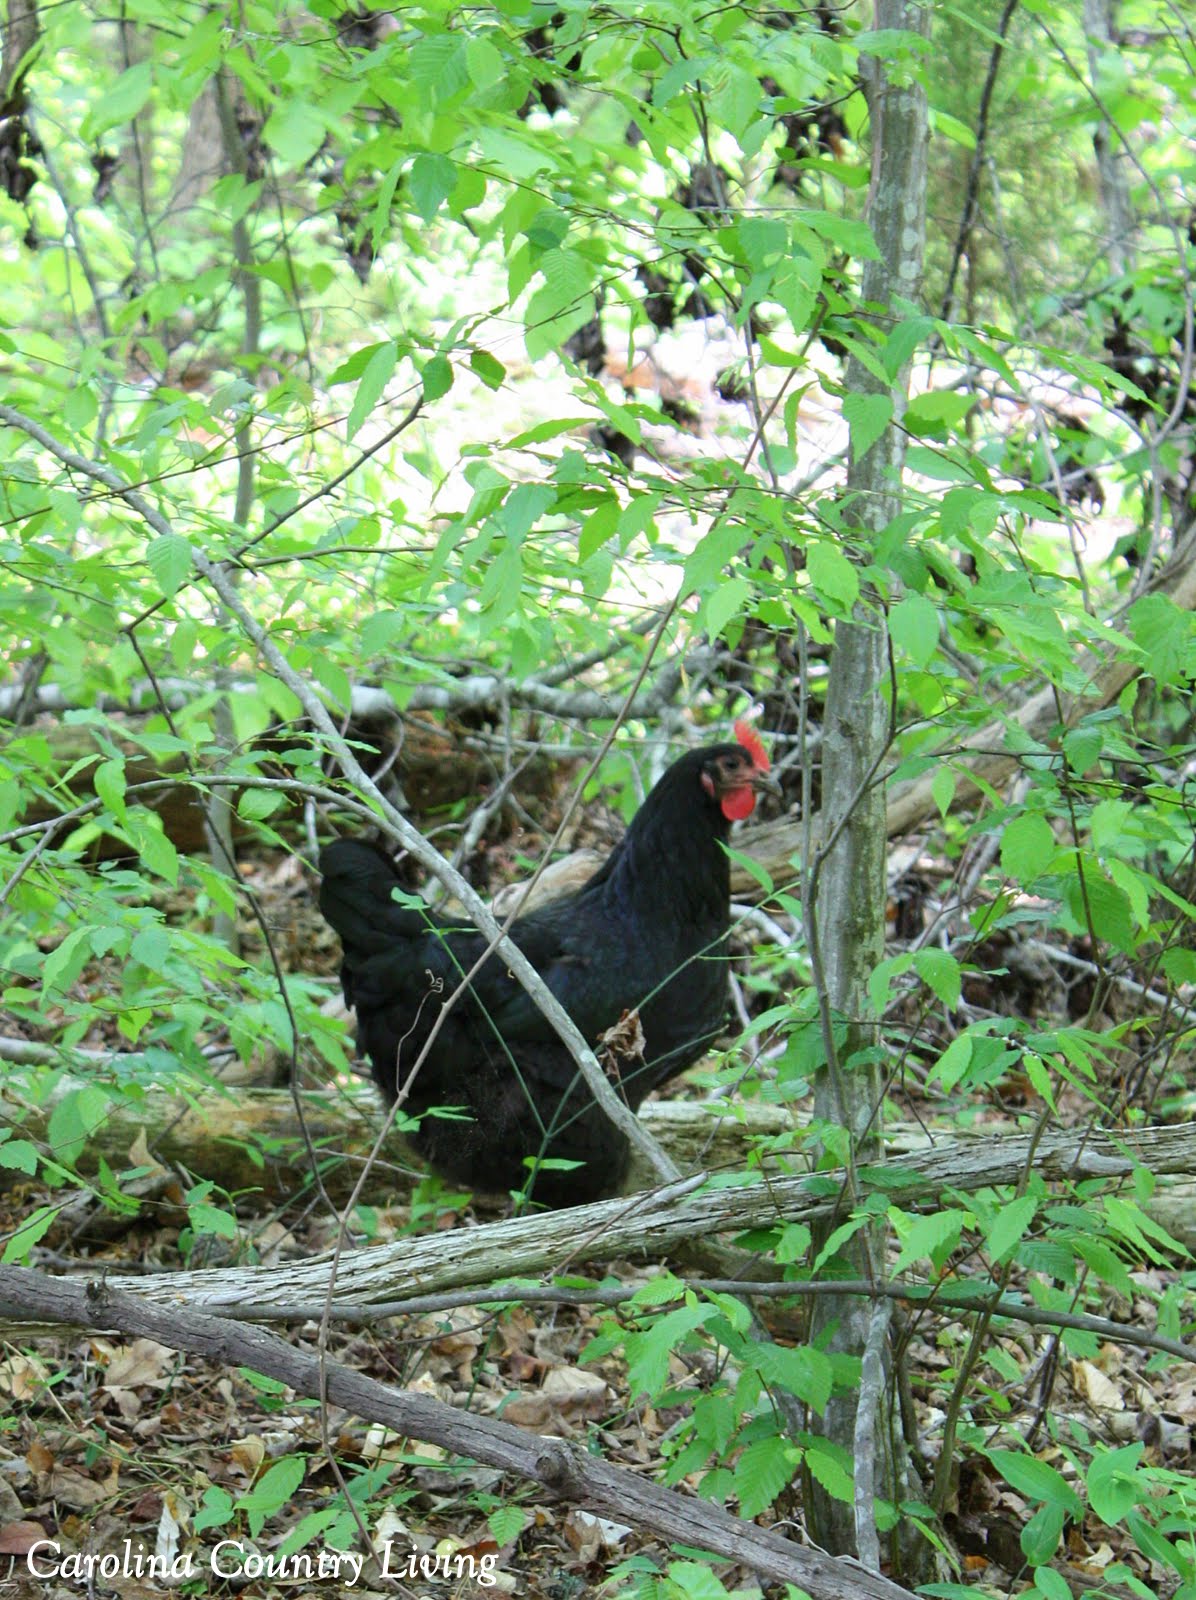
Darkness is a Black Jersey Giant for whom we couldn't come up with a better name. Sorry, Darkness! Her eyes have an eerie look to them, and that's what initially inspired the moniker.  For any of you who watch True Blood, her eyes remind me of the residents of Bon Temps when they were under the spell of Mary Ann. She also clucks in this menacing sort of way, so really, the name fits.

The ever-evasive Darkness
Rosie, a Rhode Island Red, came to us via my husband's brother who also has a small flock.  This is another story for another time, but Darkness had two siblings that we got as youngsters. (Before genders could be determined.)  Turns out those other two Jersey Giants were roosters. We traded one of the roosters to my brother-in-law for a hen, so he could eventually raise chicks. Rosie was the hen we received in trade.
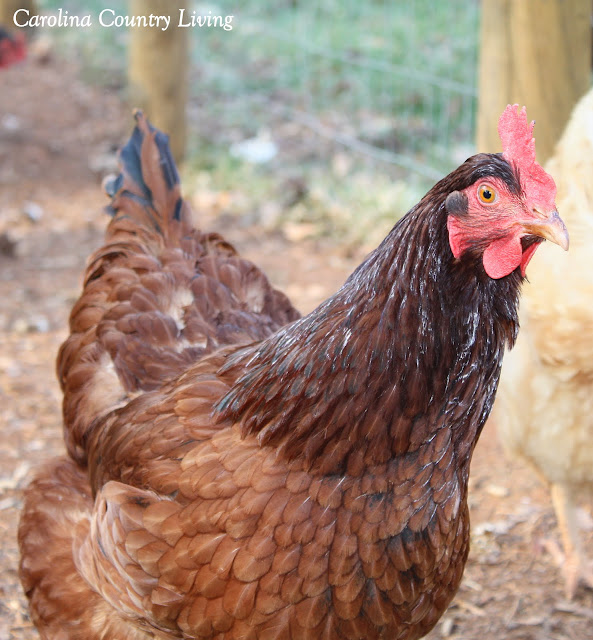
Ro-Ro
Chicken and Dumplings are a pair of Barred Plymouth Rocks that we purchased with Henny last May. My husband thought he was clever in naming them what he did, but don't worry, they'll never be what their names suggest!
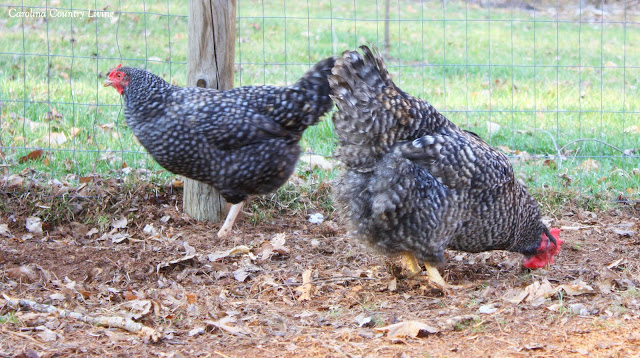
Chicken (left) and Dumplings (right)

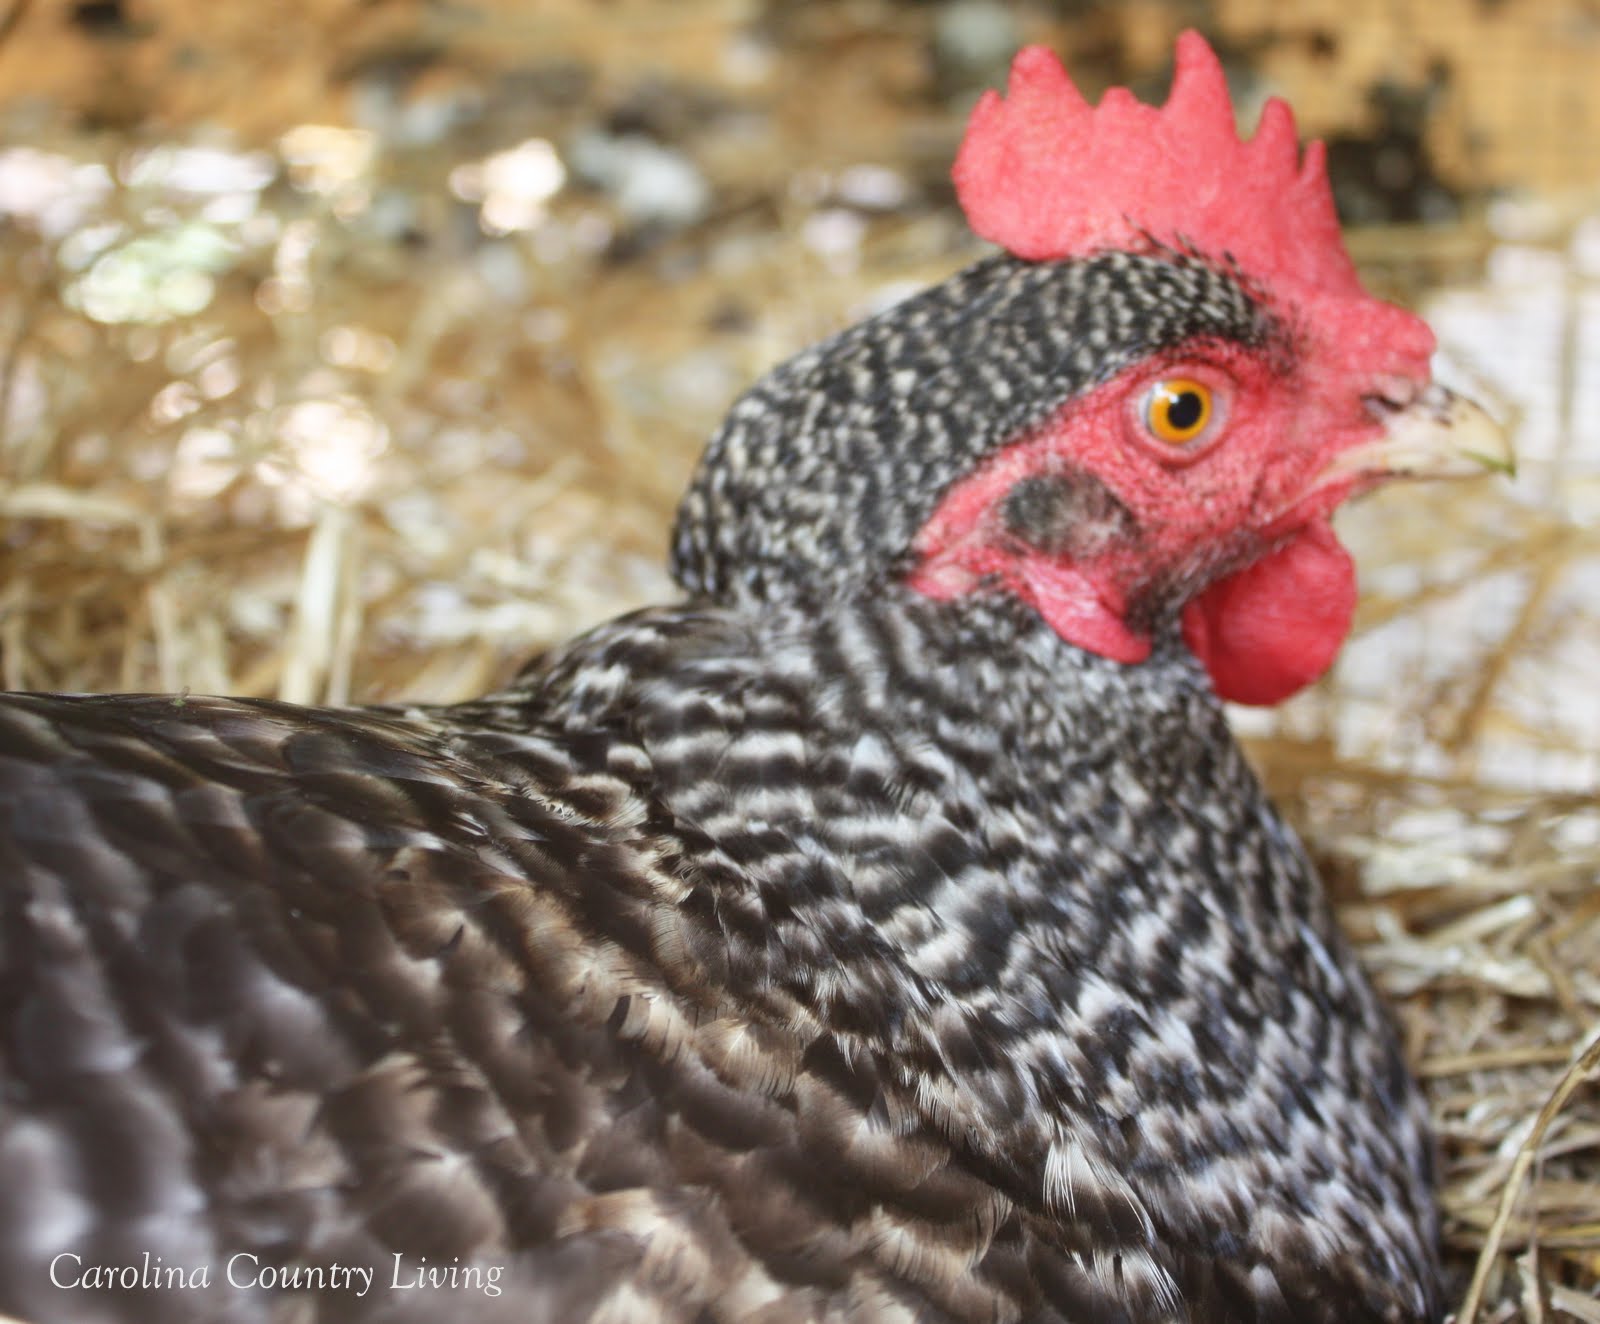
They're both large chickens and Dumplings is a waddler. It's hilarious to watch her waddle speedily through the yard after a treat.  She can be surprisingly quick and agile when it comes to snatching goodies from her flockmates. I have a particular soft spot for Dumpy after she had heat stroke last summer and required a brief stay in our house to recuperate.

Dumpy in the nest box

The newest hen to the flock is Lucille. Like Rosie, she's a Rhode Island Red from my brother-in-law. Poor thing's been here just a few weeks and Henny and Rosie continue to put her in her place, which is pretty much at the bottom of the pecking order.  She's adjusting and is a sweet chicken. She often freezes and crouches down when you approach her, so she's easy to catch and pet.
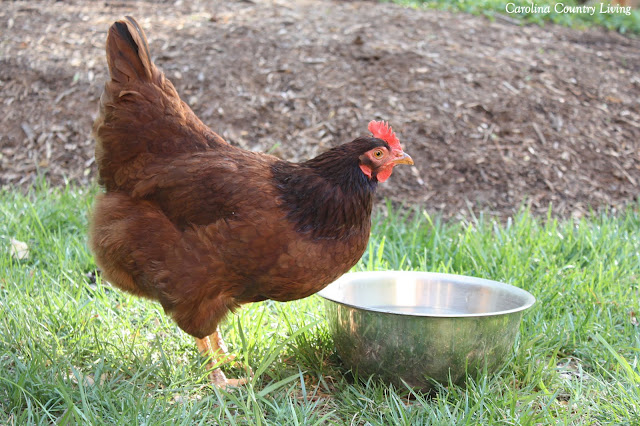
Lu

Finally, just last weekend, we received The Littles. Our nephew loves chickens and wanted badly to hatch eggs this spring, so Santa conveniently brought him an incubator for Christmas.  He and my brother-in-law hatched more than a dozen chicks of varying breeds in February and they gave us this pair.

The Littles...actual names TBD...right now Tweedle Dee and Tweedle Dum are at the top of the list.

They're Polish Silkies and from what I've read, they're a cross between Polish Bantams and Silkies. They are two peas in a pod and chatter constantly.


So, there you have it, the long-overdue introduction to our flock of chickens!

They are remarkably easy to keep and bring joy in spades to my life.  (What does that say about my life? Oh, never mind, we won't go there right now...)

If you've been thinking about getting chickens, I encourage you to do it!  All of my chickens have been easy keepers and the hens only require sufficiently protective housing, fresh water and feed, and space to stretch their wings and legs.

And let me tell you, there's nothing like eating a fresh, golden-yolked egg from your own chicken. Grocery store eggs, with their pale, anemic yolks, will look incredibly inferior (which they are) in comparison after you've had a real thing.

So, do you keep chickens or have you in the past? If so, what's your favorite aspect of having them?

Erin

Monday, April 11, 2011

Where'd She Go?

That question may or may not have crossed your mind in the last few weeks. :)

After proudly declaring to my mom in mid-March that I'd managed to get through winter without even a hint of a cough or sniffle, spring arrived and she hit me hard with seasonal allergies.

Then I caught a virus.

Oh, irony, you annoying thing, you. 

Just when I least expected to be sick, I spent days in bed with a fever, queasiness and the kind of soul-sucking fatigue I hadn't experienced since being pregnant.

Well, I'm finally back to the land of the living and functioning, and just wanted to pop in so you didn't think I'd completely disappeared!

I feel like I have lots to share. And I will over the course of the next few weeks!

We've added a new hen to the flock. (I promise an introduction to all the ladies is coming very soon. It's way overdue!)  Her name is Lucille and the pecking order is still being re-established.  And poor Lucille's been on the receiving end of a lot of pecks.

Though I haven't touched it in more than two weeks, I'm painting a lovely, curvy Depression-era armoire and have vowed to finish it this week.   My porch is overrun with furniture from Craigslist and recent curbside finds. It's looking pretty bad (like white trash bad) and my husband complains loudly and frequently about it. <g> Much furniture painting is in the near future.

We (meaning me and my husband) dug god-only-knows how many post holes for a pig barn, pig pen and a fenced orchard in our continued quest toward living more sustainably. Fortunately, we have friends with a gas-powered post-hole digger and they kindly lent it to us, so it was actually fun to do compared to do it the old-fashioned way. (As I did last year when putting in the chicken run. Never again!)

My husband's done the majority of the work in building the barn and getting the fence up and I'm proud of him for seeing his vision through. The pigs are scheduled to be picked up Friday and I'm ordering a few more trees this week so we can get them in the ground this month.

Finally, my sister's house is nearing completion. I took sneak peek pictures a few weeks back so that's another forthcoming post. Let's just say it's amazing what new paint will do to an old farmhouse. 

So, like I said, much will be written in the next few weeks as I get back into the swing of things.

I'm just happy to be feeling better and able to get outside amongst all this springtime beauty.

Country Living

Hope you're well,
Erin

P.S.--Brenda at Cozy Little House featured Carolina Country Living in her weekly Welcome Wagon post on March 25th.  Check it out--along with the other blogs she featured that week--here.

Brenda is such a generous and thoughtful blogger. She's been doing the Welcome Wagon as a way to introduce new blogs for some time now and she spots some real gems out there in blogland. She's also quick to share useful blogging and photography tips, of which I have borrowed several. Thank you on many counts, Brenda!

And welcome to new readers and followers who found me through Cozy Little House--so glad you came by!

Saturday, December 4, 2010

Country Living Series: Heating with Wood

Though this blog is still in its infancy, I realized I had yet to actually write anything that really pertained to "country living." Now, the general plan for Carolina Country Living is to cover a hodge-podge of topics that interest me (and hopefully you), but I decided it's high time this blog lived up to its name, at least for one post!  For that reason, I've decided to start a series of periodic entries about aspects of living in the country. This is the first entry in that series.

I snuggled on the couch today, reading some lovely blogs (see my blog list for my favorites) and watching a beautiful snow fall. Though it was quite nippy outside, I was roasty-toasty thanks to a potbelly stove full of bone-dry white oak.

Let it snow, let it snow, let it snow!


Hi, I'm Erin, and I heat my house with a woodstove.  :)  Now, we're not so "country" here that heating with a woodstove is our only option. We do, in fact, have central heat and air, but we made the mistake three years ago when building this place of installing a gas furnace.

See,  this is what the living room and dining room area looks like at my house. 

Note the height of the ceiling--it extends beyond what I could even capture in the picture! We obviously didn't think through the ramifications of a 20-plus foot peak. All we saw were gorgeous timber beams. Silly us.  

Even with a several ton heating unit, the heat will run all day at 70 degrees but the air around you will feel lukewarm at best in since the hot stuff rises beyond the livable space.  And to add insult to injury, it costs an arm and a leg to keep the house tepid thanks to the ever-rising cost of liquid propane gas. 

After staying home with my baby in a chilly house for our first winter (and me turning into a miserable, cranky person who was always cold!), my husband and I decided something else had to be done; a woodstove was our answer

Ours, as you could probably tell from the photos, is a log house. The potbelly was a perfect fit for a cabin, plus we were working with a limited area of space and needed a stove that was more vertical that horizontal. 

Fits like a charm!  And even looks cute decorated for Halloween!

I won't go into the boring details of my husband building the hearth, or the installation of the stove, but suffice it to say, it was an arduous task that's ultimately been worthwhile. The stove is a simple cast-iron affair that throws some serious heat and we can now heat our entire home on wood alone. We'll flick on the heat every now and again, but there's nothing more satisfying that having a house warmed by fire, hearing the soft roar of the flames inside the fire box.

Before I start painting too romantic a picture of life with a woodstove, I do have to say heating with wood requires a willingness to do a good bit of manual labor. My husband built a simple woodshed in the spring of 2009 and we spent that month of May splitting and stacking wood we picked up for free via Craigslist ads for downed trees. We spent many a weekend in the early part of that year driving in rural parts of surrounding counties cutting up fallen trees. How's that for quality family time! :)  

This year, we were fortunate to find a huge oak that was struck by lightning on my parents' property, which is adjacent to our land. My husband chainsawed the tree apart, I carted the hunks of wood to our place, and then we split it last month. 

I'm sure some of you are thinking I'm out of my mind for doing so much just to heat my house. I may very well be, so I won't rule that out! However, I'm a pretty frugal person at heart, so apparently those sensibilities outweigh the desire to spend money on LP (which runs more than $3 a gallon these days!) or avoid hard work. And let me tell you, transporting and stacking wood is a full-body workout.

However, one aspect of living in the country, and having a country/self-sufficient mentality, means having to work to get some of the things you want.  Working in the woods (and having my sweet little boy by my side slashing limbs and exerting all that boy energy), enjoying the bounty of Mother Nature as I listen to the calls of birds and observe other woodland creatures, and using my strength and and able-bodiedness (and literally feeling it to my bones on some days) to help provide for my family's comfort are all very satisfying endeavors. But knowing I am able to heat my house through my own work? To be self-sufficient in that realm when so many of us take for granted that our homes are comfortably warm? That epitomizes life in the country to me!