Showing posts with label sewing. Show all posts

Monday, February 13, 2012

Mission Accomplished: Flannel Pajama Pants

One of my goals in 2012 is to branch out into sewing simple clothes for myself and my boys.

I was able to squeeze in some sewing time last week at my friend Kate's house to make this pair of pajama pants!


Kate is an accomplished sewer, even though she probably wouldn't cop to it.  She makes clothes for her kids. Like so-meticulously-crafted-you'd-never-guess-they're-handmade outfits.   She's really talented! 

Kate was kind enough to walk me through the steps--particularly how to sew the crotch together, which I simply couldn't wrap my head around at first--and ignore my occasional whining.  :)

In the end, we had a great afternoon hanging out in her "fortress of sewitude" while the kids played, and I emerged with the basic knowledge to make pajama pants.

Happy Erin

And O-M-G are they like heaven to wear.  So soft. So comfy. A perfect fit. I don't want to put on real clothes in the mornings now because I could easily wear these pants all day and night long!

If you want to make your own pajama pants, visit this tutorial from DIY Fashion for some excellent diagrams on how to cut your fabric and piece it together. And if you're like me and need to actually see something being made to understand its construction, watch this YouTube video tutorial.

(Of course, it only occurred to me after taking up part of Kate's afternoon to check YouTube for pants-making video tutorials...story of how my brain works.)

Also, here's a tip (courtesy of Kate) for cleaning up hems and seams without having to double-over the fabric or using a serger: sew the seams/hems, then simply cut the excess fabric with pinking shears.  I did that to the waistband after sewing the casing for the elastic, the crotch seam, and the hems on the legs.  It really cleans up the pants on the inside and prevents the fabric from fraying excessively.


Sewing a tag onto the inside back of the waistband is also handy to know which way is front.  (That's another tip from Kate, by the way.)


Anyway, I love having a pair of flannel pants that fit so comfortably and aren't high-water sweatpants --which is what my 5'8" self has been wearing so far this winter! 

Plus, I have to say, I'm pretty stinking proud of myself for sewing an actual pair of pants. Shoot, if I can sew pants, there's nothing stopping me from a skirt! Or who knows what else? :P  And let me assure you, if I can sew a pair of PJs, you can do it, too.

Have a lovely week,
Erin

Enter your email address to subscribe to Carolina Country Living:


Delivered by FeedBurner

Sharing at:

{Primp} Momma Hens Coop homework shabby creek cottage freckled laundry

Saturday, January 7, 2012

Planning for 2012

As a big list-maker, I've been working this week on three lists of projects and goals I'd like to accomplish in 2012.   The lists are centered around: crafting, the house, and homesteading. 

Resolutions, what?  I think I'll just stick to projects this year! 

Crafting Projects
After painting a bunch of furniture last year, I'd like to switch gears this year and focus on sewing projects, both with the machine and by hand.   I'm sure I'll still paint here and there, but I'd love to venture beyond making pillow covers and curtains, and try sewing clothes for a change of pace.

Perhaps a pair of pajama bottoms for the winter?  This dress would be adorable to make for the summer!  And based on the tutorial, a novice sewer (like moi) can make it...

{via}

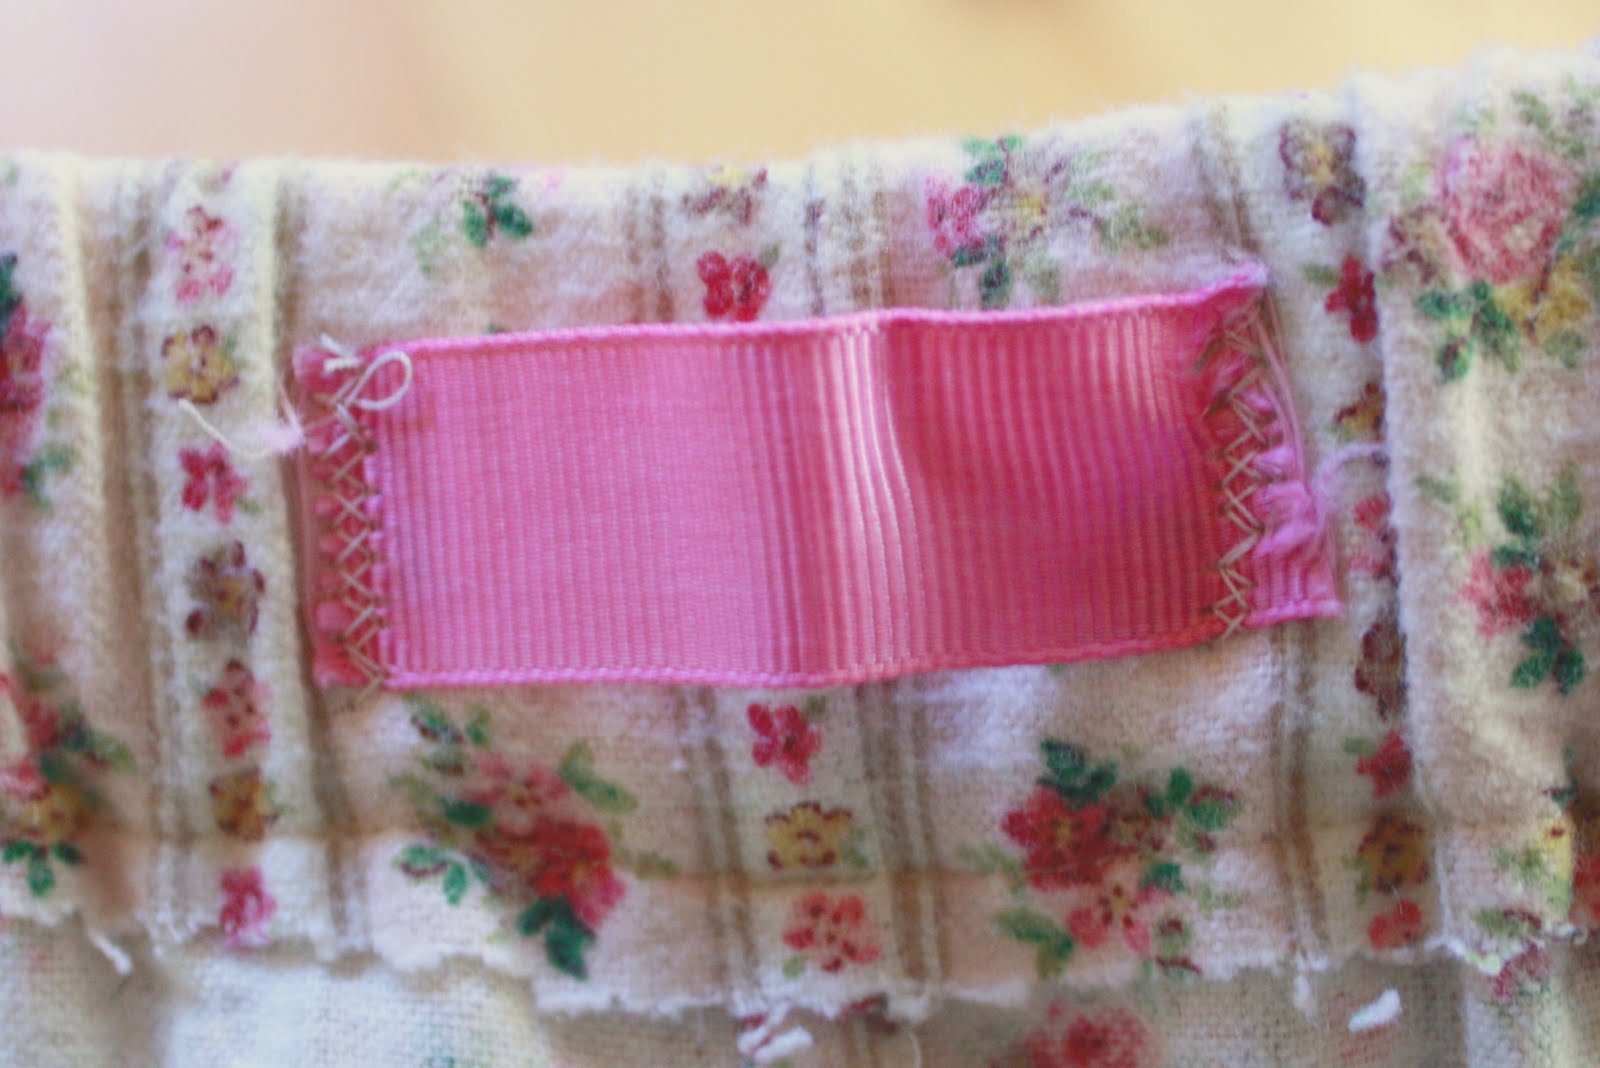
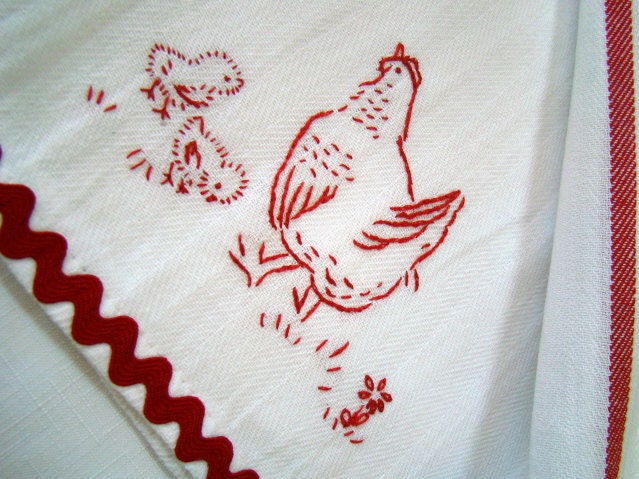
And something I can't wait to get started on is embroidery.  After discovering Cornflower Creations on Etsy this fall, I've become a wee bit obsessed with vintage-style embroidery.  Jacklyn, of Cornflower Creations, has so many adorable embroidered tea towels that I would love to buy all of them, but I just about died when I saw her redwork chicken towel.  And so it had to go in the Etsy shopping cart and come home to live in my kitchen.

{Cornflower Creations}

There's something about sitting with a needle, thread, and hoop of fabric, stitching away serenely. And you can easily turn embroidery into art by placing it in a hoop and hanging it up!

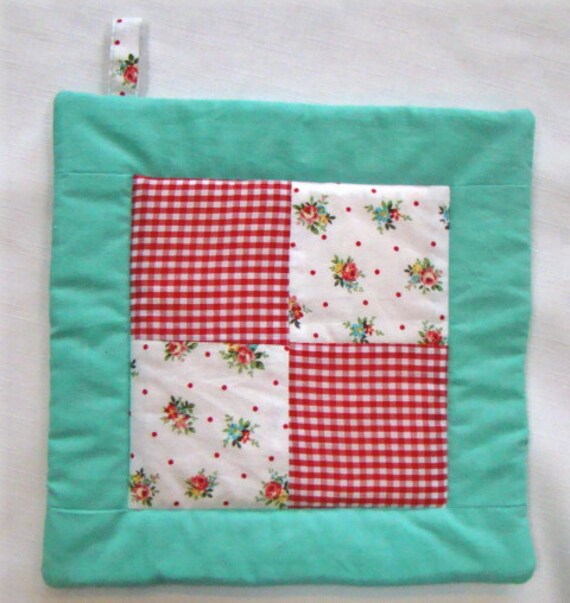
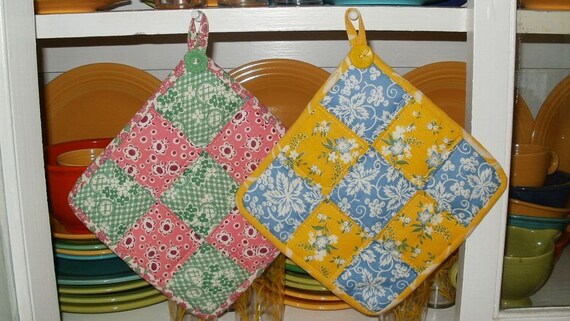
The other area of sewing I'd like to try in 2012 is quilting.  Now, there's no way I can possibly sew an entire quilt--or even a baby quilt.  But a potholder seems very attainable. :)  And I do need some more, so why not?

Some quilted potholder inspiration...

{via}

{via}

{via}

Other crafty projects I'd like to try in 2012:
-big bunting for my front and side porches this spring
-fabric-wrapped wreaths for the seasons
-clay tags

And of course, there will be many beautiful, creative projects online that I'll have to try, but this list at least gets me started and helps keep me focused.  Or as focused as I can be...


Around-the-House Projects
Priority numero uno: landscape the exterior of the house!

It's been more than four years since we finished building and moved in.  We have a nice yard, but between all the other house and homesteading projects, we've had no money, no energy, or a combination thereof, to tackle this.

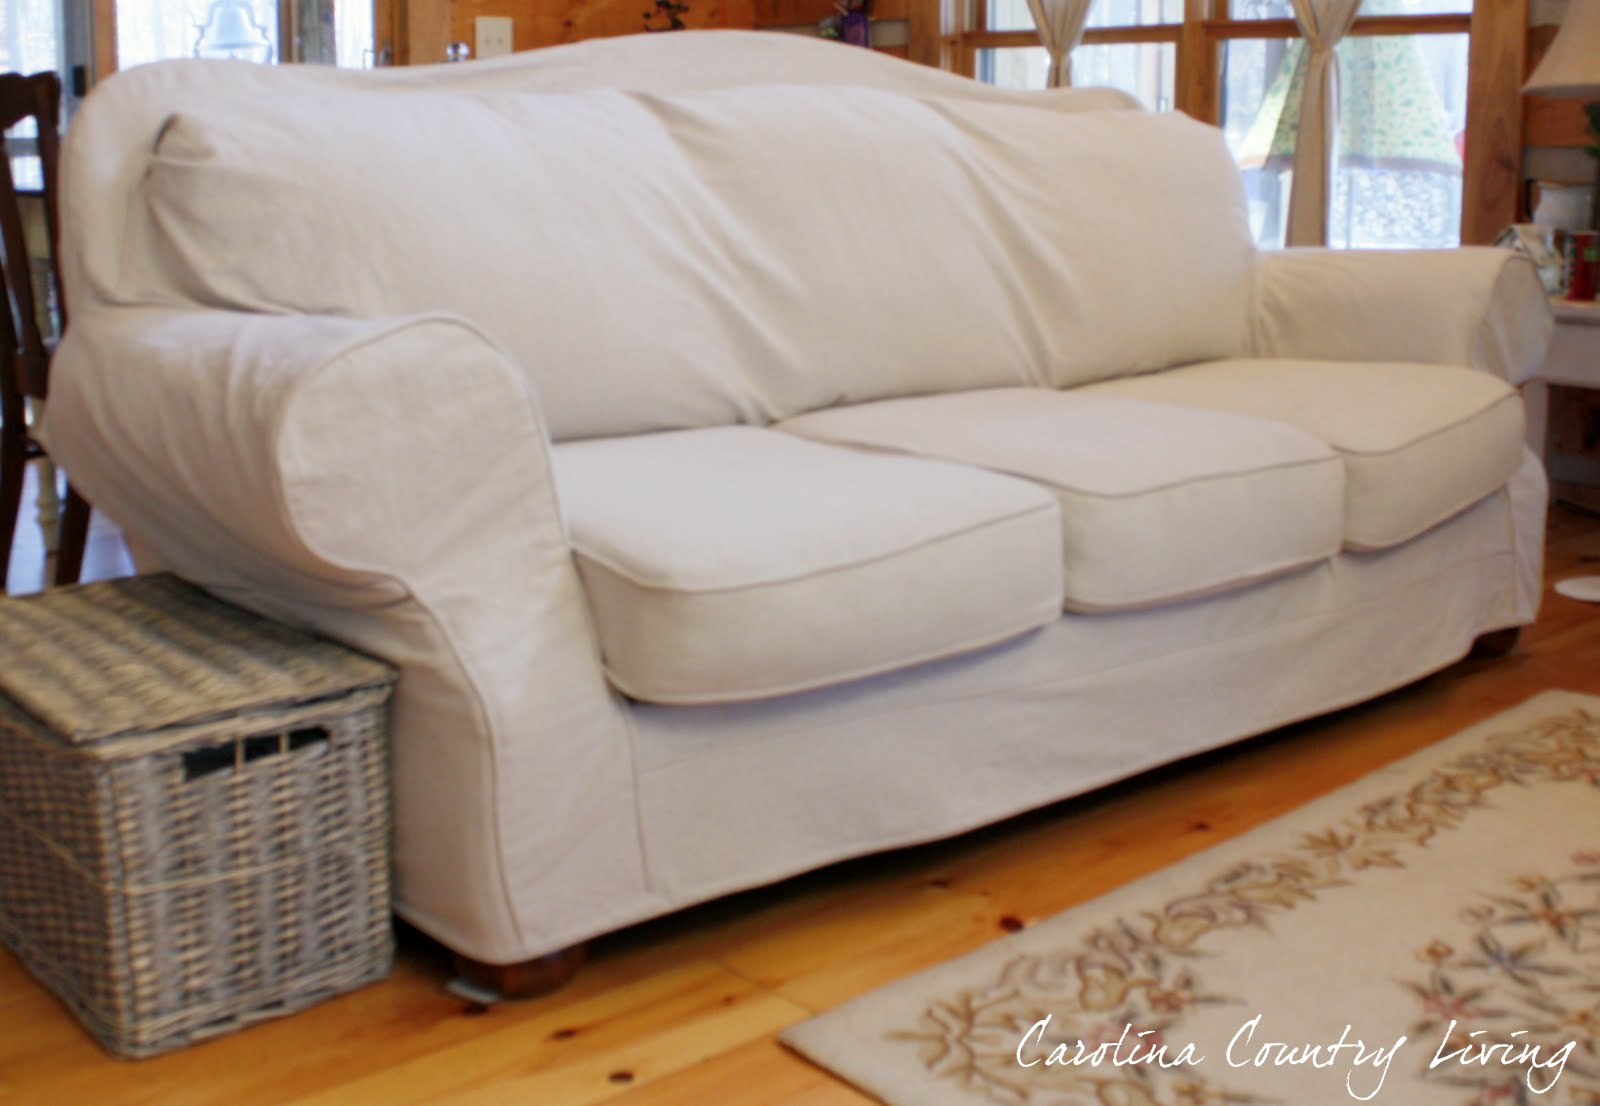
I'd love to plant a variety of English rose bushes, lilac, hydrangea, wisteria, and jasmine.  Anything that flowers and smells beautiful is what I'm going for. And also low-growing plants to go around the perimeter of the wrap-around porch. I should mention here that I have no experience with any of this, so I have a feeling I'll be spending a lot of time on the Internet doing research. :)   Here are few photos I pinned for inspiration:

{via}
{via}

{via}

And the other big project:  finish the office/craft room!  Or as I currently call it, the crap room.  This is the space where I pile (I can't honestly say 'store' because there is about zero organization happening) my crafting supplies, as well as keep the candles for the Etsy shop.  I'd share a photo but it's difficult to walk into the room at the moment...it's that bad.

Anyway, I have a glorious vision in my head of making this a Cath Kidston/Tanya Whelan-themed, cheerful space.  The room has great potential with lots of natural light, white beadboard walls, and cute furniture by way of this desk and this armoire.  I just need to pull it all together by building a work table (I'm thinking planked farmhouse style) for the sewing machine and figuring out how the heck to organize all the crap.  If I can just get a system in place, this room will be awesome, and I'll have a happy, inspiring place to craft.  Wish me luck!

In between these two big projects, there are also the very unsexy tasks of:
-fixing the clothesline so I can actually hang laundry to dry this spring and summer
-re-doing the compost pile, which has been terribly neglected
-painting the porch floor of our new storage building
-coming up with a DIY recycling station for our laundry room
 
Homesteading Projects
After raising and slaughtering pigs this year--and yes, I realize I never wrote about this even though I'd planned on it (story of this blog...)--my husband and I have decided to forgo another porcine project for 2012 since we have enough pork in the freezer to last us well into 2013!

Instead, we're looking at adding a few more hens to the flock as some of the gals are getting older and not laying as frequently.  And since we'll no doubt grow weary of eating pork at some point, we're hoping to raise meat chickens with friends who are also homesteading on a small scale.

I don't know if we'll have time to do this, but I'd love to establish a honeybee hive in 2012 on our property. One of the fellows who helped us slaughter the pigs in late December is a hobby apiarist and after talking to him, my interest in keeping a couple of hives was piqued.  Because honey is delicious.

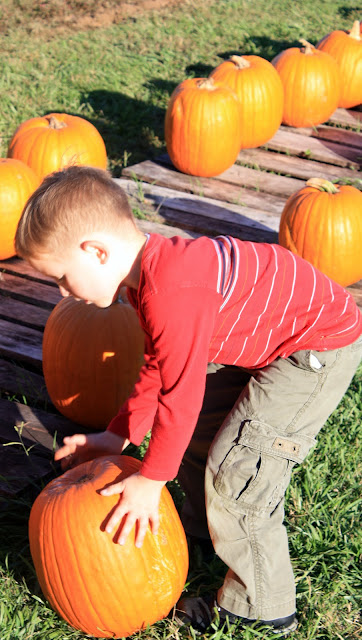
This final project is a definite because I've promised Jacob we'll do it, but we're going to plant a pumpkin patch this summer!   This kid loves pumpkins and Halloween.


And out of the blue one night he said he wanted to sell pumpkins this fall.  I thought that was such a cool idea--and the country version of having a lemonade stand?   So we'll look for a variety of heirloom pumpkin seeds and get them in the ground in June and see what happens!

Whew! So, there are my lofty aspirations for 2012. What are yours?

-Erin

Friday, December 31, 2010

Drop Cloth Sofa Slipcover

Rene at Cottage and Vine has been hosting a drop cloth project party this week, highlighting all the wonderful ways to use this versatile and affordable fabric for purposes other than painting.   Visit her and the other partiers and get your creative juices flowing for the new year!

I seriously wish I'd known about drop cloths back in late 2008/early 2009 when I scrimped and saved, then searched (and searched...and searched some more) for simple, affordable curtains to hang on the plethora of windows in my living area and bedroom.  I probably could have gone with a muslin, but I had my heart set on linen or at least the look of it.

Target did finally offer a nice, simple linen/cotton blend that I snagged on sale for about $16 a panel, if memory serves. And you better believe I cleaned off the shelf when I had my chance! We have no visible neighbors, but still it's creepy to know someone could see straight into the house from the road. Or from a lurking position in the woods.  No, no, I'm not paranoid in the least! <rolls eyes> 

Though I missed the boat to have drop cloth curtains, once I a) learned about drop cloths on the Interweb and b) met a local seamstress and interior designer who makes slipcovers, I knew a drop cloth slipcover on my leather camelback sofa would be in my future.

Here's the sofa before:

Woo-eee!  I'd forgotten just how brassy those nailheads were.


It was originally my mom's, but she gave it to us when we moved into the house three years ago. She felt it was too bulky for her place, which is was, But it was scaled perfectly for our new living room.  Plus, it's ridiculously comfortable, accommodates my 6'2" husband nicely, and leather was ideal for a rough-housing, dirty baby boy.

The only problem with it was the unrelenting BROWN-ness of it.

Until this year, all the (inexpensive or hand-me-down) furniture in the living room was a shade of brown. Throw that on top of all the wood in the house on the walls and floors, and it was just too much of a good thing.

So, I systematically painted the side tables and hutch, one of the two rocking chairs, and found a few pieces  to introduce a cottage feel. That just left the couch.

I've coveted the IKEA Ektorp and classic Pottery Barn sofas (who hasn't though?) for years, but I couldn't possibly justify purchasing a new couch when we were in possession of a perfectly good, but BROWN, one.

Enter Kara, seamstress extraordinaire.

{P.S.--For you local folks, Kara and her business partner, Karan, own an elegant and eclectic shop called Spruce, located in Hillsborough just off I-85.  They don't have a Web site, but an antiques blogger featured the store in an October 2009 profile that provides an accurate synopsis of Karan and Kara's offerings, along with plenty of photos.}

Kara worked her magic and whipped together a beauty of a slipcover.


Simple, clean and exactly what this space needed!  Check out the cording details for that extra somethin' somethin':


Hello, lovely nubbies.


Kara and I also made pillows and (with much patience) she taught me how to sew cording and how to sew a zipper.  See, I'm not completely allergic to sewing machines!

The fabric is Waverly's Rose Sonata in Tea Stain.

Okay, just one more shot of my "new" sofa that I love to doze off on, because drop cloth is infinitely warmer to lay on than leather in the wintertime...


This post brought to you by the magical, transformational abilities of a seamstress sewing with drop cloths.

This project is also linked to:


Feathered Nest Friday at French Country Cottage
Air Your Laundry Friday at Freckled Laundry


Saturday, December 11, 2010

I was featured!

The sweet and wonderful Jami at Freckled Laundry was kind enough to feature my super-simple upholstery webbing Christmas card holder at her Air Your Laundry Friday Party this week!!

freckled laundry


This was a total SQUEEE!!!! moment on my part since I'm brand-new to blogging and have never been featured anywhere.  Thank you so much, Jami!

Please visit Jami at Freckled Laundry to see her delicious French-inspired home and textile projects. You won't be disappointed by all the lovelies and you won't meet a nicer gal anywhere! :) 

Wednesday, December 1, 2010

No-Sew Fabric Advent Calendar

I’m finally recovered from Thanksgiving (and my son only going to preschool for one day last week, as opposed to the usual three…) and am ready for Christmas!

And how could I not be after seeing all the Christmas eye candy in blogland? Wow, I have seen so.much.good.stuff. out there in the last few weeks, I have to consciously practice some restraint and *not* compile a gargantuan list of crafts to make, or decorating vignettes to attempt. (Okay, so I may have a mental list because my mind is always awhirl with project fantasies, but that'll remain just that for the sake of my sanity!)

Since I want to keep these next few weeks relatively simple, so as to enjoy the lead-up to Christmas, the one big project I decided to do this year was an advent calendar. I grew up with paper ones—particularly Tasha Tudor calendars, as my mom simply adores her—and it was such a joy to anticipate opening the little paper doors each morning as a kid.

After seeing wonderful inspirations for fabric advent projects at Rosebud & Bluebells and Maple & Magnolia, I cobbled together my own hybrid version utilizing a khaki-and-cream ticking and budget-friendly, linen-look fabric.

Now, I have to interject for the sake of transparency that I actually put off starting this project because I’m a ridiculous wuss. See, my first inspiration, Donna’s calendar/garland, involves {gasp} SEWING! 

Rosebud & Bluebells

And I don’t have my own sewing machine, and even if I did, I can never remember how to thread the bloody thing, and then I always end up jamming the needle at some point which means pulling out the bobbin…GAH! I wasted at least three days by going through these sorts of mental gymnastics and hand wringing.

Fortunately, that’s when I ran across Susan’s calendar, which shared a tangentially similar feel to Donna’s thanks to the use of neutral fabric and stamped numbers.

Maple & Magnolia

However, this calendar required much less sewing and employed hot glue (schweet!) for attaching the pockets to the backing. That was a total relief, because just before finding Susan’s calendar, I was seriously considering stringing paper envelopes embellished with Christmas paper and calling it a day.  That’s how scared I was of sewing.

So, I bought a handy-dandy quilting square tool that allowed me to trace perfect 4-1/2” squares on the linen-ish fabric. After cutting them out, I stenciled the numbers in traditional red and green using craft paint, laid out the squares on the ticking to determine the size of the overall of the calendar, and marked the edges for cutting.  

At this point, an absolutely beautiful and ironic turn of events occurred. After all my worry over sewing this thing, followed by the grudging acceptance of the fact I could and should at least hem the ticking (my friend Sara had her sewing machine out and was willing to help this absolute novice), I looked at the pinking shears I used earlier to cut out the pockets, and realized I could just cut out the ticking with it. SAY WHAT? So I cut out the ticking with the shears, attached the dowel with dabs of hot glue, and there were no needles or thread involved with the making of my advent calendar!

There you have it. I have successfully evaded yet another sewing project.
I added the twine hanger, rick-rack and felt holly embellishment to finish it off—using hot glue, of course.

In each pocket is a square of parchment paper with an activity. I was going for an old-timey feel (we do live in a cabin after all) and so I printed the following activities in Blackadder font on the paper to complete the calendar:
  • Make Christmas cookies
  • See Christmas lights at Tanglewood
  • Watch “Rudolph the Red-Nosed Reindeer”
  • Go the mountains and get a fresh Christmas tree
  • Make a Christmas wreath for the front door
  • Paint sun-catcher Christmas ornaments
  • Listen to Christmas music with the lights off (except for the Christmas tree)
  • Make chocolate soothers with marshmallows
  • Stud oranges with cloves
  • Deliver cookies to family and friends
  • Make pinecone bird feeders
  • Take canned and non-perishable food to OCIM
  • Snuggle together and read Christmas books
  • Buy a new family Christmas ornament
  • See Santa Claus
  • Go to the Mebane Christmas parade
  • Set out the Christmas village
  • Write and mail Christmas cards
  • Make a paper chain garland
  • Watch “A Charlie Brown Christmas”
  • Make salt dough ornaments
  • Give the gift of a hug and a smile
  • Go to the Duke Chorale Christmas Concert
  • Read “Twas Night Before Christmas” (illustrated by Tasha Tudor) and leave out cookies and milk for Santa
With my son almost four, Christmas is getting more and more exciting for us with each passing year. He was pretty cognizant of what was happening at Christmas last year, but he’s even more so now and I’m enjoying his unbridled enthusiasm. And now that he’s also interested in doing crafts and other activities, having the advent calendar allows me to focus our creative energies and really enjoy these next several weeks with him.  

Okay, off to start pulling out the Christmas decorations. I don’t begin decorating for Christmas until December 1st.  Does anybody out there still do this?  I think I may be the only one!

Linking to:
Transformation Thursdays at The Shabby Chic Cottage
Air Your Laundry Friday at Freckled Laundry
Catch As Catch Can at My Repurposed Life