Monday, March 19, 2012

A Pretty Package for Sheila

So there are two things (among many) I'm terrible at:  1) remembering friends' birthdays so that I can send a card or gift on time, and 2) wrapping said gift nicely. 

I'm totally patting myself on the back today because I managed to accomplish both of these for once!

A few days ago, I remembered Facebook reminded me of a dear friend's birthday this coming Saturday.  This friend, Sheila, lives in Arizona, so that left enough time to make her a little somethin' somethin' and send it off.

Since the present (which I can't share here since she subscribes to the blog...don't want to spoil the surprise!) was homemade, I had no packaging for it.  Ruh-roh!

Enter an adorable tutorial from Elyse Major of Tinkered Treasures in the April issue of Romantic Homes

Elyse embellished simple paper sacks with cupcake/muffin liners and other sweet paper details.  Here's a peek from her Facebook page of one of the bags she made.  So cute, right?

Photo by Elyse Major via Facebook

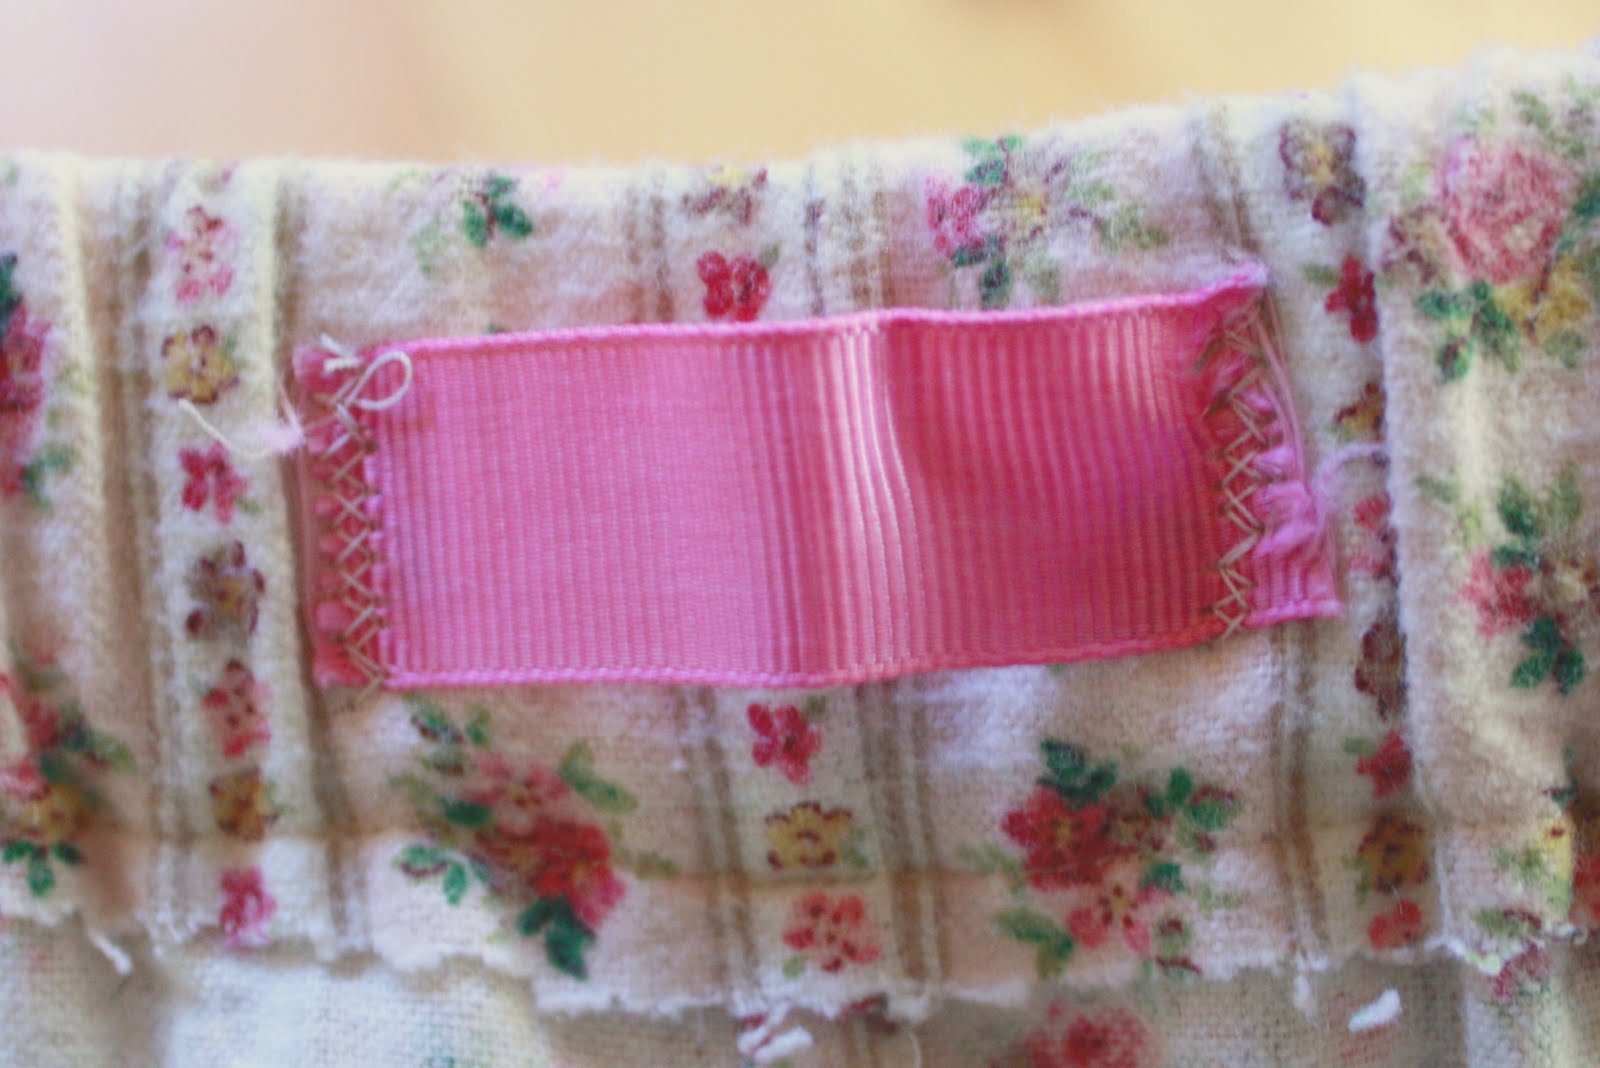
I adapted her original idea to work for Sheila's present.  Rather than a paper sack, I used a small plastic bag and a single Martha Stewart cupcake liner picked up this weekend from Michael's.  (I'll have to show you guys the other liners in the pack--they are squeal-inducingly cute.)


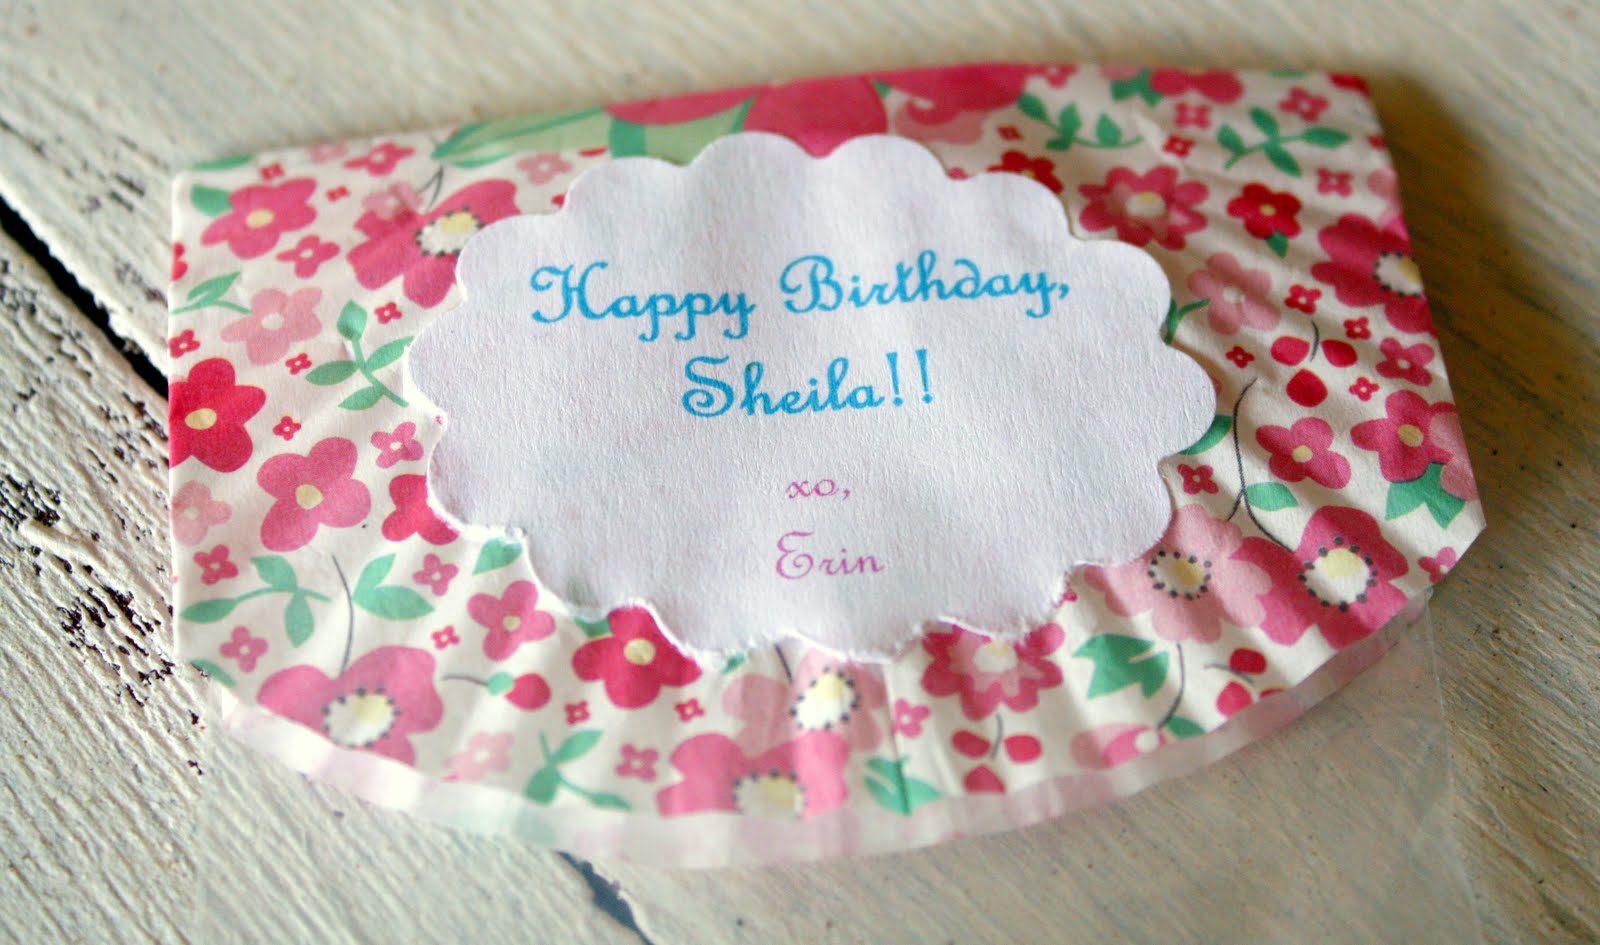
I folded the edges of the liner so it would fit the width of the plastic bag. Using double-sided tape, I then attached the liner to the bag after putting the present inside. A homemade label-turned-sticker (thanks to my mother-in-law's Xyron) completed the wrapping job.

Now, I just need to get it in the mail so it can arrive in time for Sheila's birthday!  :)

How do you like to creatively wrap presents?  Do you have any tips for particular supplies to keep on hand to make pretty packaging easier?


-Erin


Friday, March 2, 2012

And the winner of the Shabby Apple necklace is...


Sarakenobi
with comment #19, who said 'I liked Shabby Apple on FB!'

Congratulations!  Hope you enjoy your Shabby Apple Key to Wonderland necklace!


 Thank you, everyone, who entered the giveaway!

(And don't forget about the 10% coupon Shabby Apple is offering through March 24th.  The code is carolinacountry10.)

Alright, ladies, hope you all have a wonderful Friday, and weekend, for that matter! 

I'm getting ready to go out of town this evening, so I'll be signing off until the middle of the month. 

Talk to you soon,
Erin 


Friday, February 24, 2012

Giveaway Time!

Thank goodness it's Friday...and what better way to start the weekend early than with a GIVEAWAY!

Many of you are probably already familiar with Shabby Apple, the online women's boutique.


With its vintage flair, Shabby Apple offers beautiful women's dresses, skirts, little girl's dresses, and even maternity dresses.

But did you know Shabby Apple also offers vintage-style jewelry and accessories?

Yes, my friends, they do.

And for this giveaway, Shabby Apple is kindly offering up the gorgeous Key to Wonderland skeleton key necklace.

Key to Wonderland

You know I like my antiques and vintage pieces, and when I saw this necklace, I knew y'all would enjoy the chance to win it! The key is finished in antique brass and suspended on a matching 24" chain.

And see how pretty it looks on!


Only one lucky person will win the necklace, but through March 24th, everybody wins as Shabby Apple is offering a 10% discount on purchases with the coupon code carolinacountry10off.

Now, for the details of the giveaway:

You can put your name in the proverbial hat to win Shabby Apple's Key to Wonderland necklace up to 4 times by doing the following steps, leaving one comment for each. 

1. Follow Carolina Country Living with Google Friend Connect or Linky Followers, or subscribe by email. (All of these can be found on the right sidebar.)  If you're already a subscriber/follower, you're awesome just leave a comment saying so.

2. Like Shabby Apple on Facebook.  (By liking Shabby Apple, you'll be notified of special promotions and exclusive discounts...)

3. Spread the word about the giveaway via Facebook, Twitter or on your blog; please leave a comment with a link to your post.

4. Visit Shabby Apple then come back here and tell us your favorite item in the store.

This giveaway is open to U.S. residents only and runs through Thursday, March 1st at midnight Eastern Time.  The winner will be drawn via random.org and announced the morning of Friday, March 2nd. 

Thanks again to Shabby Apple for making this giveaway possible and thank you for joining in the fun!

Good luck!
Erin

Enter your email address to receive new posts from Carolina Country Living in your inbox:


Delivered by FeedBurner

 
Sharing at:
Momma Hens Coop

Tuesday, February 21, 2012

New Look at the Harmony Farm Candles Etsy Shop


Hey everyone,

Thank you so much for your compliments and kind words from last week's post about my flannel pajama pants sewing endeavor.

I hope that post empowered some of you to dust off your sewing machines or at least consider trying your hand at sewing. It's a very gratifying feeling to start off with a piece of fabric and transform it into a beautiful, useful item. I have more sewing plans in the near future and am looking forward to sharing some fun projects with you!

So, the next part of this post is a kinda-sorta Etsy shop plug, so please bear with me. :)  Some of you newer readers may not be aware, but I have a small soy candle business--Harmony Farm Candles. Several local shops--Nest in Burlington, and Fetch Antiques & Interiors and Vintage Revival in Hillsborough--carry these handmade soy candles, which are made right in my kitchen.

Back in the fall, I took the business one step further and opened an Etsy shop. At the time, I made a simple shop banner in Picasa, but I'm no designer, that's for sure!  Now, I haven't done much to promote the shop since wholesale orders keep me steadily busy, but something exciting will be happening in relation to the shop in March.  For that reason, I wanted needed a new look for the Harmony Farm Candles Etsy shop.

 Here's what the old banner looked like:


It was fine enough, but I wanted a banner that invoked a more sophisticated, but vintagey vibe.  Plus, a lot of the candles I make are floral fragrances, and I wanted the banner to hint at that.

So, I engaged the services of Sarah Ohme of Ohmeohmy Design to create a banner and business card design.  Sarah was a complete sweetheart to work with, executed the design flawlessly, and whipped up the order in just a couple days.  She's a design goddess! 

With that build up, I'm going to be a total tease and not post the new banner here! Visit the Harmony Farm Candles Etsy shop to check it out and let me know what you think.

And to be a further tease, come back on Friday for an exciting giveaway!  It's not candle-related (I'll do one of those in March...stay tuned), but I guarantee you're going to love it!

Hope you're having a wonderful week,
Erin

Monday, February 13, 2012

Mission Accomplished: Flannel Pajama Pants

One of my goals in 2012 is to branch out into sewing simple clothes for myself and my boys.

I was able to squeeze in some sewing time last week at my friend Kate's house to make this pair of pajama pants!


Kate is an accomplished sewer, even though she probably wouldn't cop to it.  She makes clothes for her kids. Like so-meticulously-crafted-you'd-never-guess-they're-handmade outfits.   She's really talented! 

Kate was kind enough to walk me through the steps--particularly how to sew the crotch together, which I simply couldn't wrap my head around at first--and ignore my occasional whining.  :)

In the end, we had a great afternoon hanging out in her "fortress of sewitude" while the kids played, and I emerged with the basic knowledge to make pajama pants.

Happy Erin

And O-M-G are they like heaven to wear.  So soft. So comfy. A perfect fit. I don't want to put on real clothes in the mornings now because I could easily wear these pants all day and night long!

If you want to make your own pajama pants, visit this tutorial from DIY Fashion for some excellent diagrams on how to cut your fabric and piece it together. And if you're like me and need to actually see something being made to understand its construction, watch this YouTube video tutorial.

(Of course, it only occurred to me after taking up part of Kate's afternoon to check YouTube for pants-making video tutorials...story of how my brain works.)

Also, here's a tip (courtesy of Kate) for cleaning up hems and seams without having to double-over the fabric or using a serger: sew the seams/hems, then simply cut the excess fabric with pinking shears.  I did that to the waistband after sewing the casing for the elastic, the crotch seam, and the hems on the legs.  It really cleans up the pants on the inside and prevents the fabric from fraying excessively.


Sewing a tag onto the inside back of the waistband is also handy to know which way is front.  (That's another tip from Kate, by the way.)


Anyway, I love having a pair of flannel pants that fit so comfortably and aren't high-water sweatpants --which is what my 5'8" self has been wearing so far this winter! 

Plus, I have to say, I'm pretty stinking proud of myself for sewing an actual pair of pants. Shoot, if I can sew pants, there's nothing stopping me from a skirt! Or who knows what else? :P  And let me assure you, if I can sew a pair of PJs, you can do it, too.

Have a lovely week,
Erin

Enter your email address to subscribe to Carolina Country Living:


Delivered by FeedBurner

Sharing at:

{Primp} Momma Hens Coop homework shabby creek cottage freckled laundry