Showing posts with label spontaneous crafting. Show all posts

Monday, October 1, 2012

Anatomy of a Lovely Day


{via}

*Wake up at 6:30 a.m. perfectly rested and well after feeling on-the-verge-of-coming-down-with-something yesterday.  (Thank you, Benadryl.)

*Welcome the fact that it's a drizzly, chilly day and that the leaves are really starting to change color:  fall is truly here!

*Realize that my husband is off work, so there is no need for me to take Jacob to school.  #daddyduty

*With a cup of French vanilla coffee in hand, bid them farewell, then settle down on the couch and peruse Pinterest for awhile.

*Inspired by this lettered artwork by Mary Kate McDevitt, decide to try my hand at a fancy pants chalkboard design for the kitchen.  In honor of the first day of October... 

Perfect? No.  Love it all the same, though.

*Hang out at home with my husband and do a little crafting. Him: whittle a toy knife.  Me: make some fall buntings of burlap, paper, and chicken wire.


*Tidy the house and vacuum so the floor is clean underfoot.  (Clean house = happy momma!)

*Rock this tabata workout, along with the Monday series of these strength/cardio exercises, and feel both strong and pleasantly tired afterwards.

*Bake two loaves of pumpkin-chocolate chip bread.  Mmmmm...

*Make a paper bag haunted house with Jacob after homework is finished.

*Catch up on the season premieres of Once Upon A Time and Call the Midwife.

*Feel thankful for having an unexpectedly wonderful and ordinary day at home.

Sunday, May 6, 2012

Getting My Craft On (and a Peek of the Craft Room)


Hi everyone,

Hope your weekend has gone well! We went to a friend's birthday party last night and I'm so wishing I'd remembered to take my camera.

Our friend is working on an historically accurate restoration of an 1840 plantation home on 20 secluded acres east of Greensboro, NC. Being on the property felt like you'd stepped back in time. My husband went over early Saturday morning to help pit-cook half of a 350 lb. sow for the event, and Jacob and I joined him in the evening. We toured the house, walked the gorgeous property, rode mules, enjoyed a plethora of delicious food, and listened to live bluegrass music around a roaring bonfire. 'Twas a fun night!

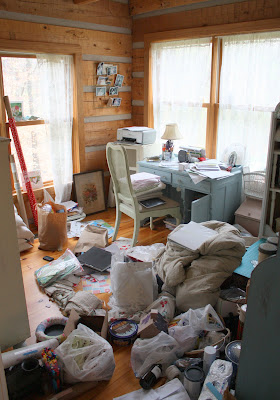
Today, I've been piddling around the house, working a bit more on my craft room. I've made serious headway in this room in the last two weeks and I can finally see the light at the end of tunnel!   This was the chaos a month ago.


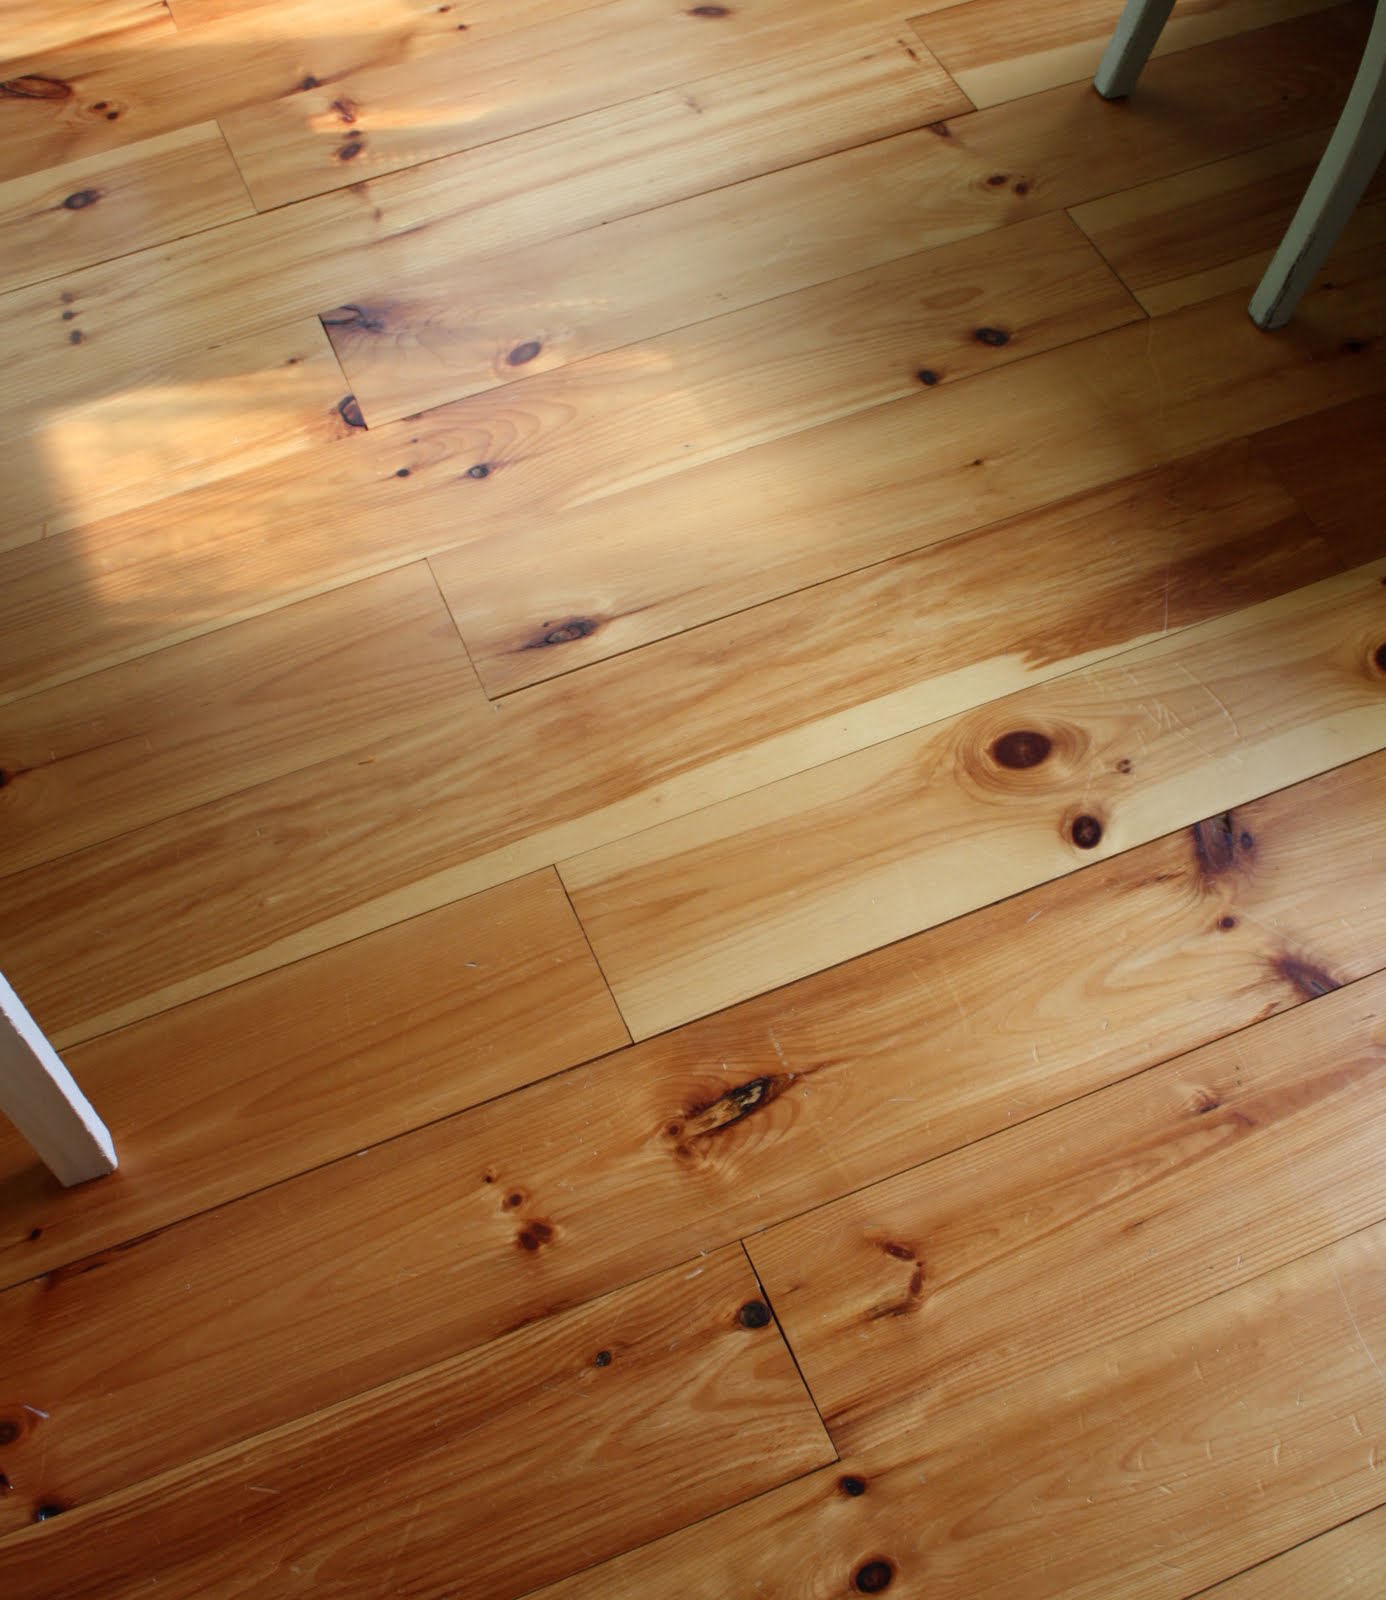
Now, look...you can see the floor!


What you can't see here is that I've organized, sorted, thrown away, and whipped this room into a much greater semblance of order.  Though the rest of my house is decorated in a more understated style, this room is colorful and happy with a vintage vibe.  Accents of aqua, red, and light blue, along with colorful artwork and Cath Kidston-type fabrics will abound.

Here are a few peeks of some of the details in the space.
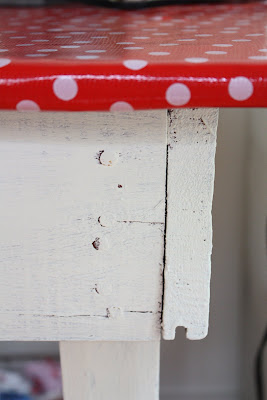
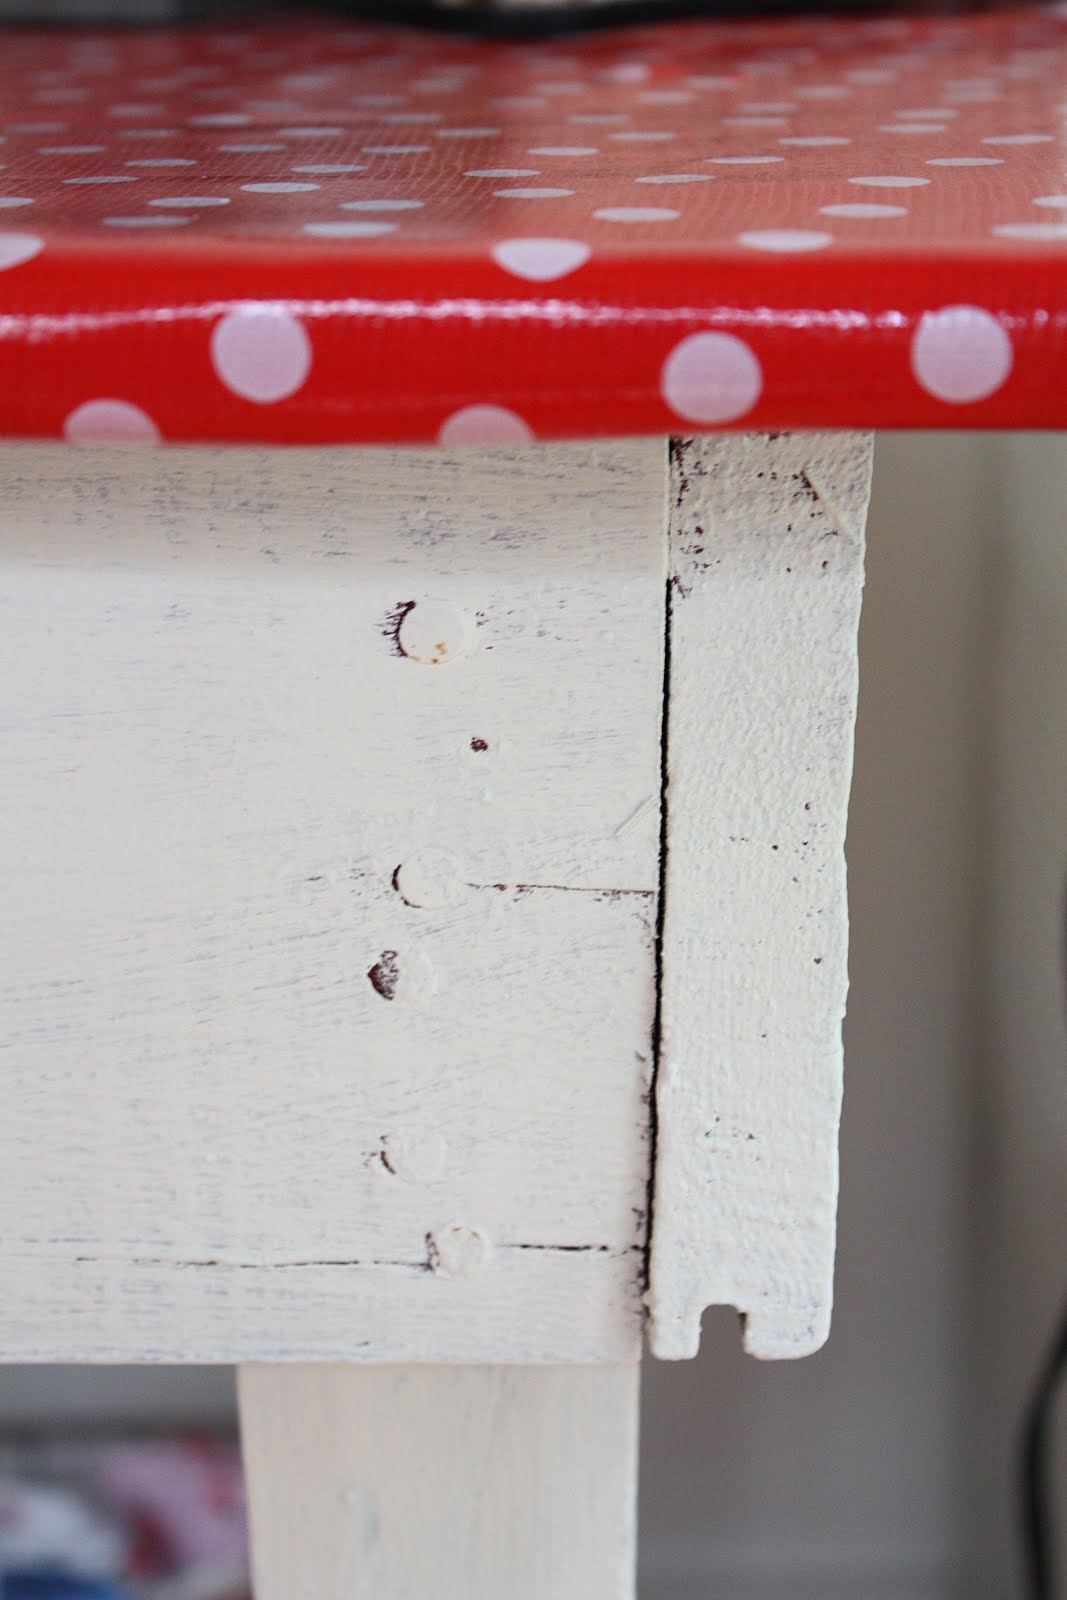
My new sewing station is a white farm table; the planked top is wrapped in oilcloth

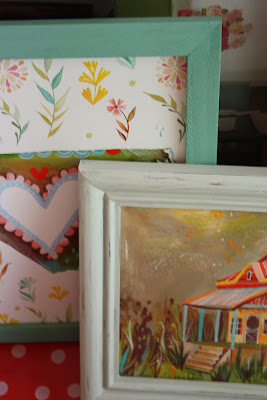
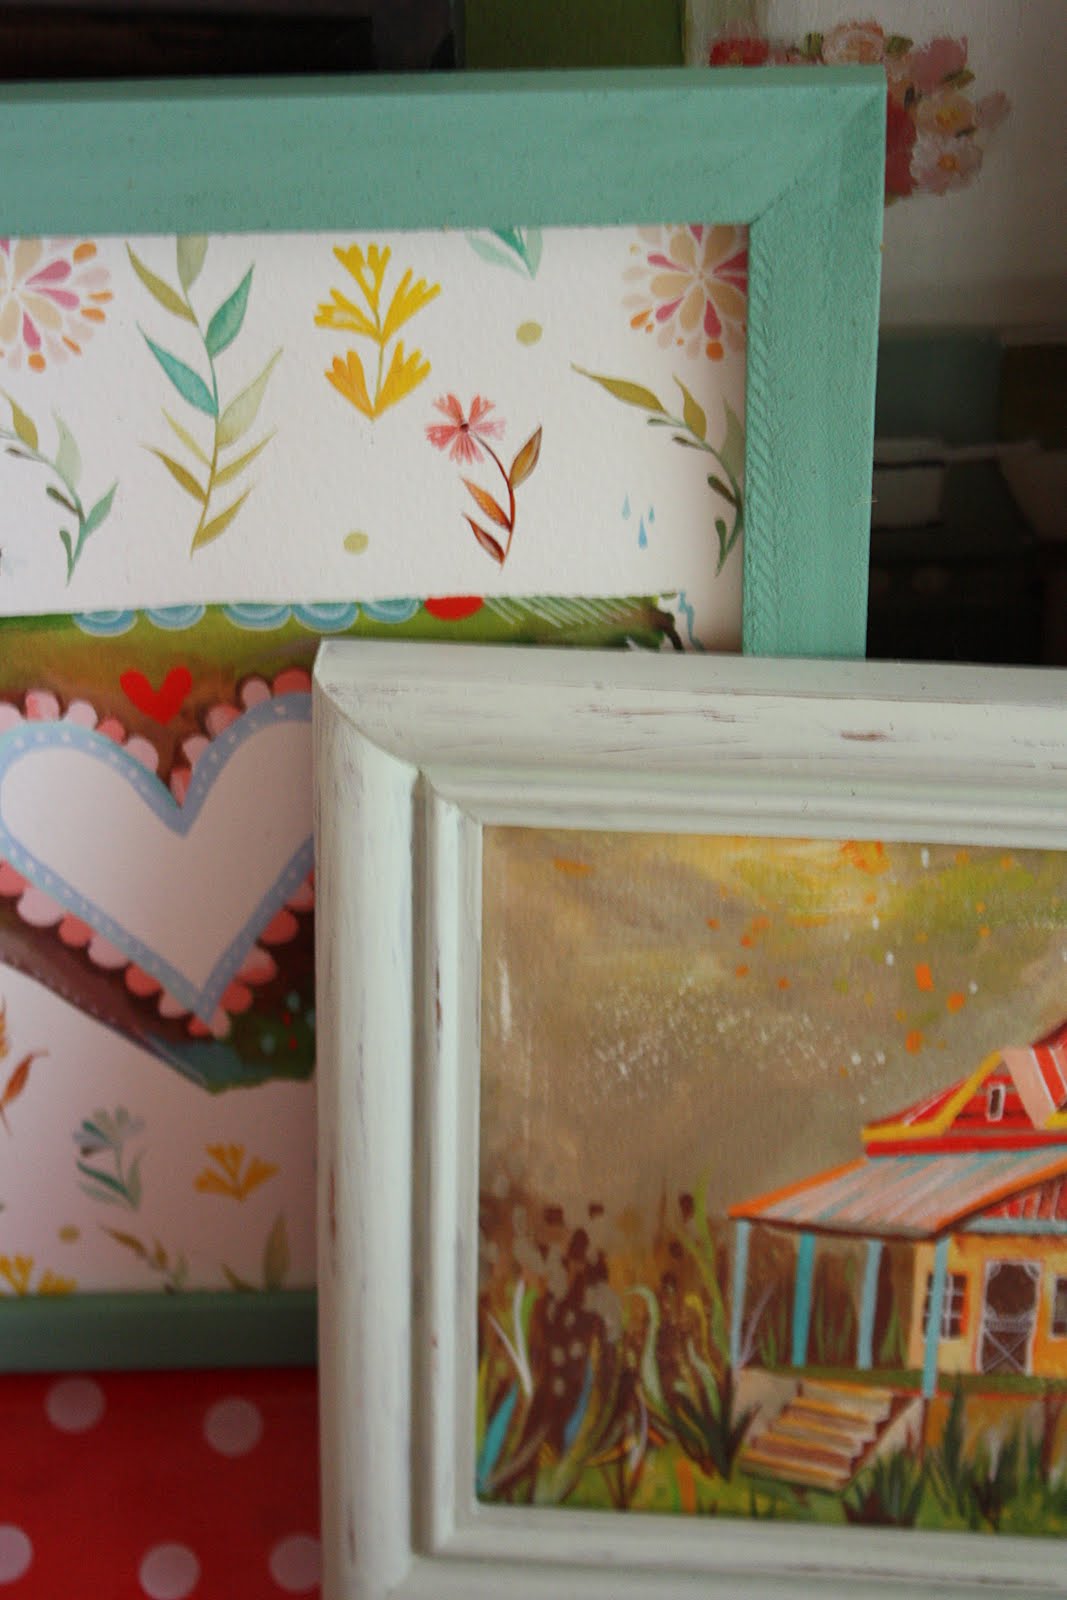
This is one of the soon-to-be-finished details: the space above the sewing station will be a gallery wall, filled with framed artwork and fabric in embroidery hoops
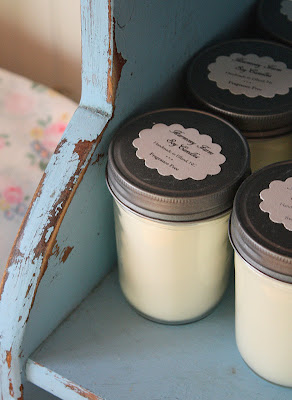
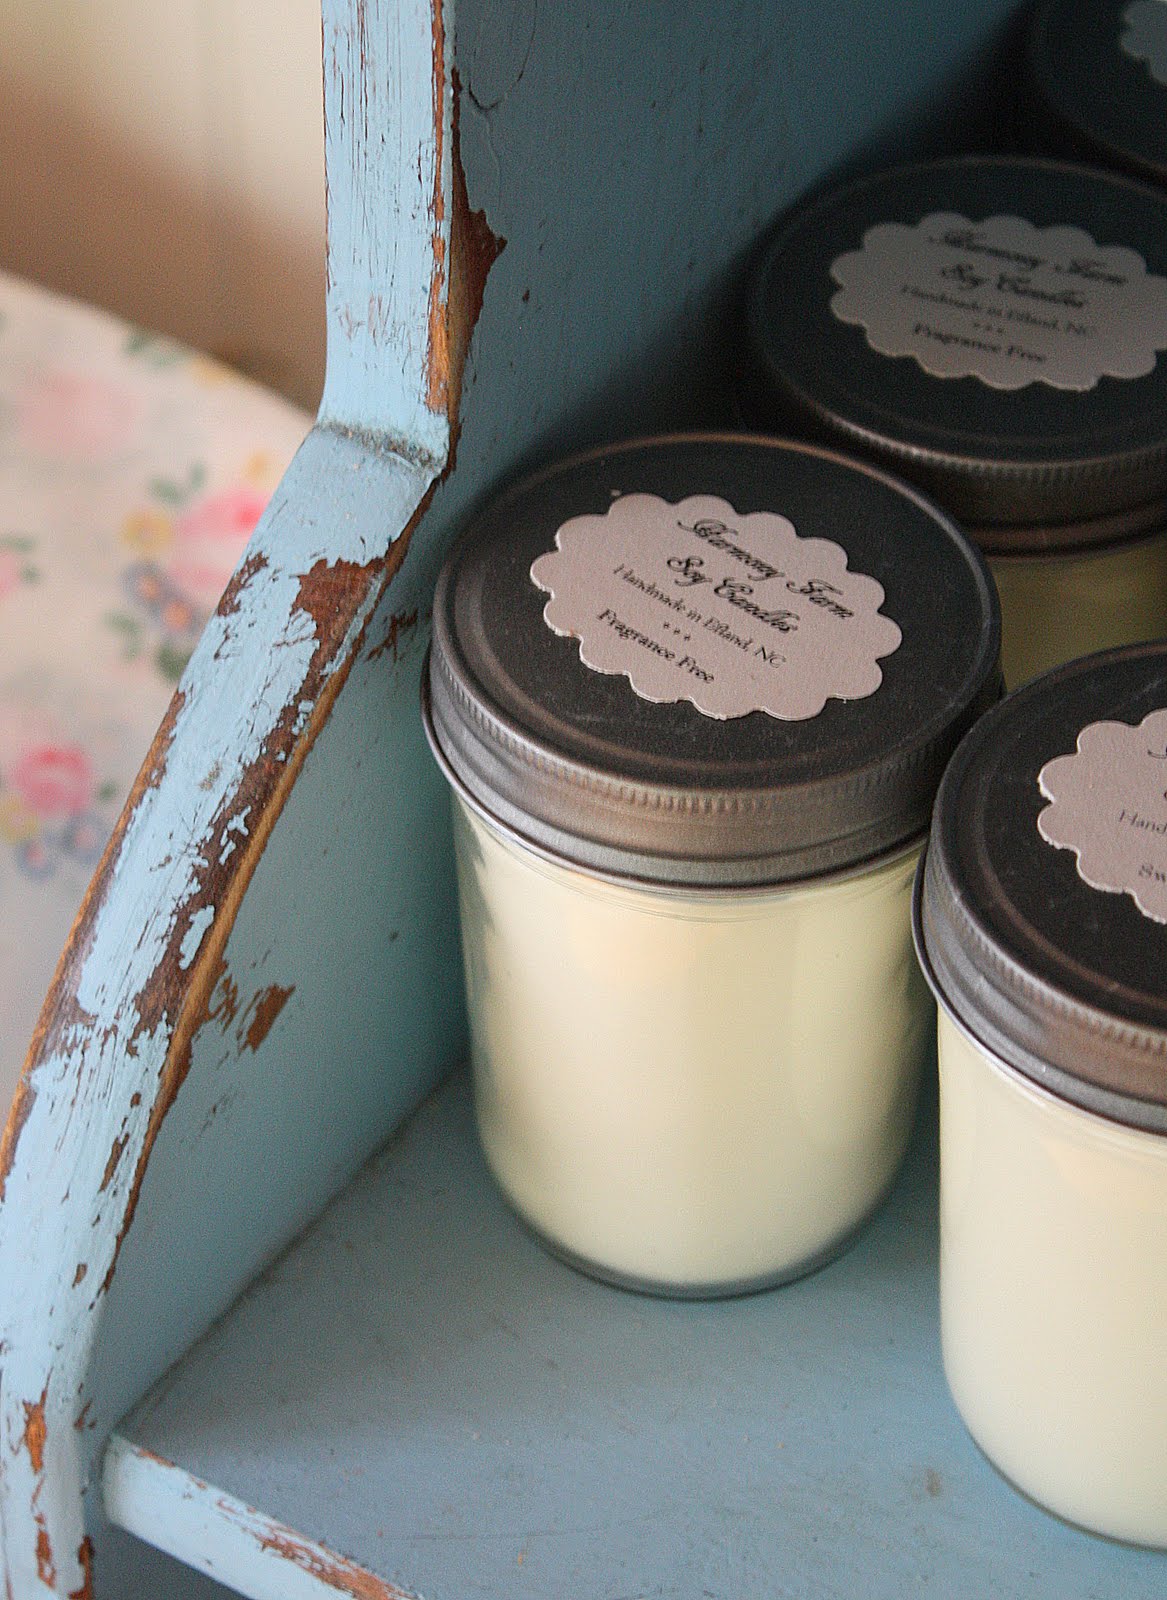
Finished candles reside in a chippy blue bookshelf--which has been thoroughly organized!
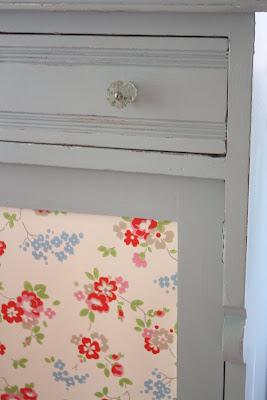
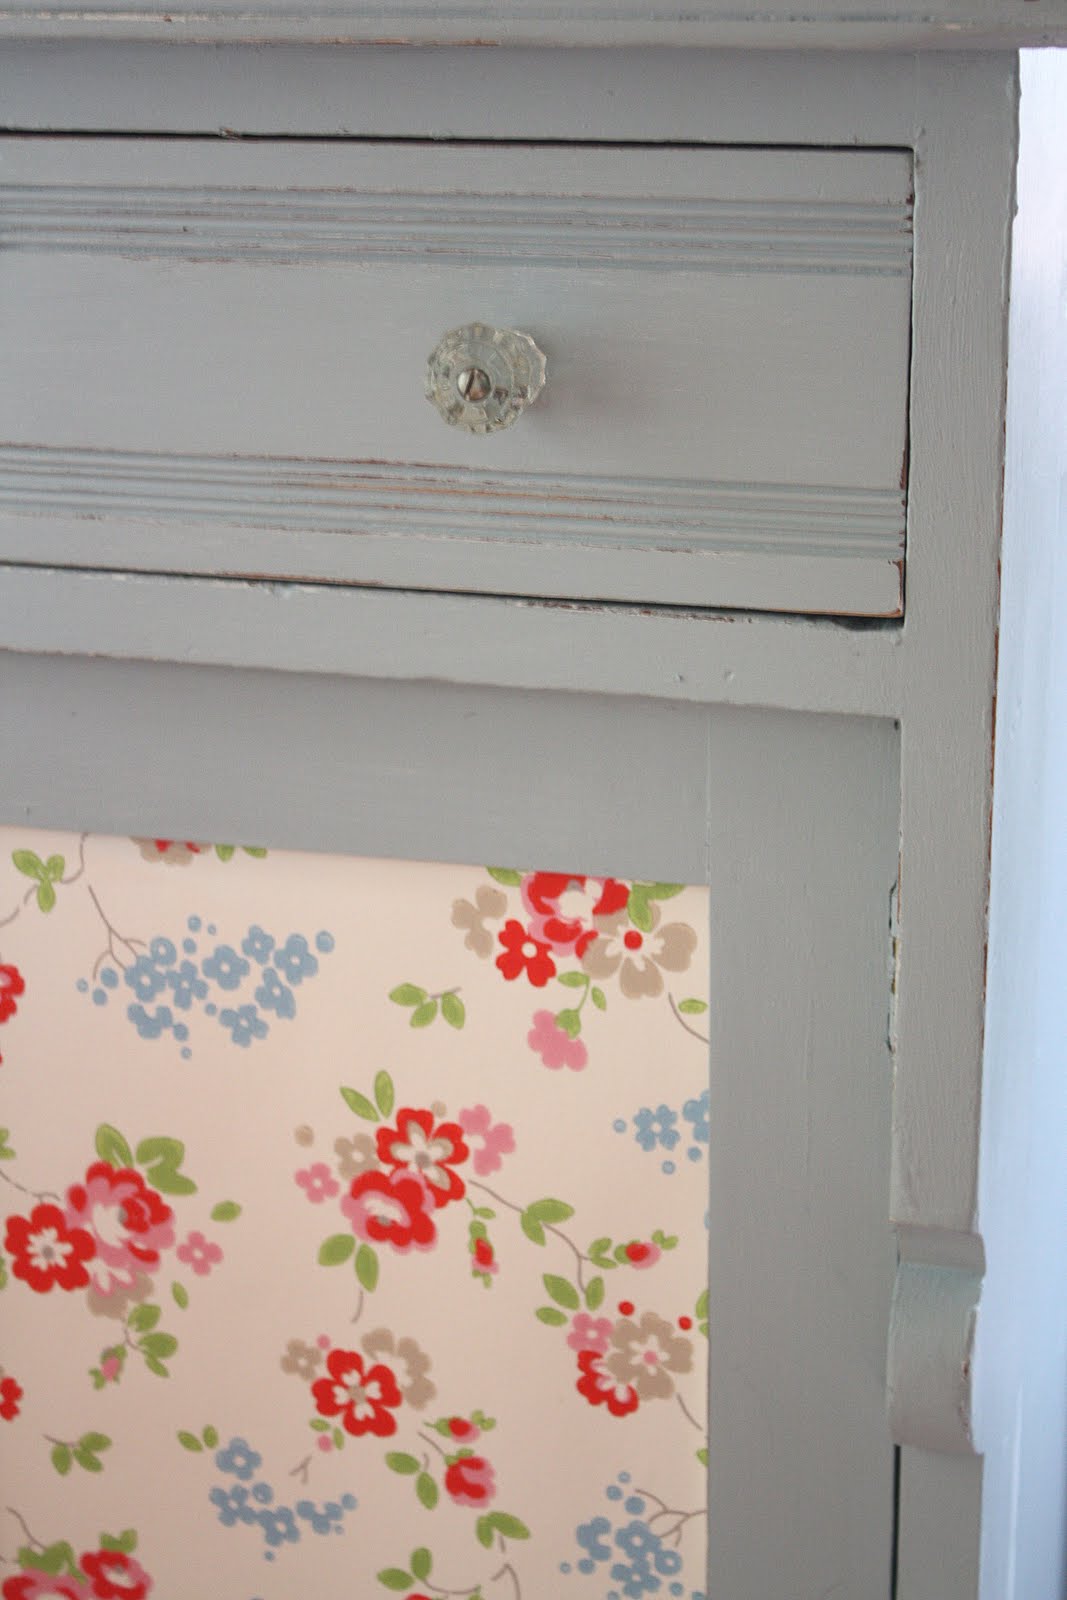
Added a little Cath Kidston love to my blue desk

Though I'm still working on the finishing touches, which will (fingers crossed) come together in the next week, I just had to do some crafting on Friday evening with all the progress that's been made.

With the sewing machine set up and ready at a moment's notice, I whipped out a trio of lavender-filled sachets using some new, gorgeous floral Japanese quilting fabric.  Then I made a couple paper buntings with scrapbook paper and baker's twine.  I'll share photos of these in my next post, but I do have something to show you now from this bout of crafting mania that I'm completely smitten with!


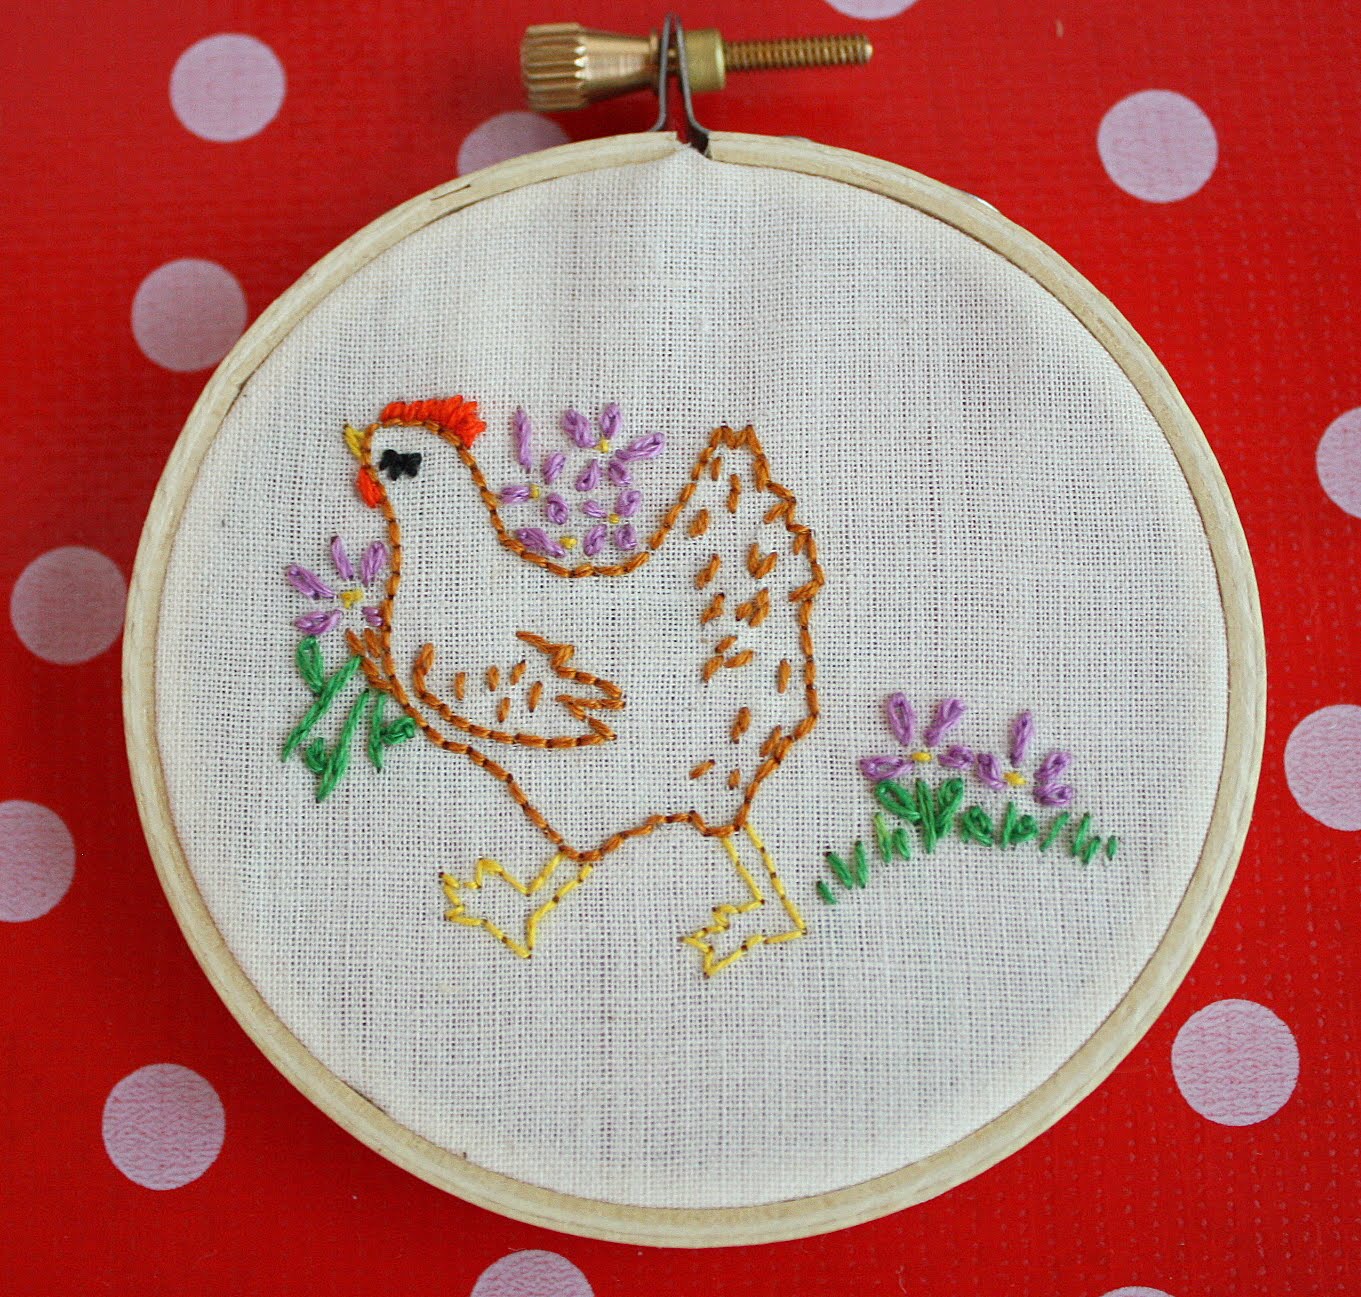
I've been wanting to try my hand (hehe...) at embroidery for awhile, so I took the plunge Friday night.

I was looking for a small embroidered piece of fabric art to go on the gallery wall, and I was leaning towards something with a sweet, vintage chicken on it.

After searching online for an image to inspire me, I found one at Cornflower Creations on Etsy.  It's my favorite shop for vintage-style embroidery and I purchased a couple redwork chicken towels from Jacklyn, the owner of Cornflower Creations, last year.  My imitation of the hen on this apron that Jacklyn sold is intended to be the highest form of flattery.  I mean, a little red hen carrying a bouquet of purple flowers?  How can you not smile at that?

I used a muslin remnant and in a couple hours finished this happy hen, which I can't wait to hang up in the craft room!
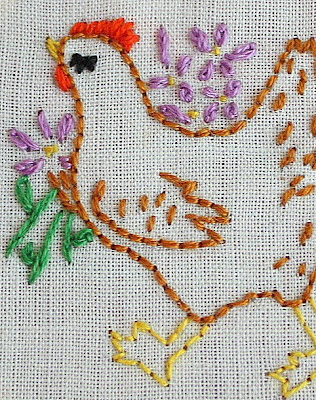
She reminds me of my recently departed Lulu

Enjoy the rest of the weekend and I'll be back tomorrow with a May Giveaway!
-Erin

Sharing at:
{Primp}

 Momma Hens Coop

shabby creek cottage

freckled laundry

Monday, January 31, 2011

Lovebirds Tutorial

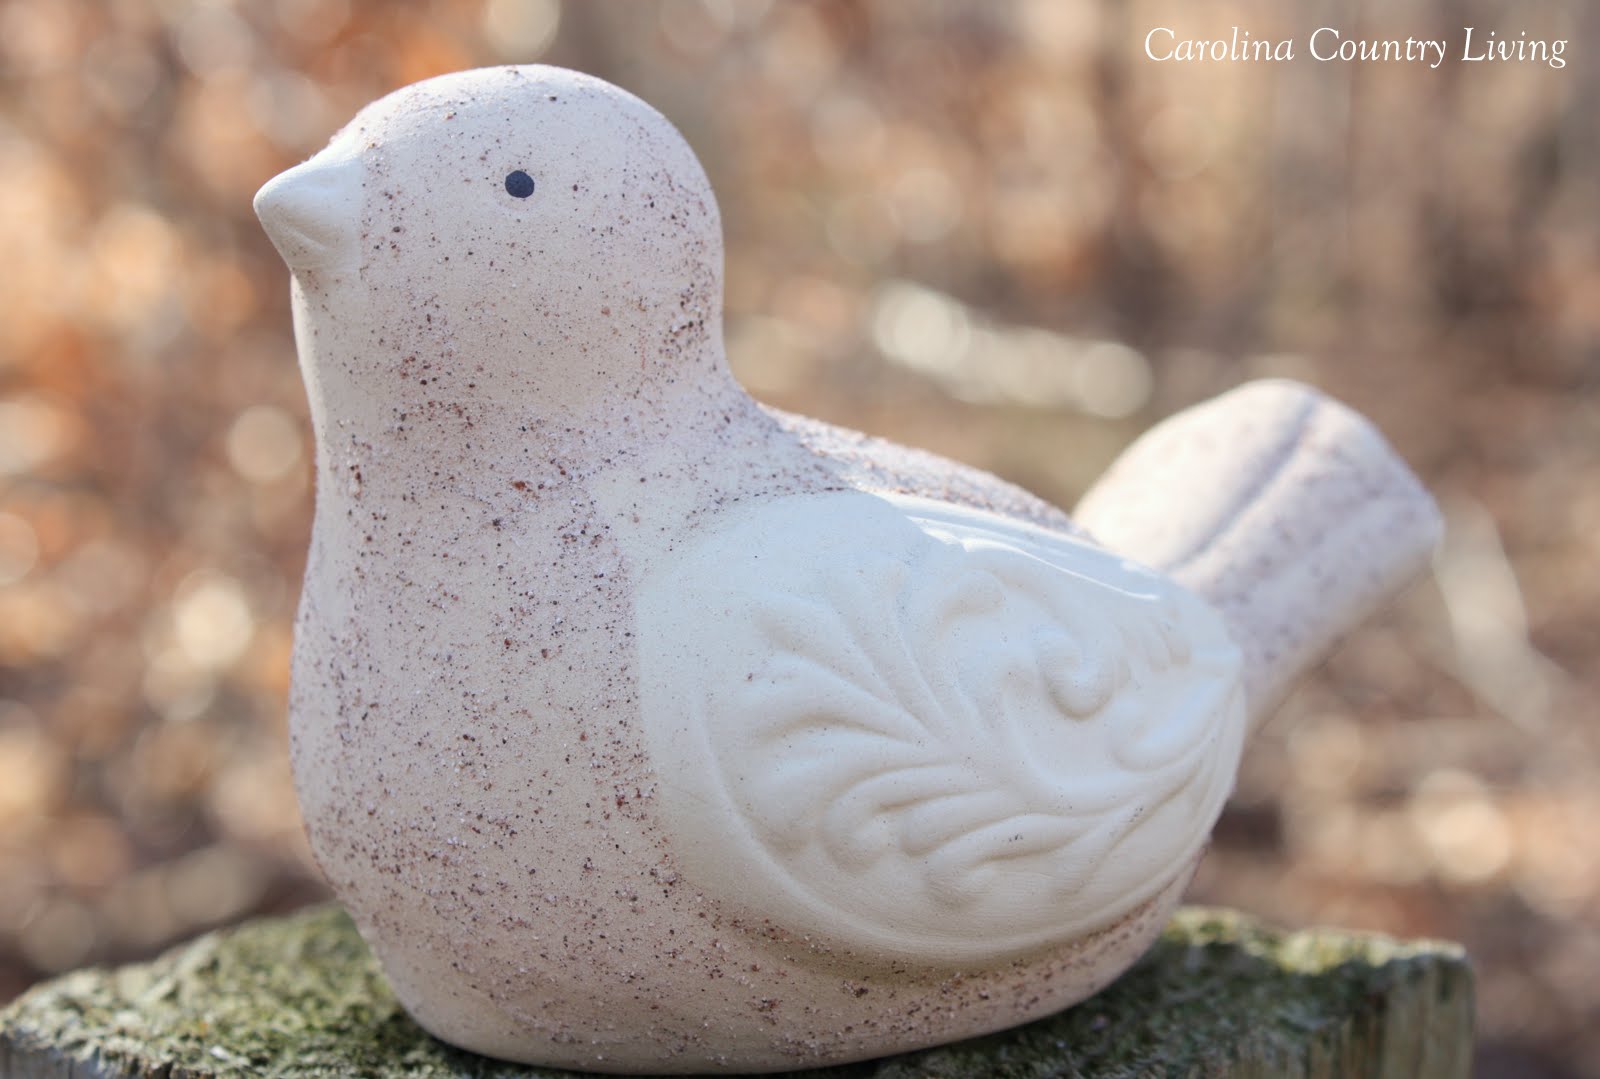
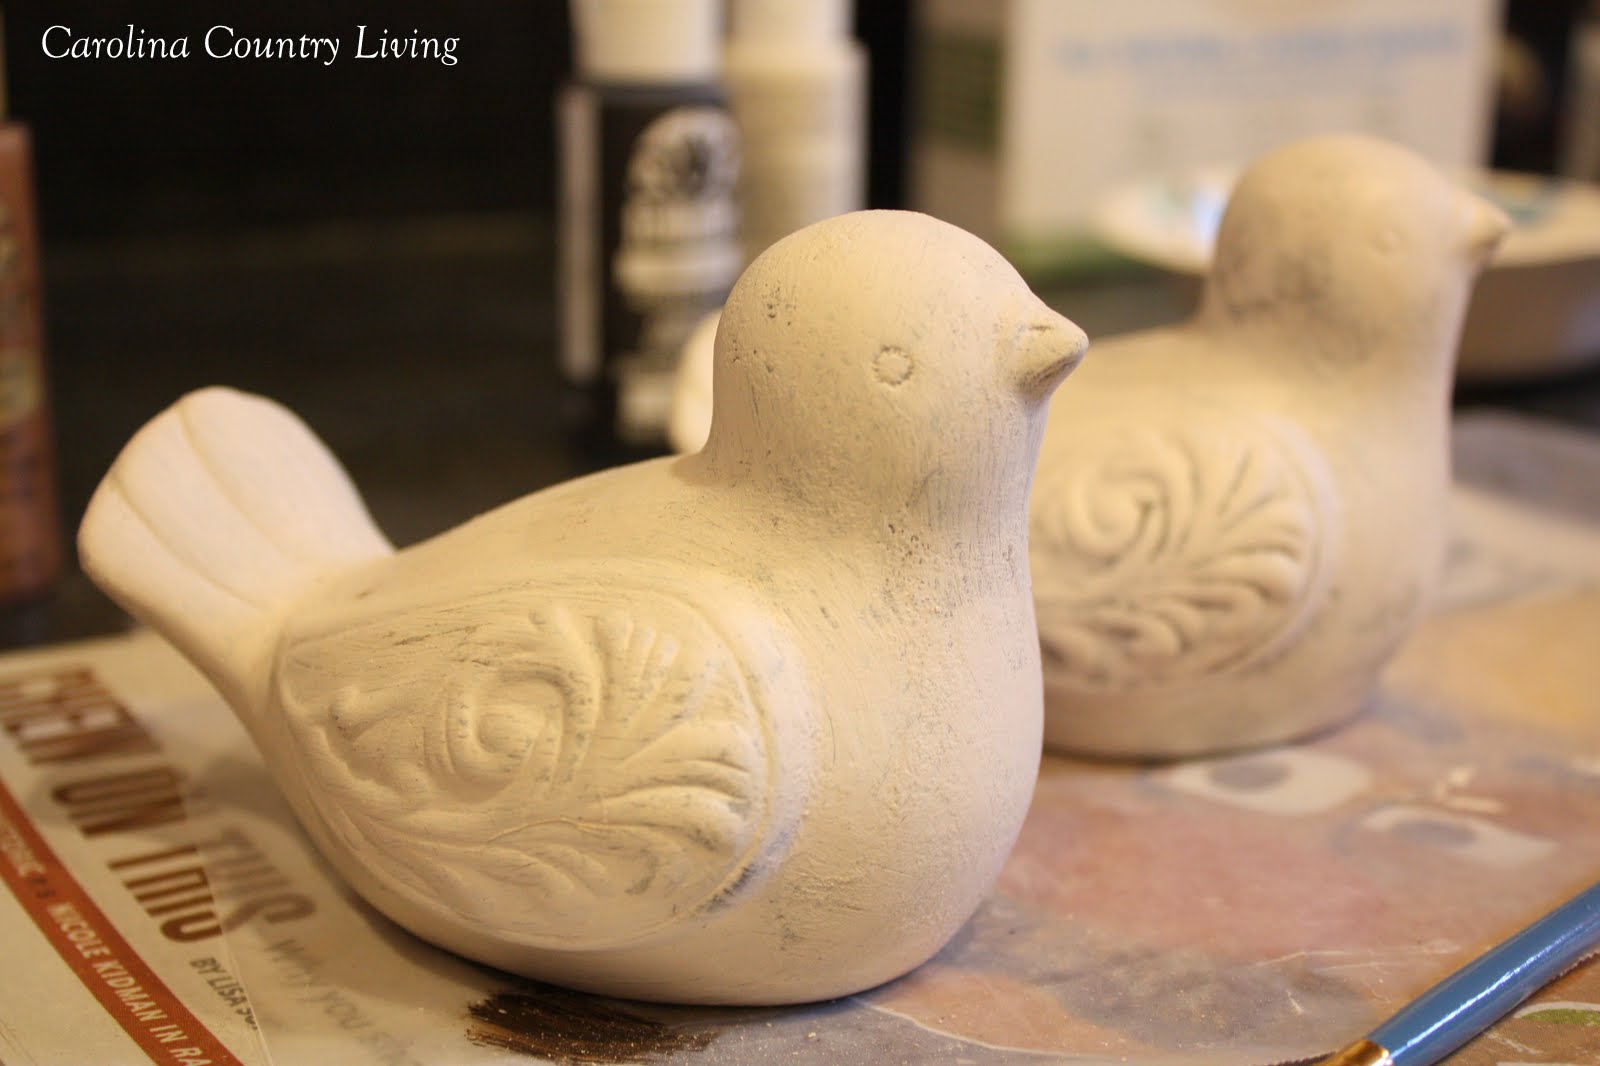
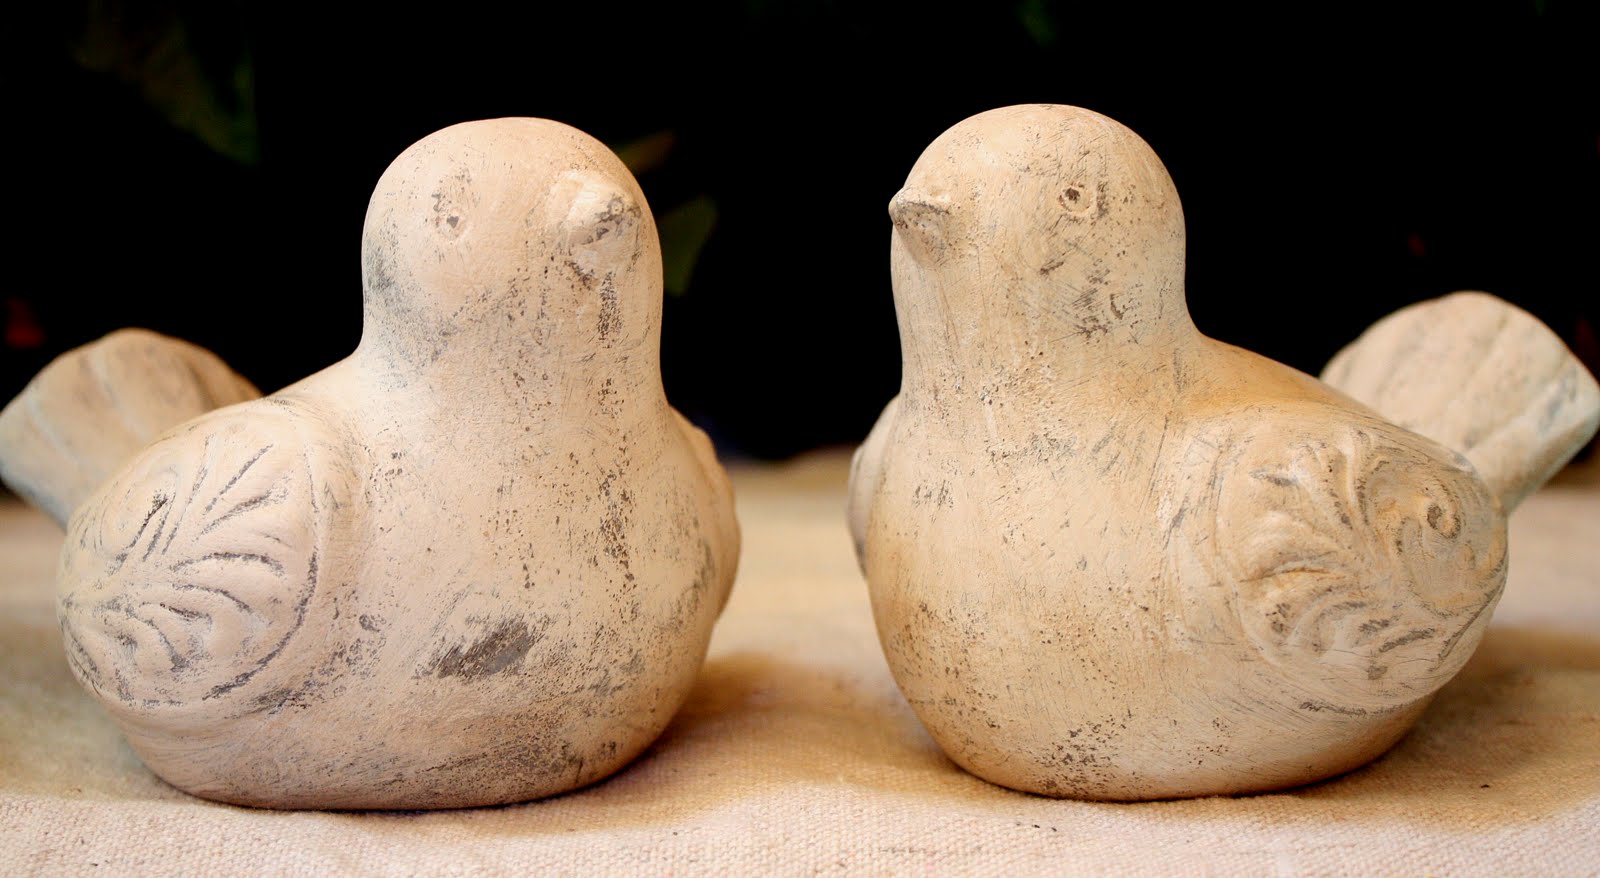
While in the Dollar Tree the other week, I spotted some ceramic birds that caught my eye.  For a mere dollar apiece, I picked up two.  The color wasn't doing much for me, nor was the sandy texture, but I liked their overall size and the motif on the wings.


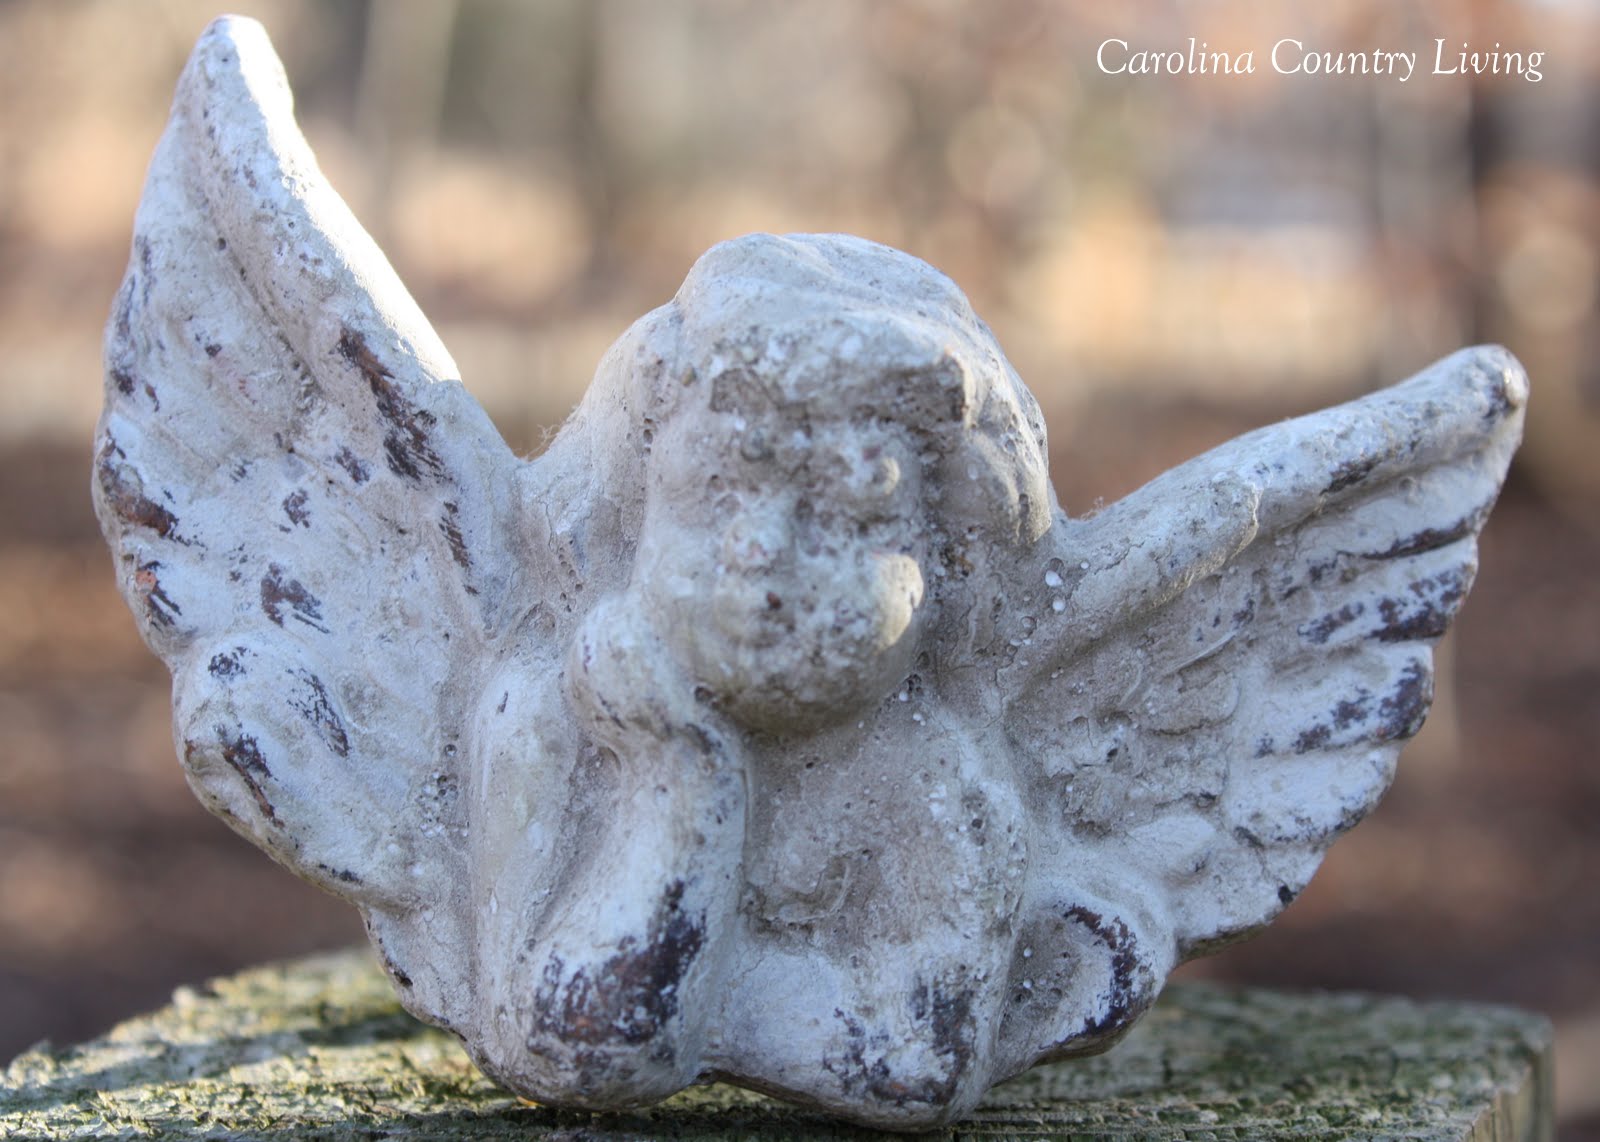
On my kitchen windowsill, I keep this cherub my mom gave me a few years ago. I'm not sure if it's made of concrete or resin painted to look like concrete, but regardless, I love the texture and color.


Then it occurred to me to paint the birds to resemble the cherub's finish!

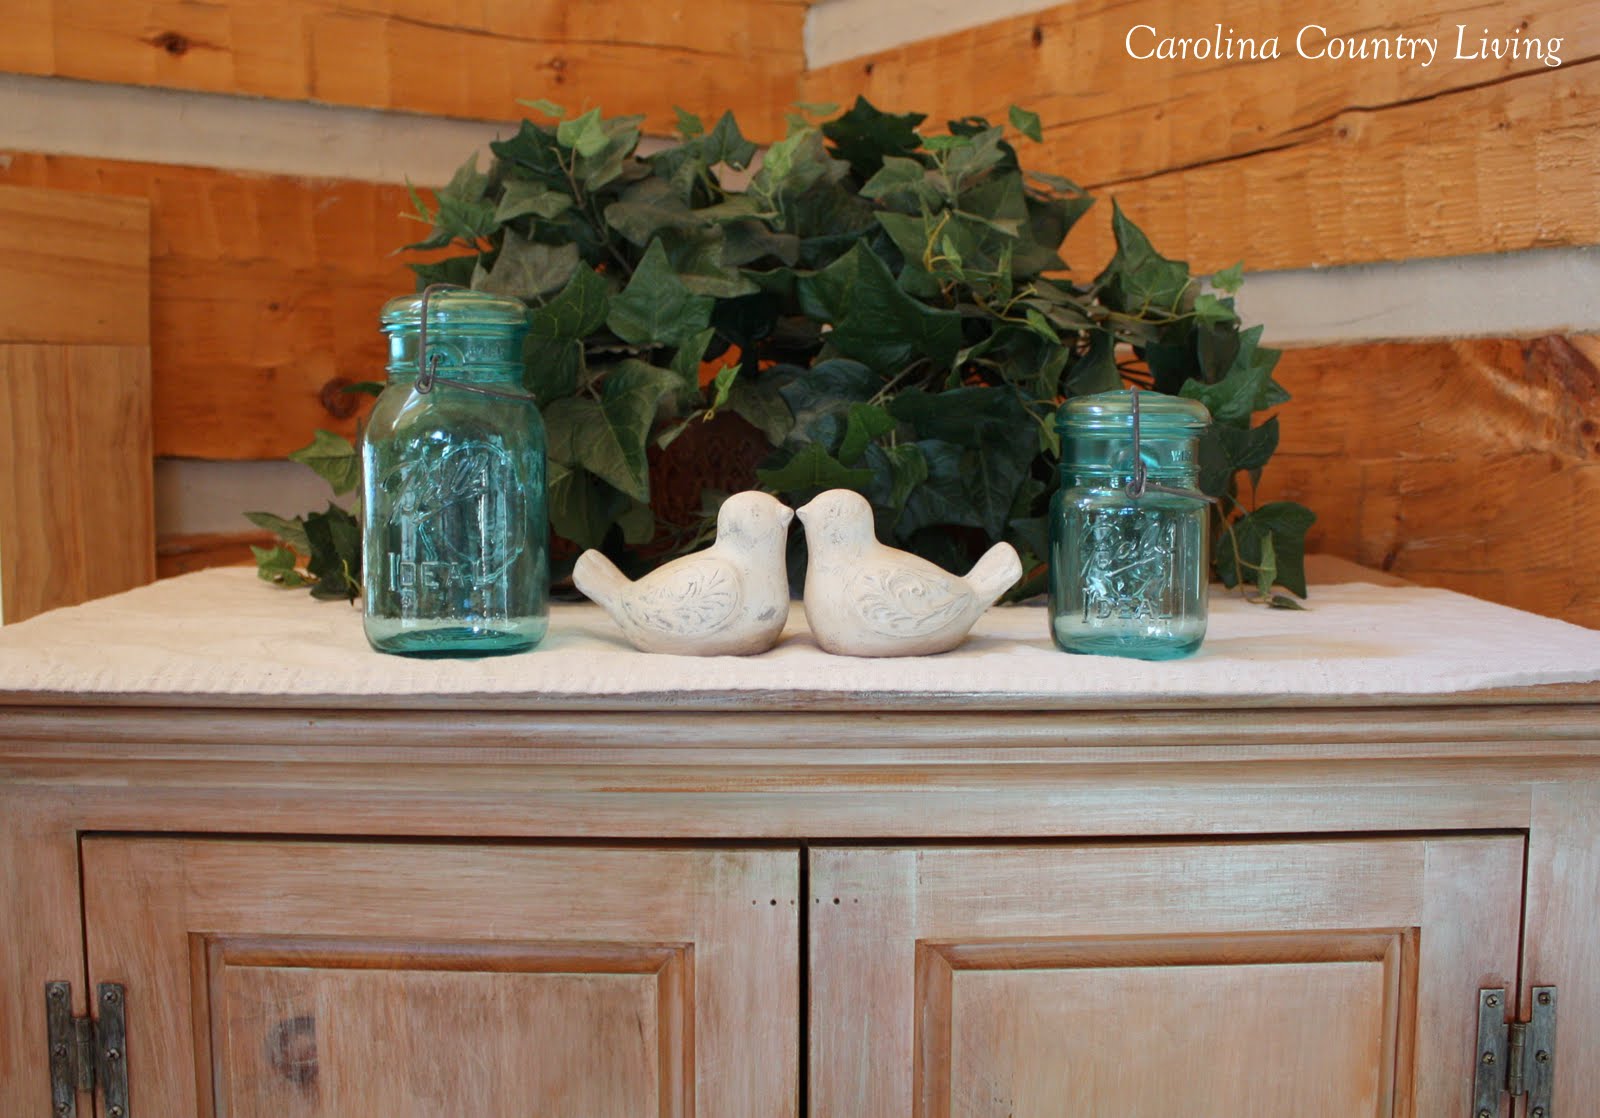
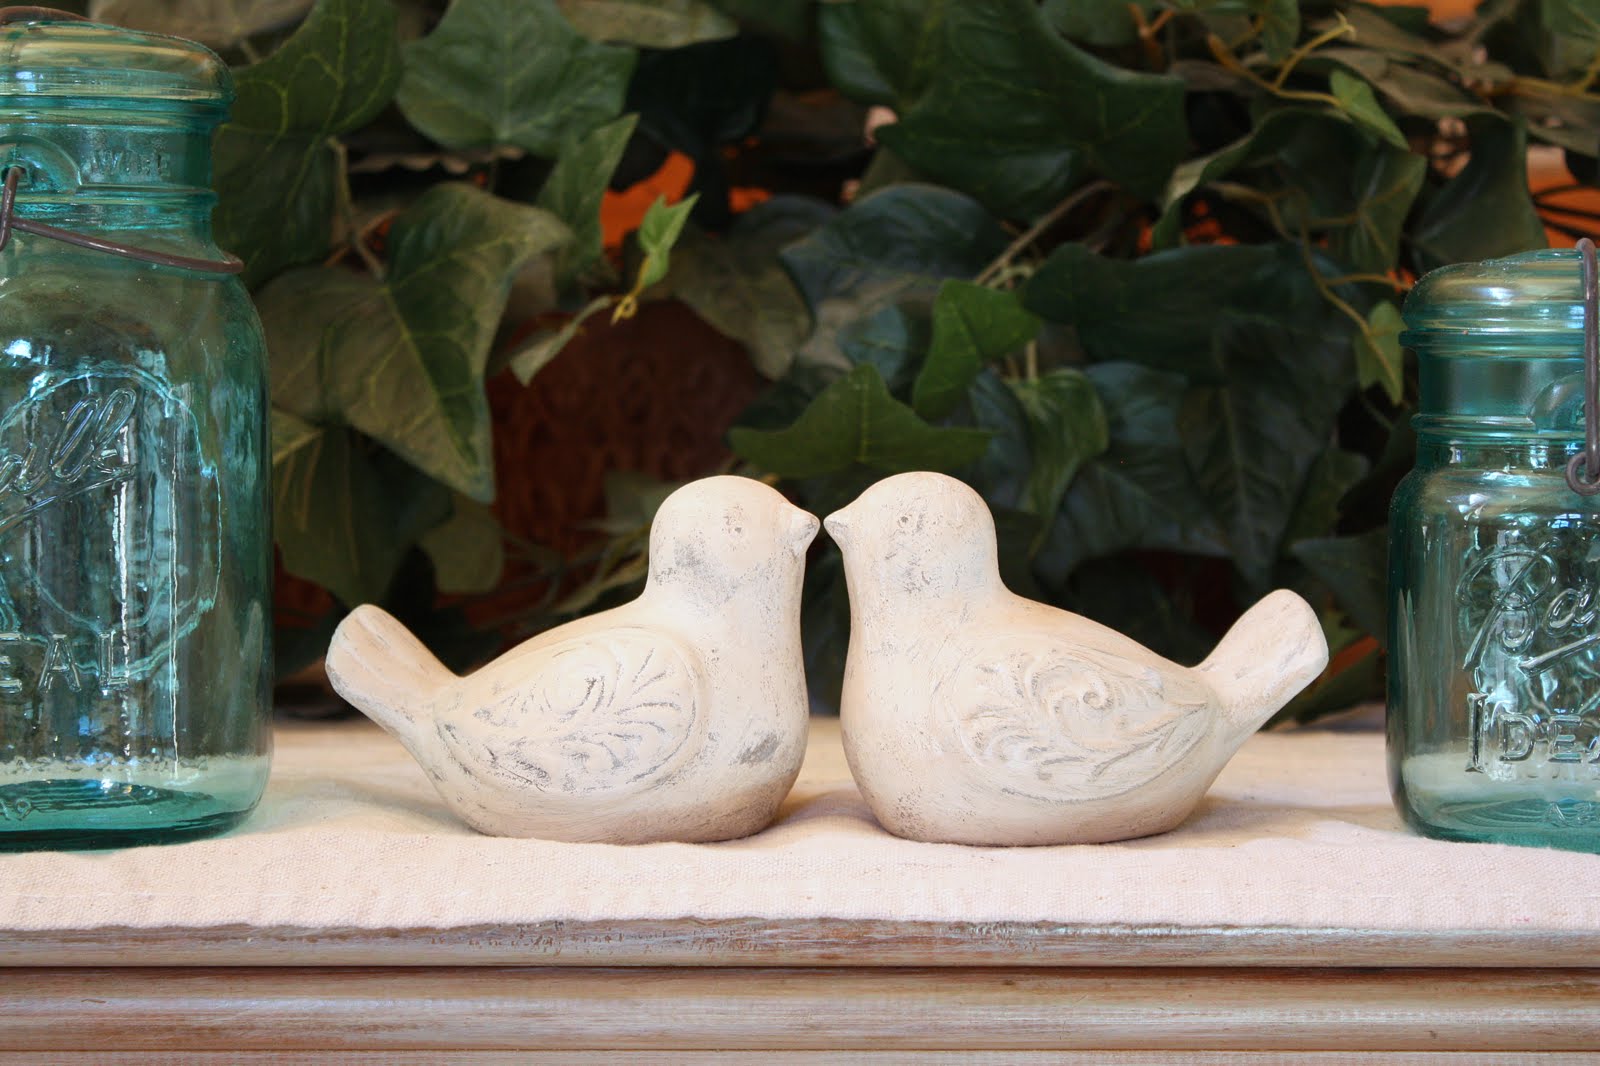
Plus, seeing as I bought a pair, I thought they'd make adorable Valentine's "lovebirds" to go atop the pine armoire in the living room.

Besides yielding a cute pair of lovebirds, this craft and decor project was completed during one of my son's naptimes so it has the instant-gratification aspect going for it, too.

Lovebirds Tutorial

Materials:
  • Pair of ceramic birds from Dollar Tree
  • 120 grit sandpaper
  • Craft paint in black, white and dark brown (I used Folk Art paint in 936 Licorice, 901 Wicker White and 462 Burnt Umber since that's what I had on hand)
  • Craft brushes
  • Newspaper
  • Wax paper (to set on top of the newspaper so the birds won’t stick to the paper when wet)
  • Plate on which to mix paint
  • Napkin or rag
  • Small bowl
  • Matte or satin clear spray sealer if you want to seal the birds
Directions:
1. With the 120 grit sandpaper, sand the texture off birds until they are fairly smooth. Leave a little bit of texture to make for a more interest final finish, but get the majority off.

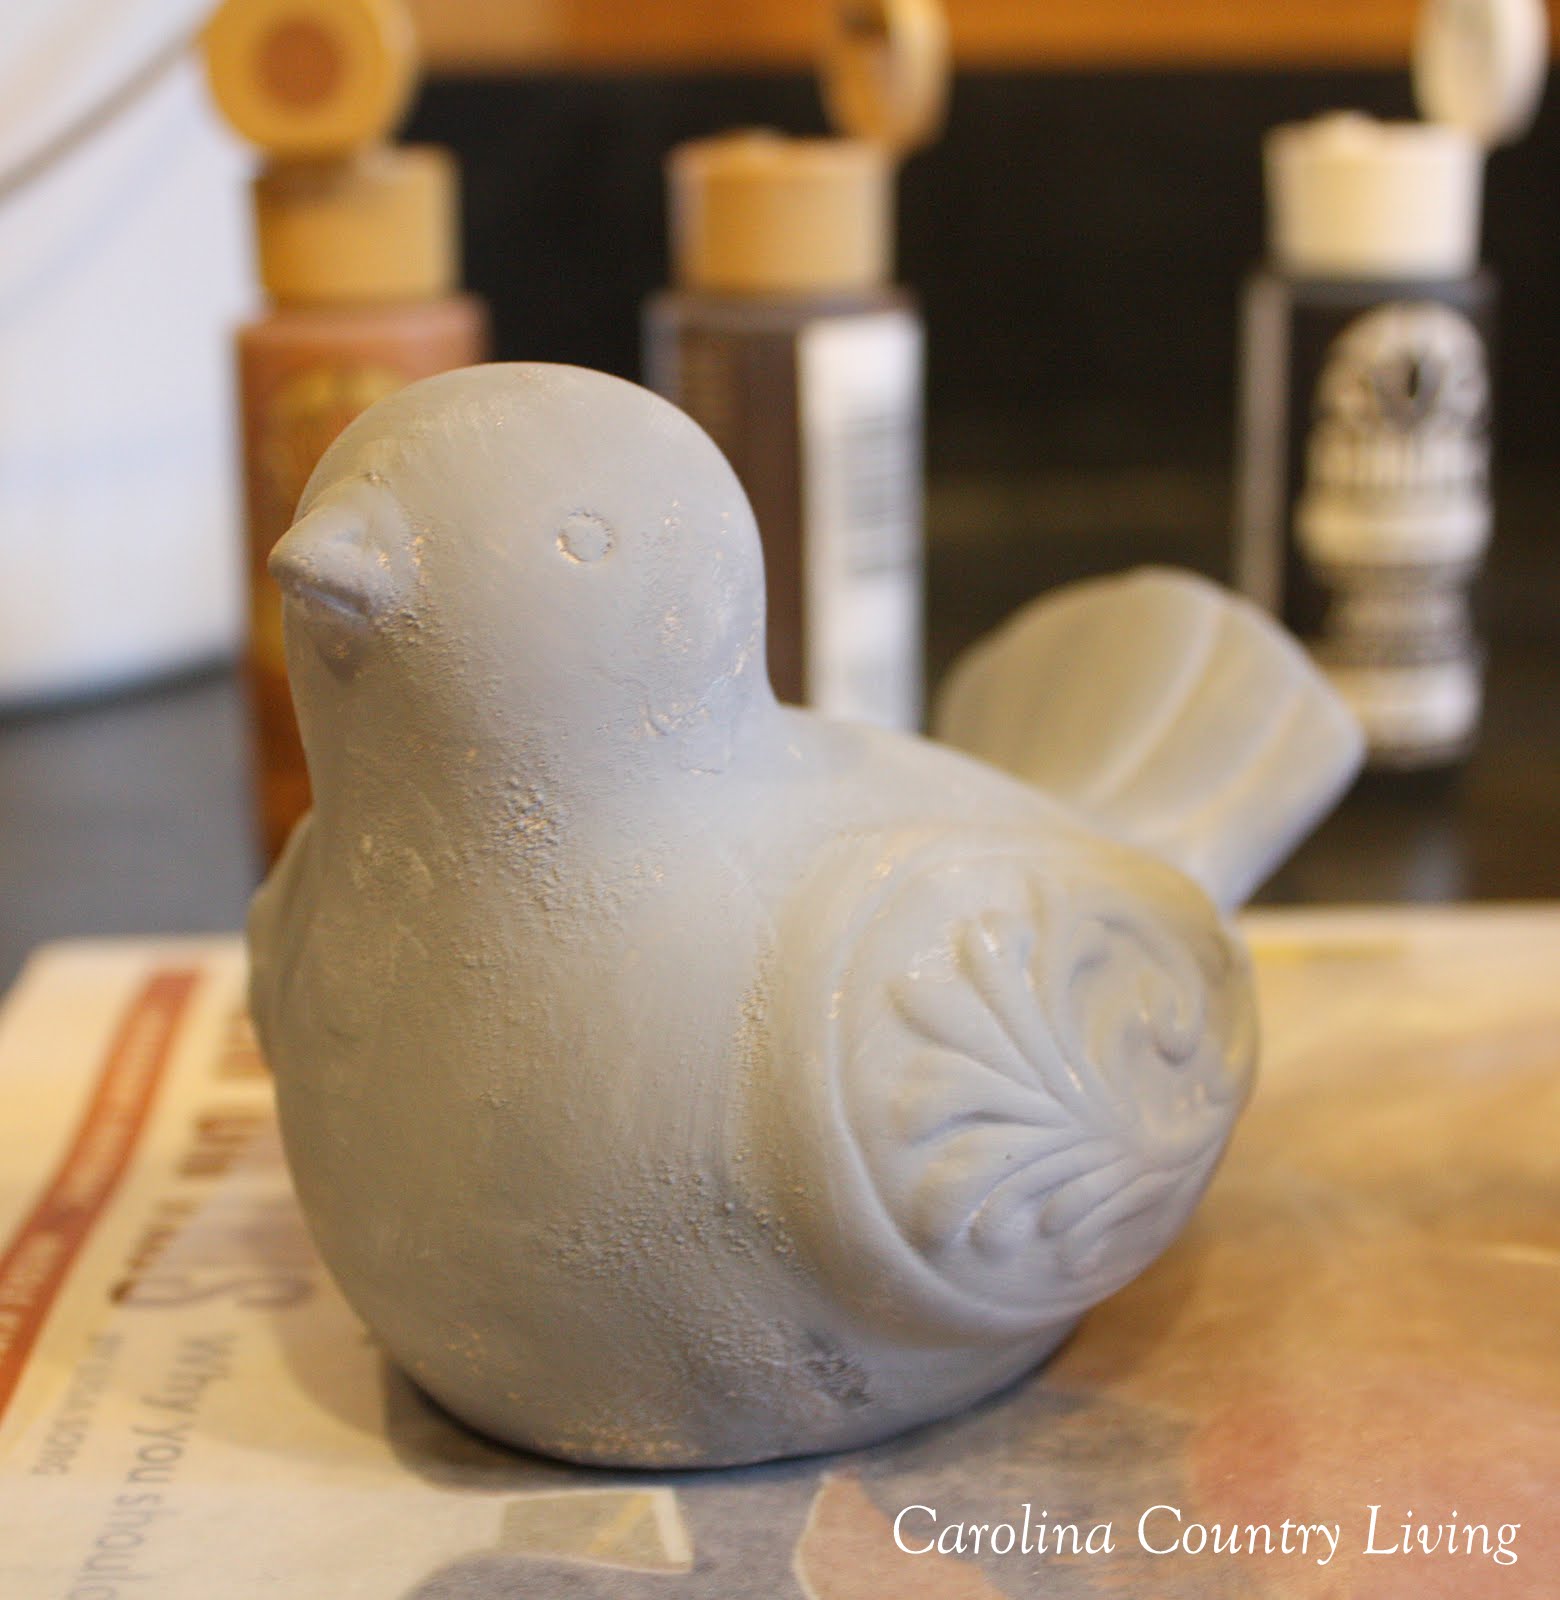
2. Mix some of the white and black paint on a plate to a medium grey and apply a thin coat to each bird.


3. Dry brush a light coat of dark brown paint over the dried grey paint. I found that once I finished coating the second bird with grey paint, the first bird was dry and ready for this step.


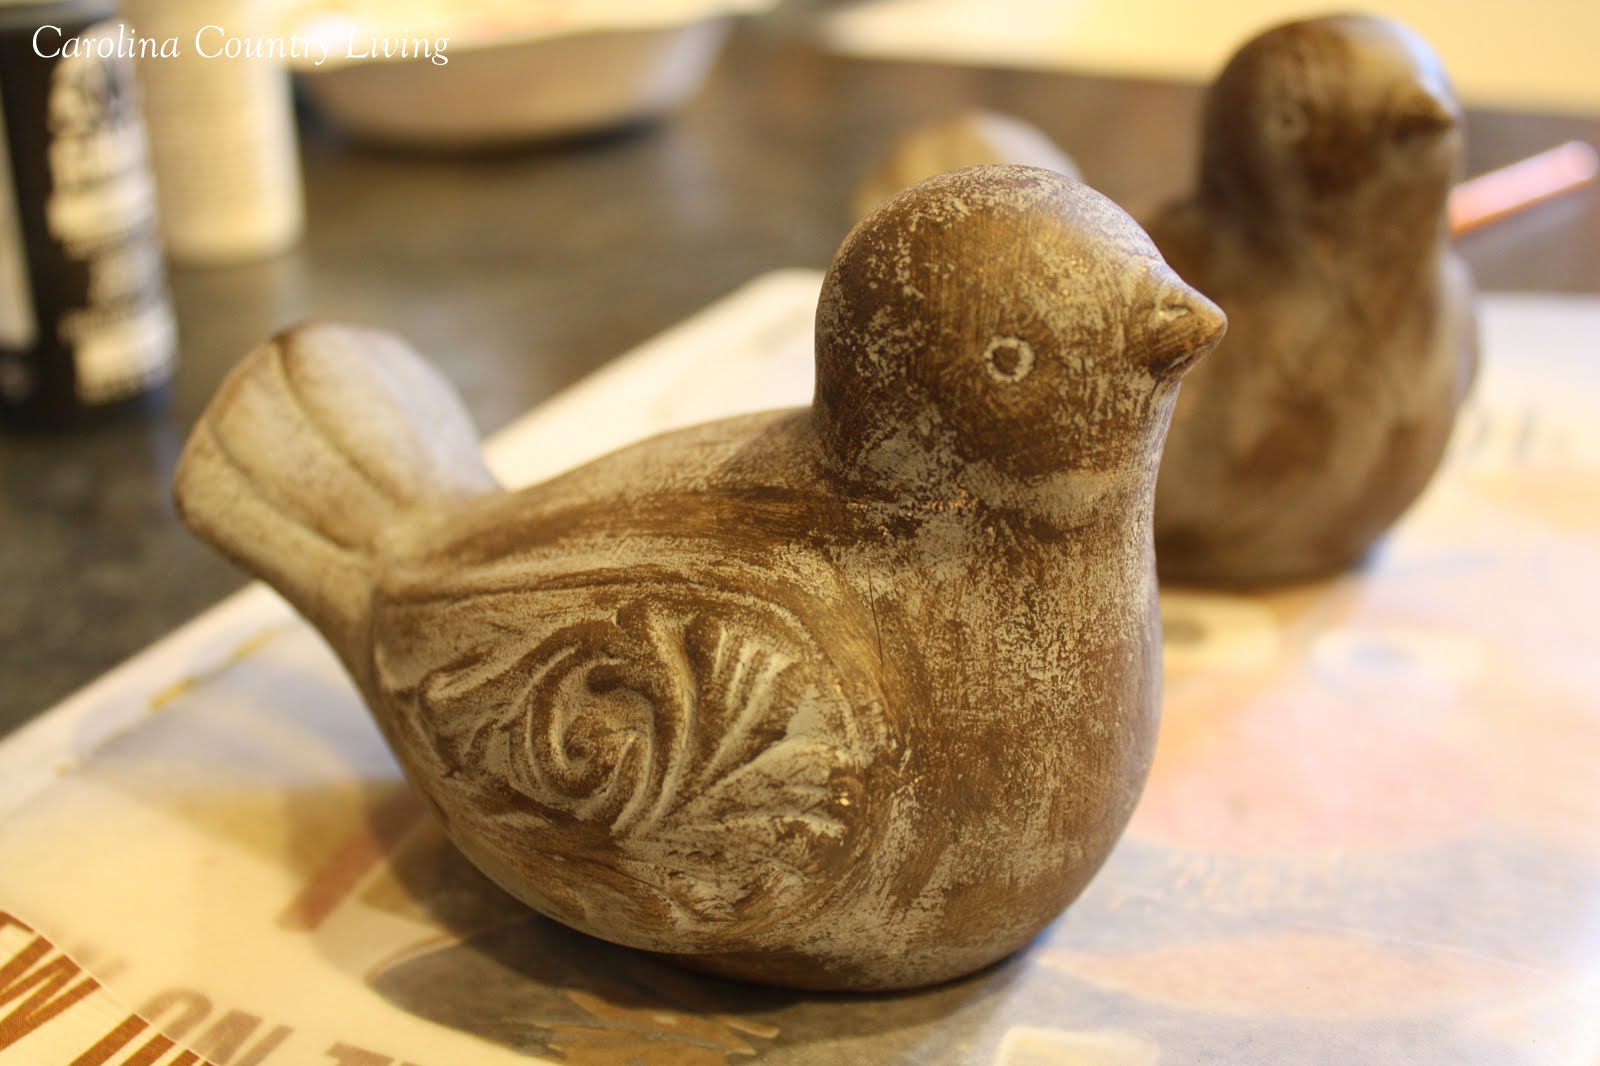
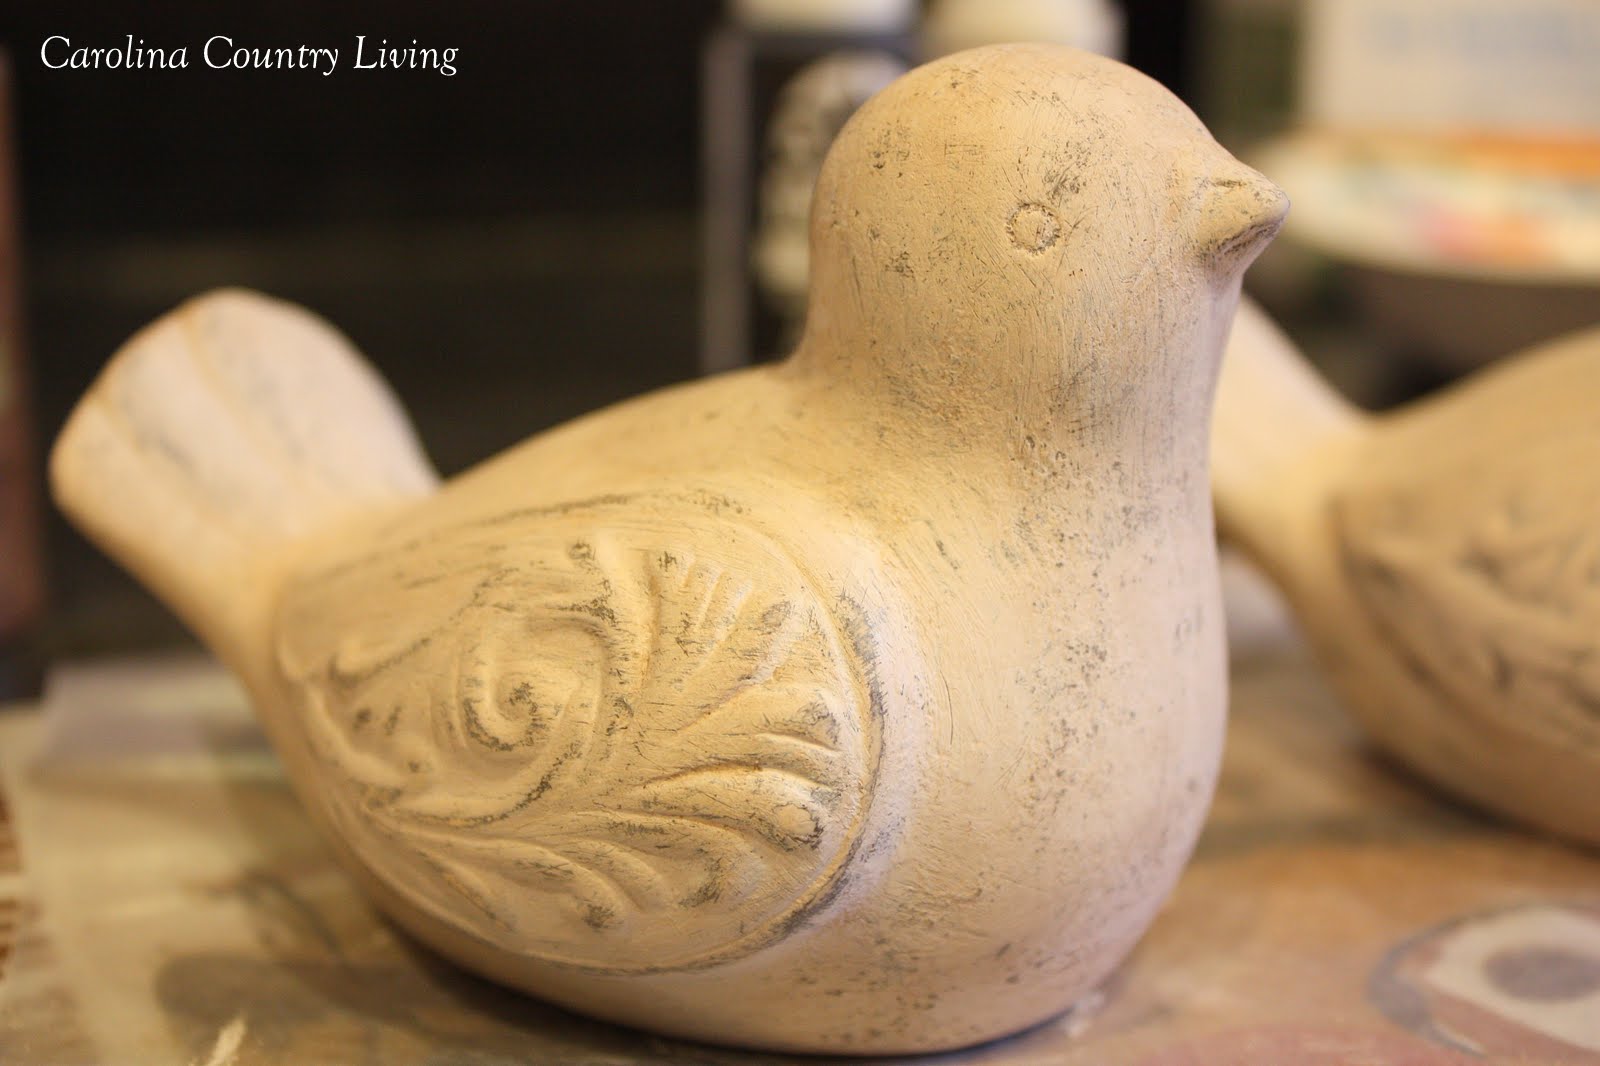
4. Mix the white paint with a bit of the dark brown paint to create an antique or off white color, and brush on a coat to cover most of grey/brown layer.


5. While the off white paint is tacky, take a dry brush and hit the paint with short, fast strokes to remove a bit of the paint to expose the undercoat.

6. When white paint is dry, further distress the birds with sandpaper until you achieve the effect you like.

7. In small bowl, put a teaspoon or so of water, along with a bit of the white/dark brown mix (I had plenty left on my plate so I used what remained of this mixture), then add more dark brown until you have what looks like chocolate milk. This is your antiquing glaze.

8. Brush on the milky brown mixture to antique the birds, wiping off the excess as you go.  Be careful, though, and don't wipe too hard or else you may rub off all the under layers of paint.


9. Let dry completely and seal with your choice of sealer. Or skip this step as I ended up doing!

And here are a few shots of the lovebirds in their new home...


Mwah!


Say buh-bye, little birdies!


Let me know if you try this project!  I had quite a lot of fun doing it and am so pleased to have a sweet little pair of birds to add to my home's decor.  Hope you like it, too!

Linking to:


 http://linda-coastalcharm.blogspot.com/


Domestically Speaking


Chic on a Shoestring Decorating


V.I.P. (Visually Inspiring Projects) Party at Designer Garden


Frugal Friday at


Frugalicious Friday at


Valentine's Day 2011 Inspiration Party at


Passionately Artistic


Thursday, December 2, 2010

Spontaneous Crafting

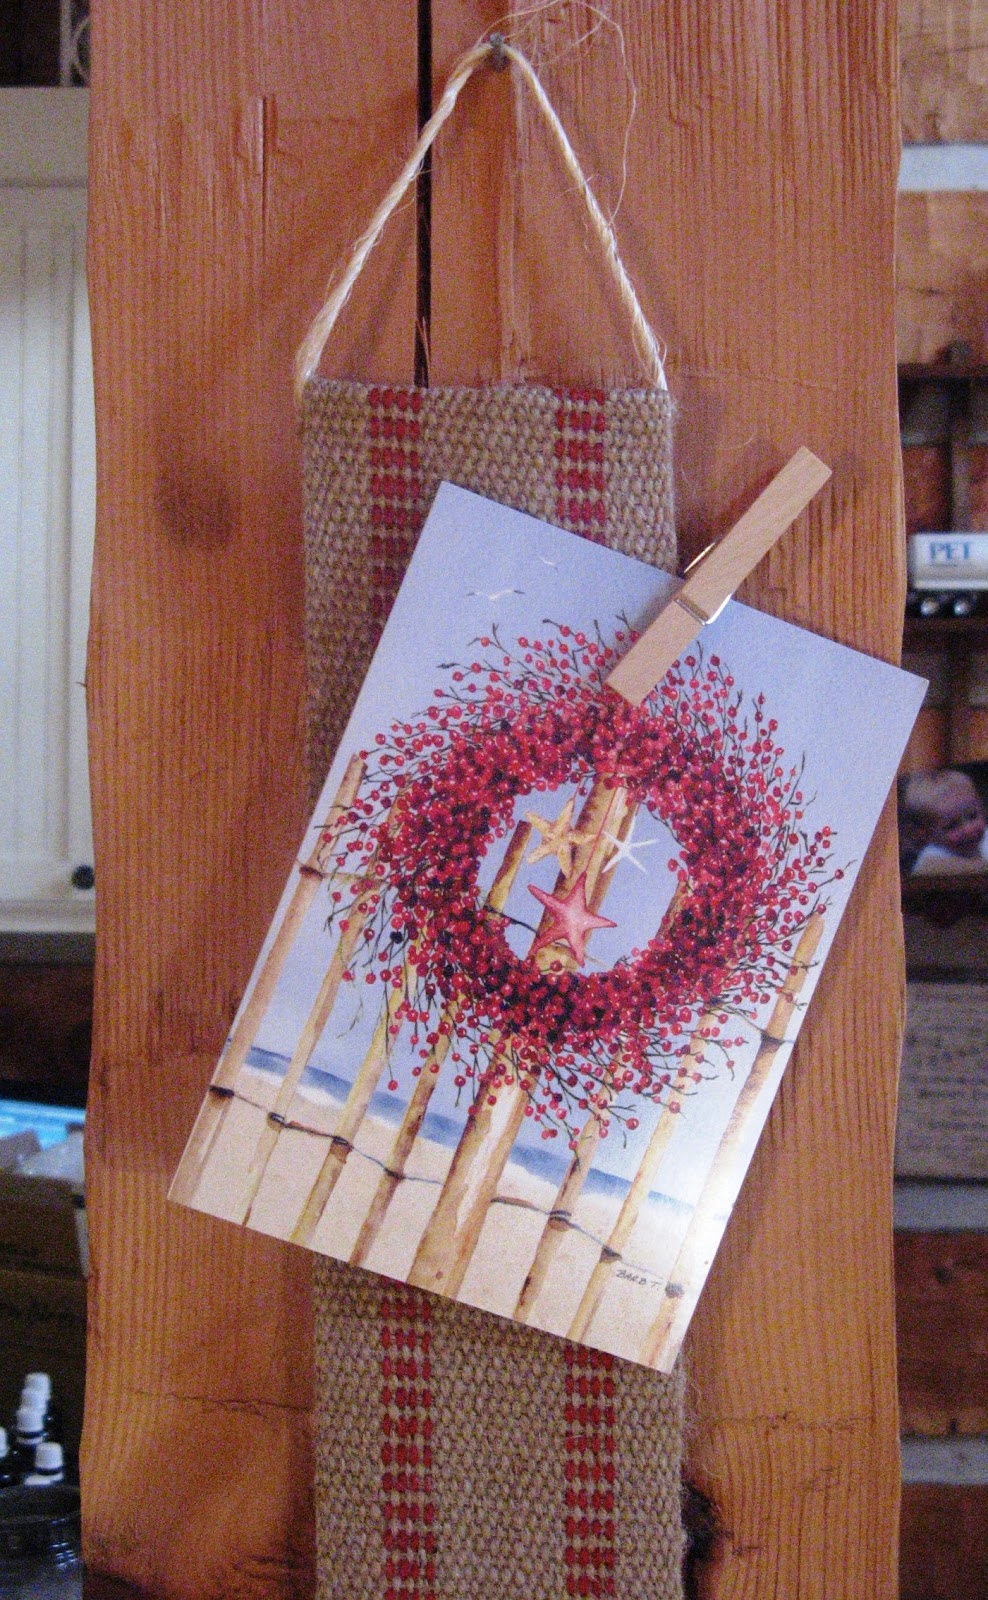
Awhile back I saw this neato Christmas card hanger made by Gail at My Repurposed Life. I loved it instantly because it was made with upholstery webbing! However, after two unsuccessful visits to the local Dollar Trees to procure the curly ornament hooks Gail used to actually hold the cards, I figured it just wasn't in the cards (oooh, bad pun) this year.

Fast forward to today when I was decorating the house: I realized we no longer had a serviceable card holder and therefore nothing in which to display our first Christmas card of 2010.  Crud!

I looked around the house, pondering a solution, and then remembered I had a 50-pack of clothespins in the laundry room Hoosier cabinet. My brain shifted quickly into gear and I grabbed my stash of upholstery webbing, a wad of twine, the trusty glue gun and proceeded to do the following:

Cut a length of webbing to fit the area where the holder would go.


Hot glued a short piece of twine to the top of the strip to create the main hanger.


Ran a line of hot glue on the webbing and folded over the top edge 
to create a hem and hide the ugly twine ends.

Repeated the previous step at the bottom to neaten that edge.


Hung up the holder and attached my first Christmas 
card of the season with a clothespin!
My spontaneous craft-bustion!